
Grill Repair - How to Replace a Igniter Module on a Sedona by Lynx
How to Replace a Sedona Ignition Module

The ignition system in a Sedona by Lynx is operated on 110 volt electricity but it also has a 9 volt battery system backup. It utilizes a igniter module and battery holder. To ignite the grill, you simply press in the control knobs and turn. The knobs, when depressed, trigger the microswitch that is attached to the valve to light the grill.
There are times where the igniter module will stop working and need to be replaced.
The igniter module 31161 is a 4 spark module used in the 24" (L400) and 30" (L500) with rotisserie back-burner, 36" (L600) and 42" (L700) grills. These instructions will apply if your grill uses the 2 spark part 31162.
Tools you will need :
Phillips Head Screw Driver
Steps :
1. Remove the control knobs and set aside for reinstallation
2. You will need to take off the control panel face plate by removing the drip tray, then look for the screws on the left and right bottom of the control panel and remove and set aside.

3. Carefully remove the control panel as the igniter module is attached to the back of the control panel and the electrode wires will be attached in the grill
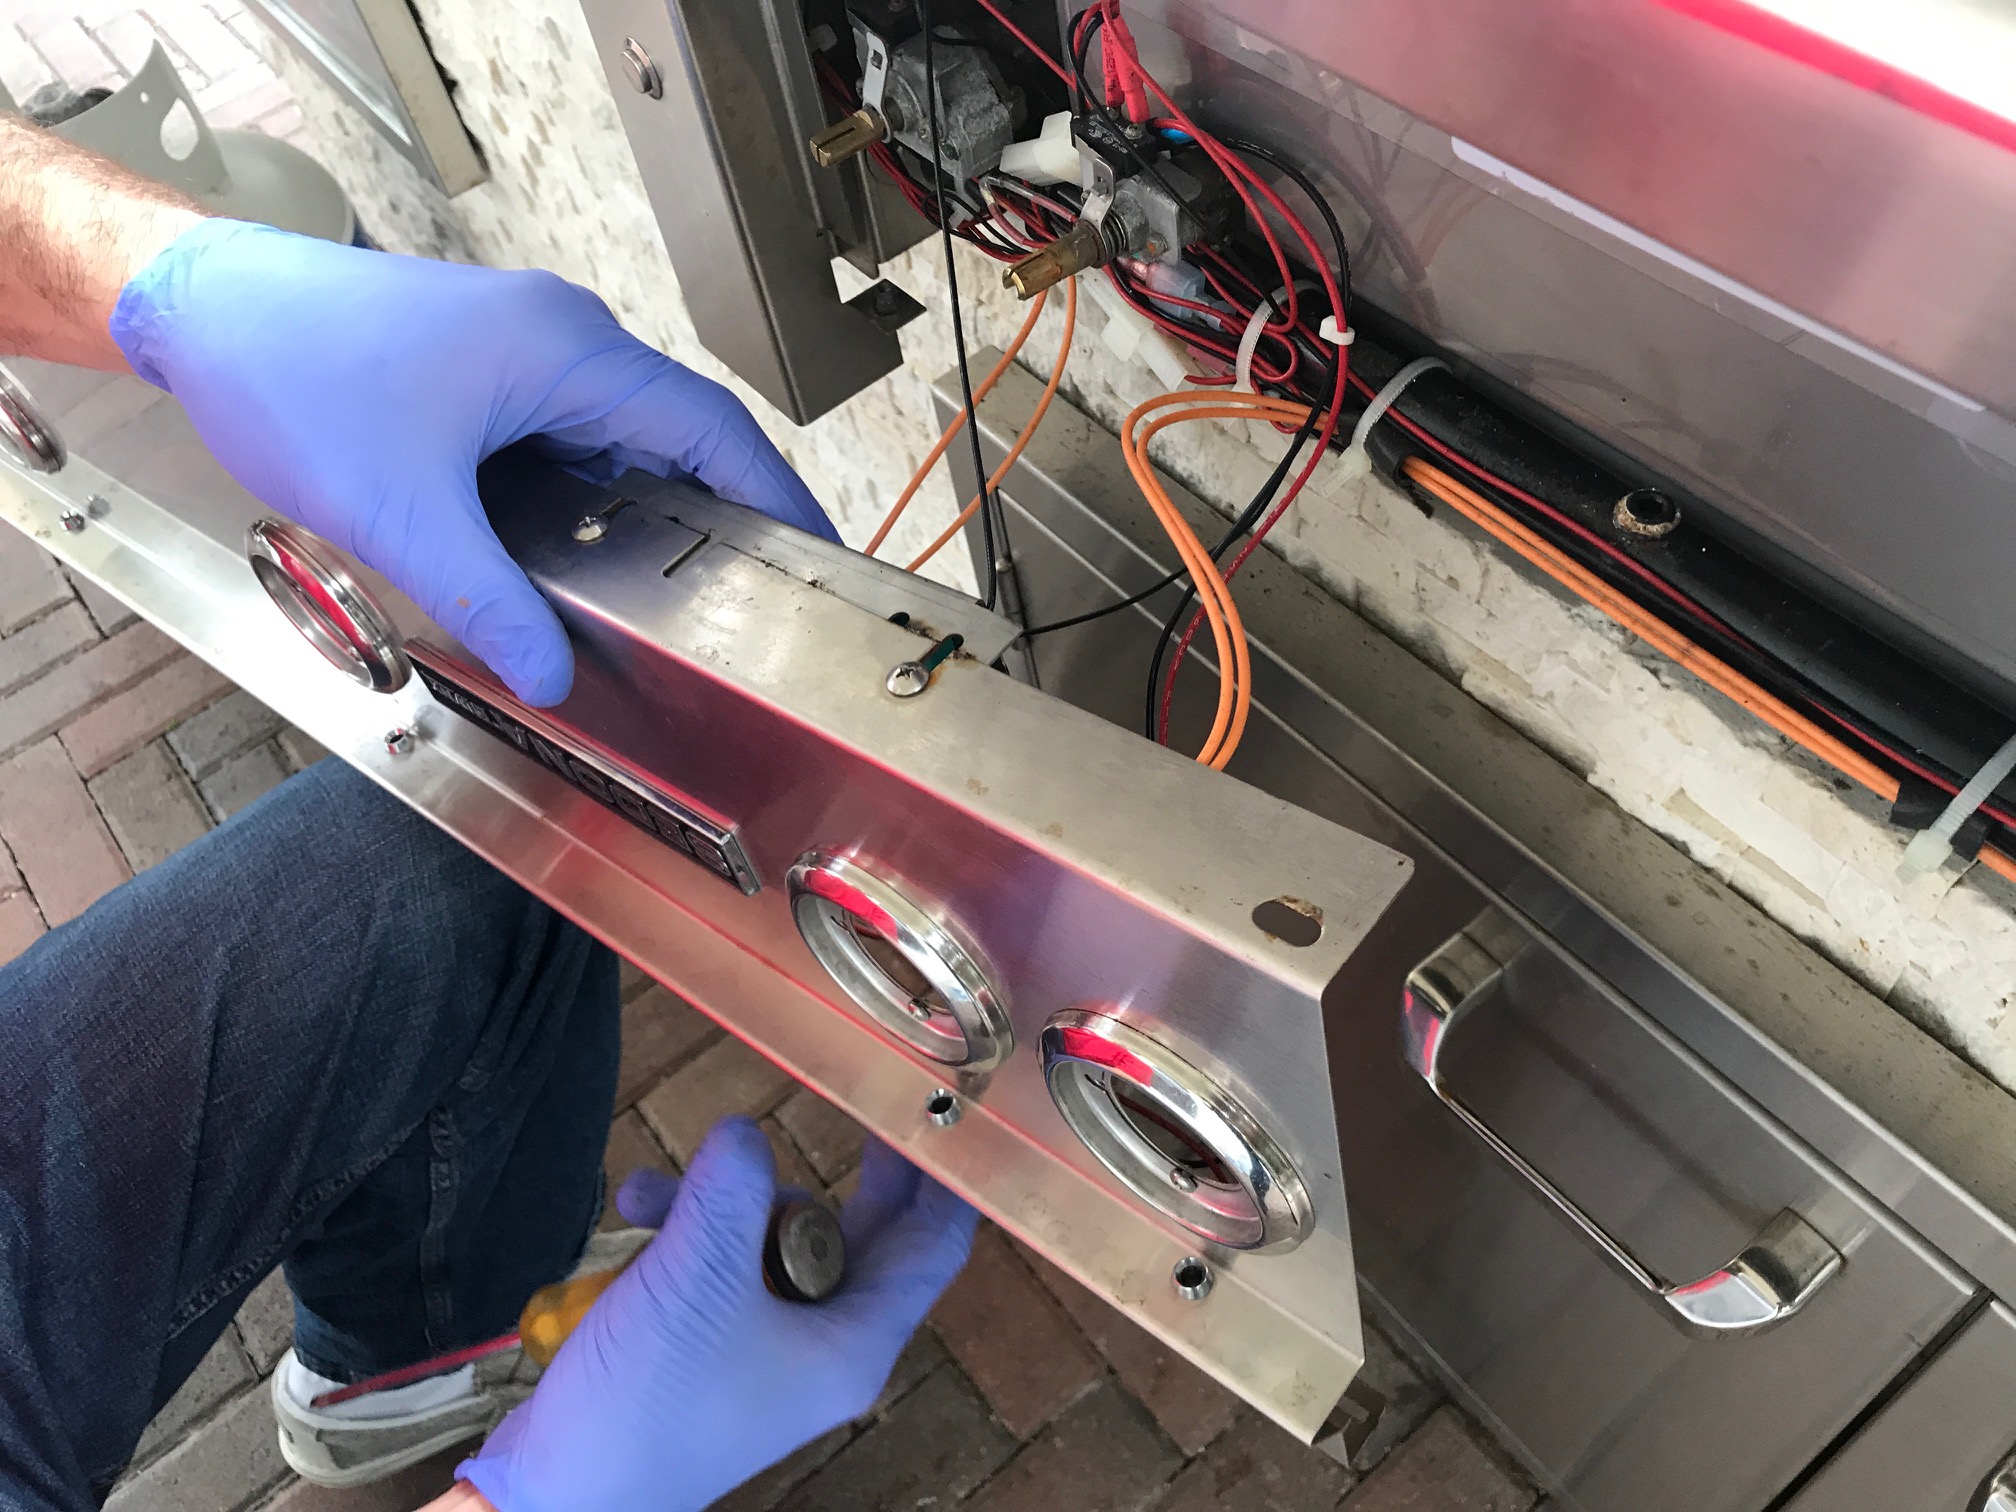
4. Take a Phillips Head screw driver and loosen the screws (or remove them) that hold the Igniter Shield part 31398 in place. Slide the shield out
5. Remove the Igniter Shield
6. Remove the old igniter module from the shield and take out the existing wires.
7. Place existing wires in the new igniter module
8. Place the igniter module in the shield slide back on control panel. If you removed the screws, Do not tighten as you can slide the screws over the slots on to the control panel then tighten
9. Test the ignition to be sure you hear a rapid clicking before you put the grill back together
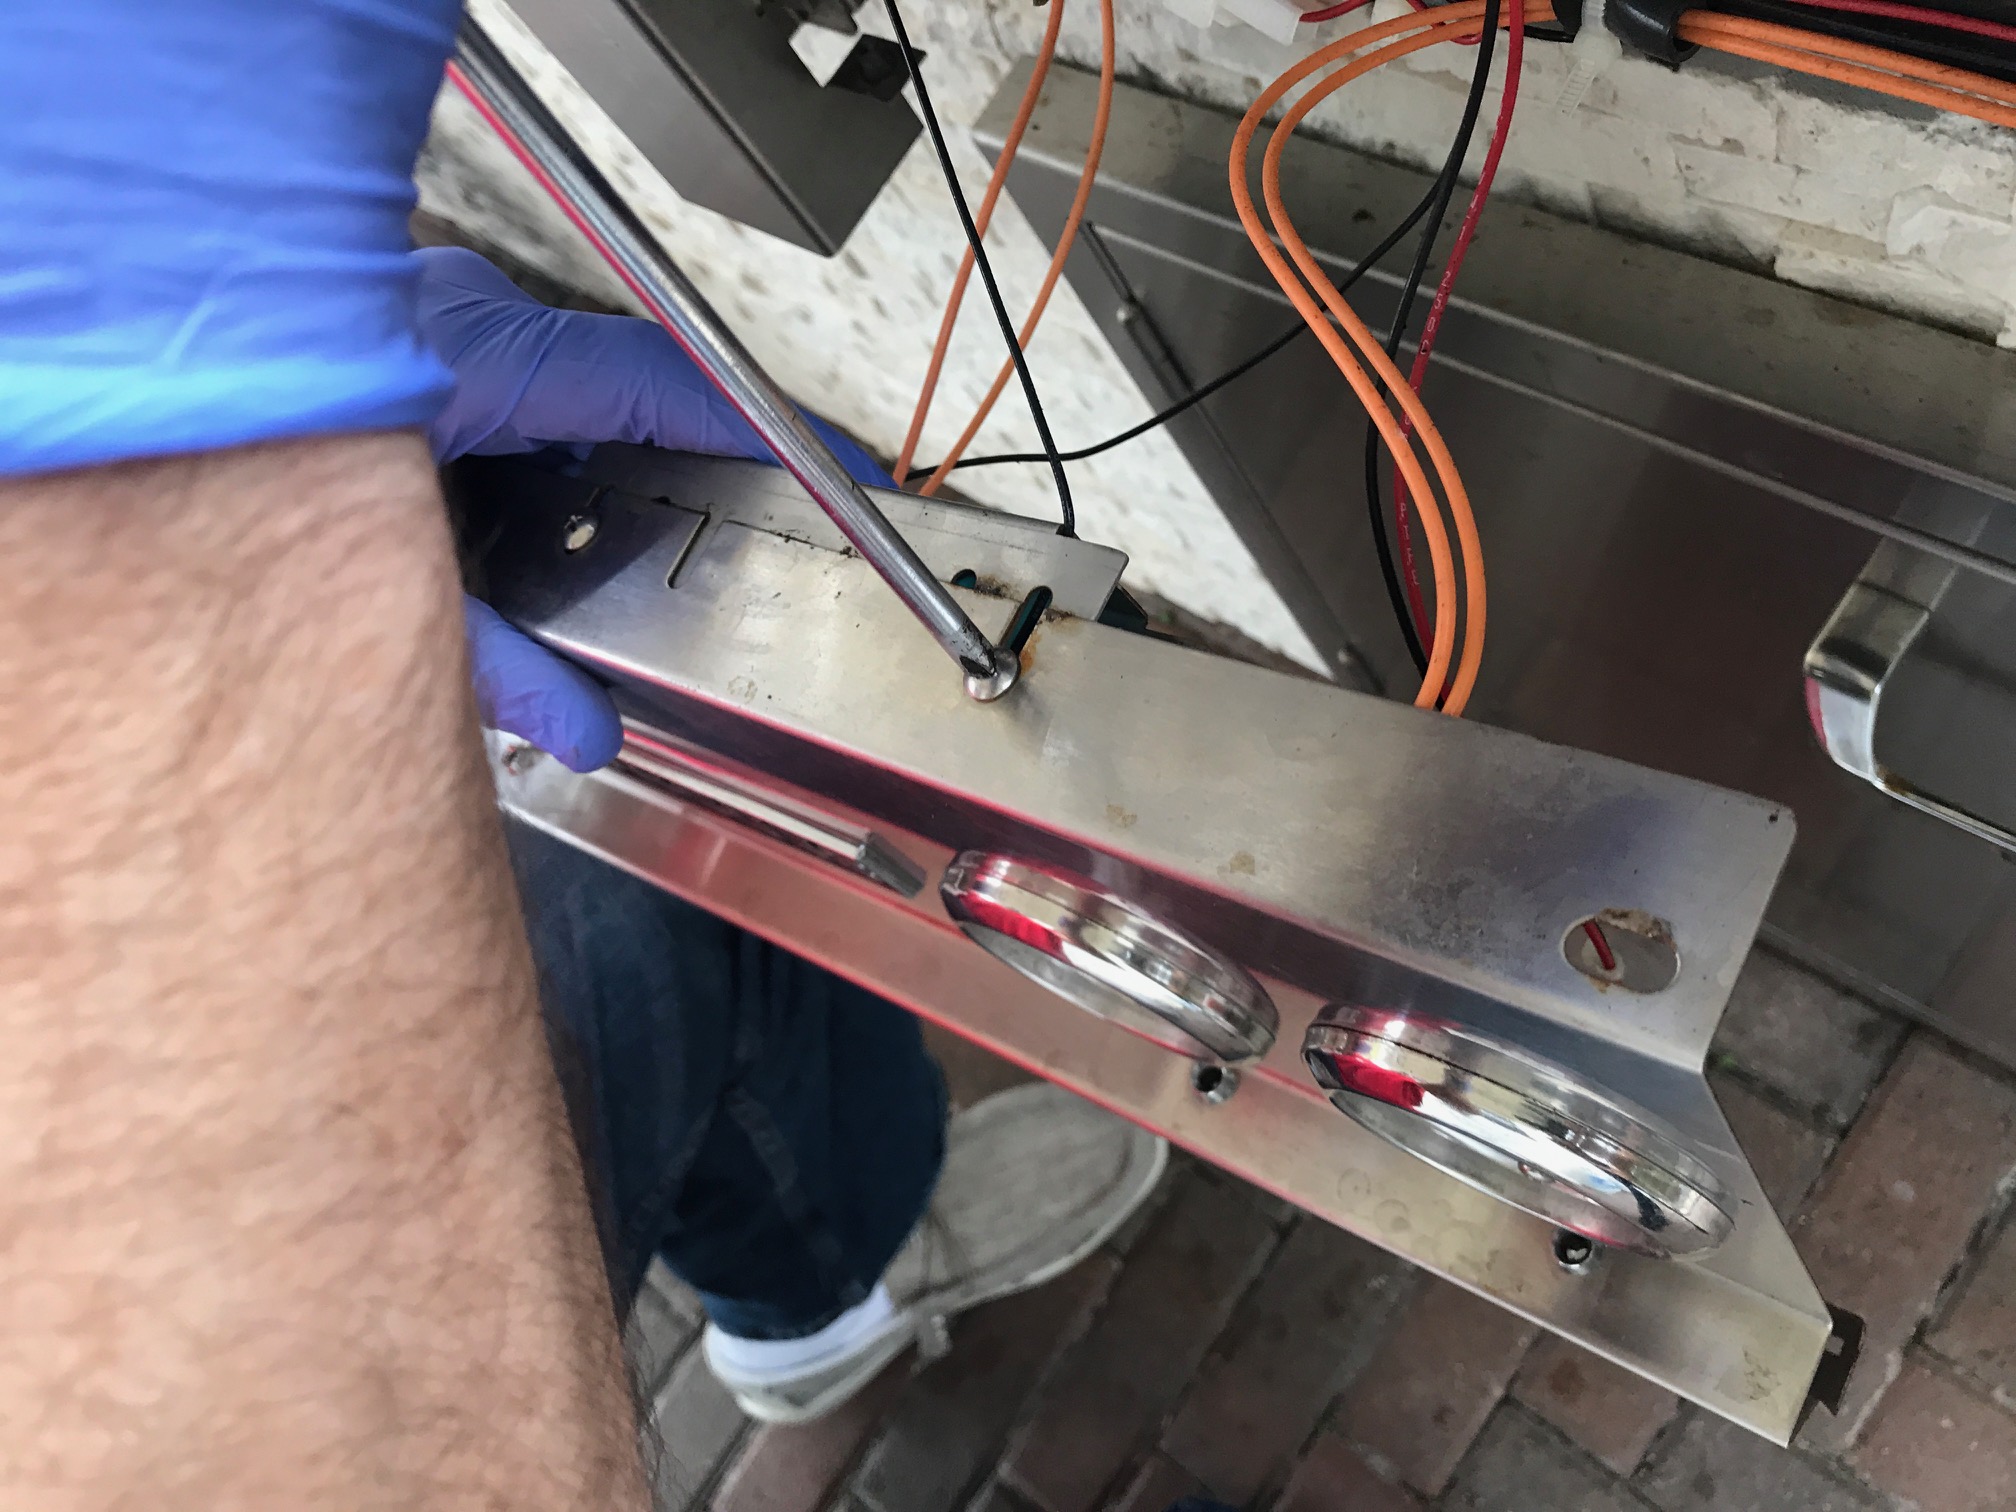
10. Place the control panel back on the grill and re screw the left and right screws
11. Reinstall the Control Knobs
To Change the 9 volt Battery:
1. Locate the battery box which will be mounted by the transformer under the grill. So whether you have a built-in or cart model, you will need to open the access doors.
2. Pull the battery holder out and remove old battery
3. Replace will new 9 volt
4. Slide the battery holder back until you hear it click in place
Troubleshooting the igniter system :
If you do not hear a continuous clicking noise, try replacing the 9 volt battery. If you still do not hear a clicking noise, the battery holder or igniter module may need to be replaced.
Remove the cooking grates and briquette trays so you can visually see the electrodes. If you hear a clicking noise but no spark from the electrodes, you may need to adjust the electrodes or the micro switch may need to be replaced. You can test the micro switch by plugging electrodes into a working micro switch to see if you get a spark.
To adjust the electrodes, take pliers and bend the metal tip either closer or further from the burners.
