
Lynx Grill Gas Valve Microswitch Replacement
How to replace the microswitch on a Lynx Grill Valve
Since 2006 (H Series Grills), Lynx has used micro switches in their grills.
The micro switch eliminates the need to have an igniter button on the grill to spark the ignition. The ignition can be ignited using the control knob. This is a better technology than the imported grills that use the flame thrower valve. This is because the micro-switch is a much less expensive and easy part to replace. Current models have an electrical ignition. So, the igniter wires that are plugged into the micro-switch go into a wire-harness that gets connected to a transformer and then plugged into an electrical outlet. Older model grills, that used the valve with microswitch, utilized a battery operated spark generator to power the ignition.
Tip : If you do not hear a clicking noise when you push your control knob to ignite your grill, the micro-switch needs to be replaced
Other high end manufacturers (including Twin Eagles and Delta Heat) also use this ignition technology.
Changing the micro switch is an easy DIY task.
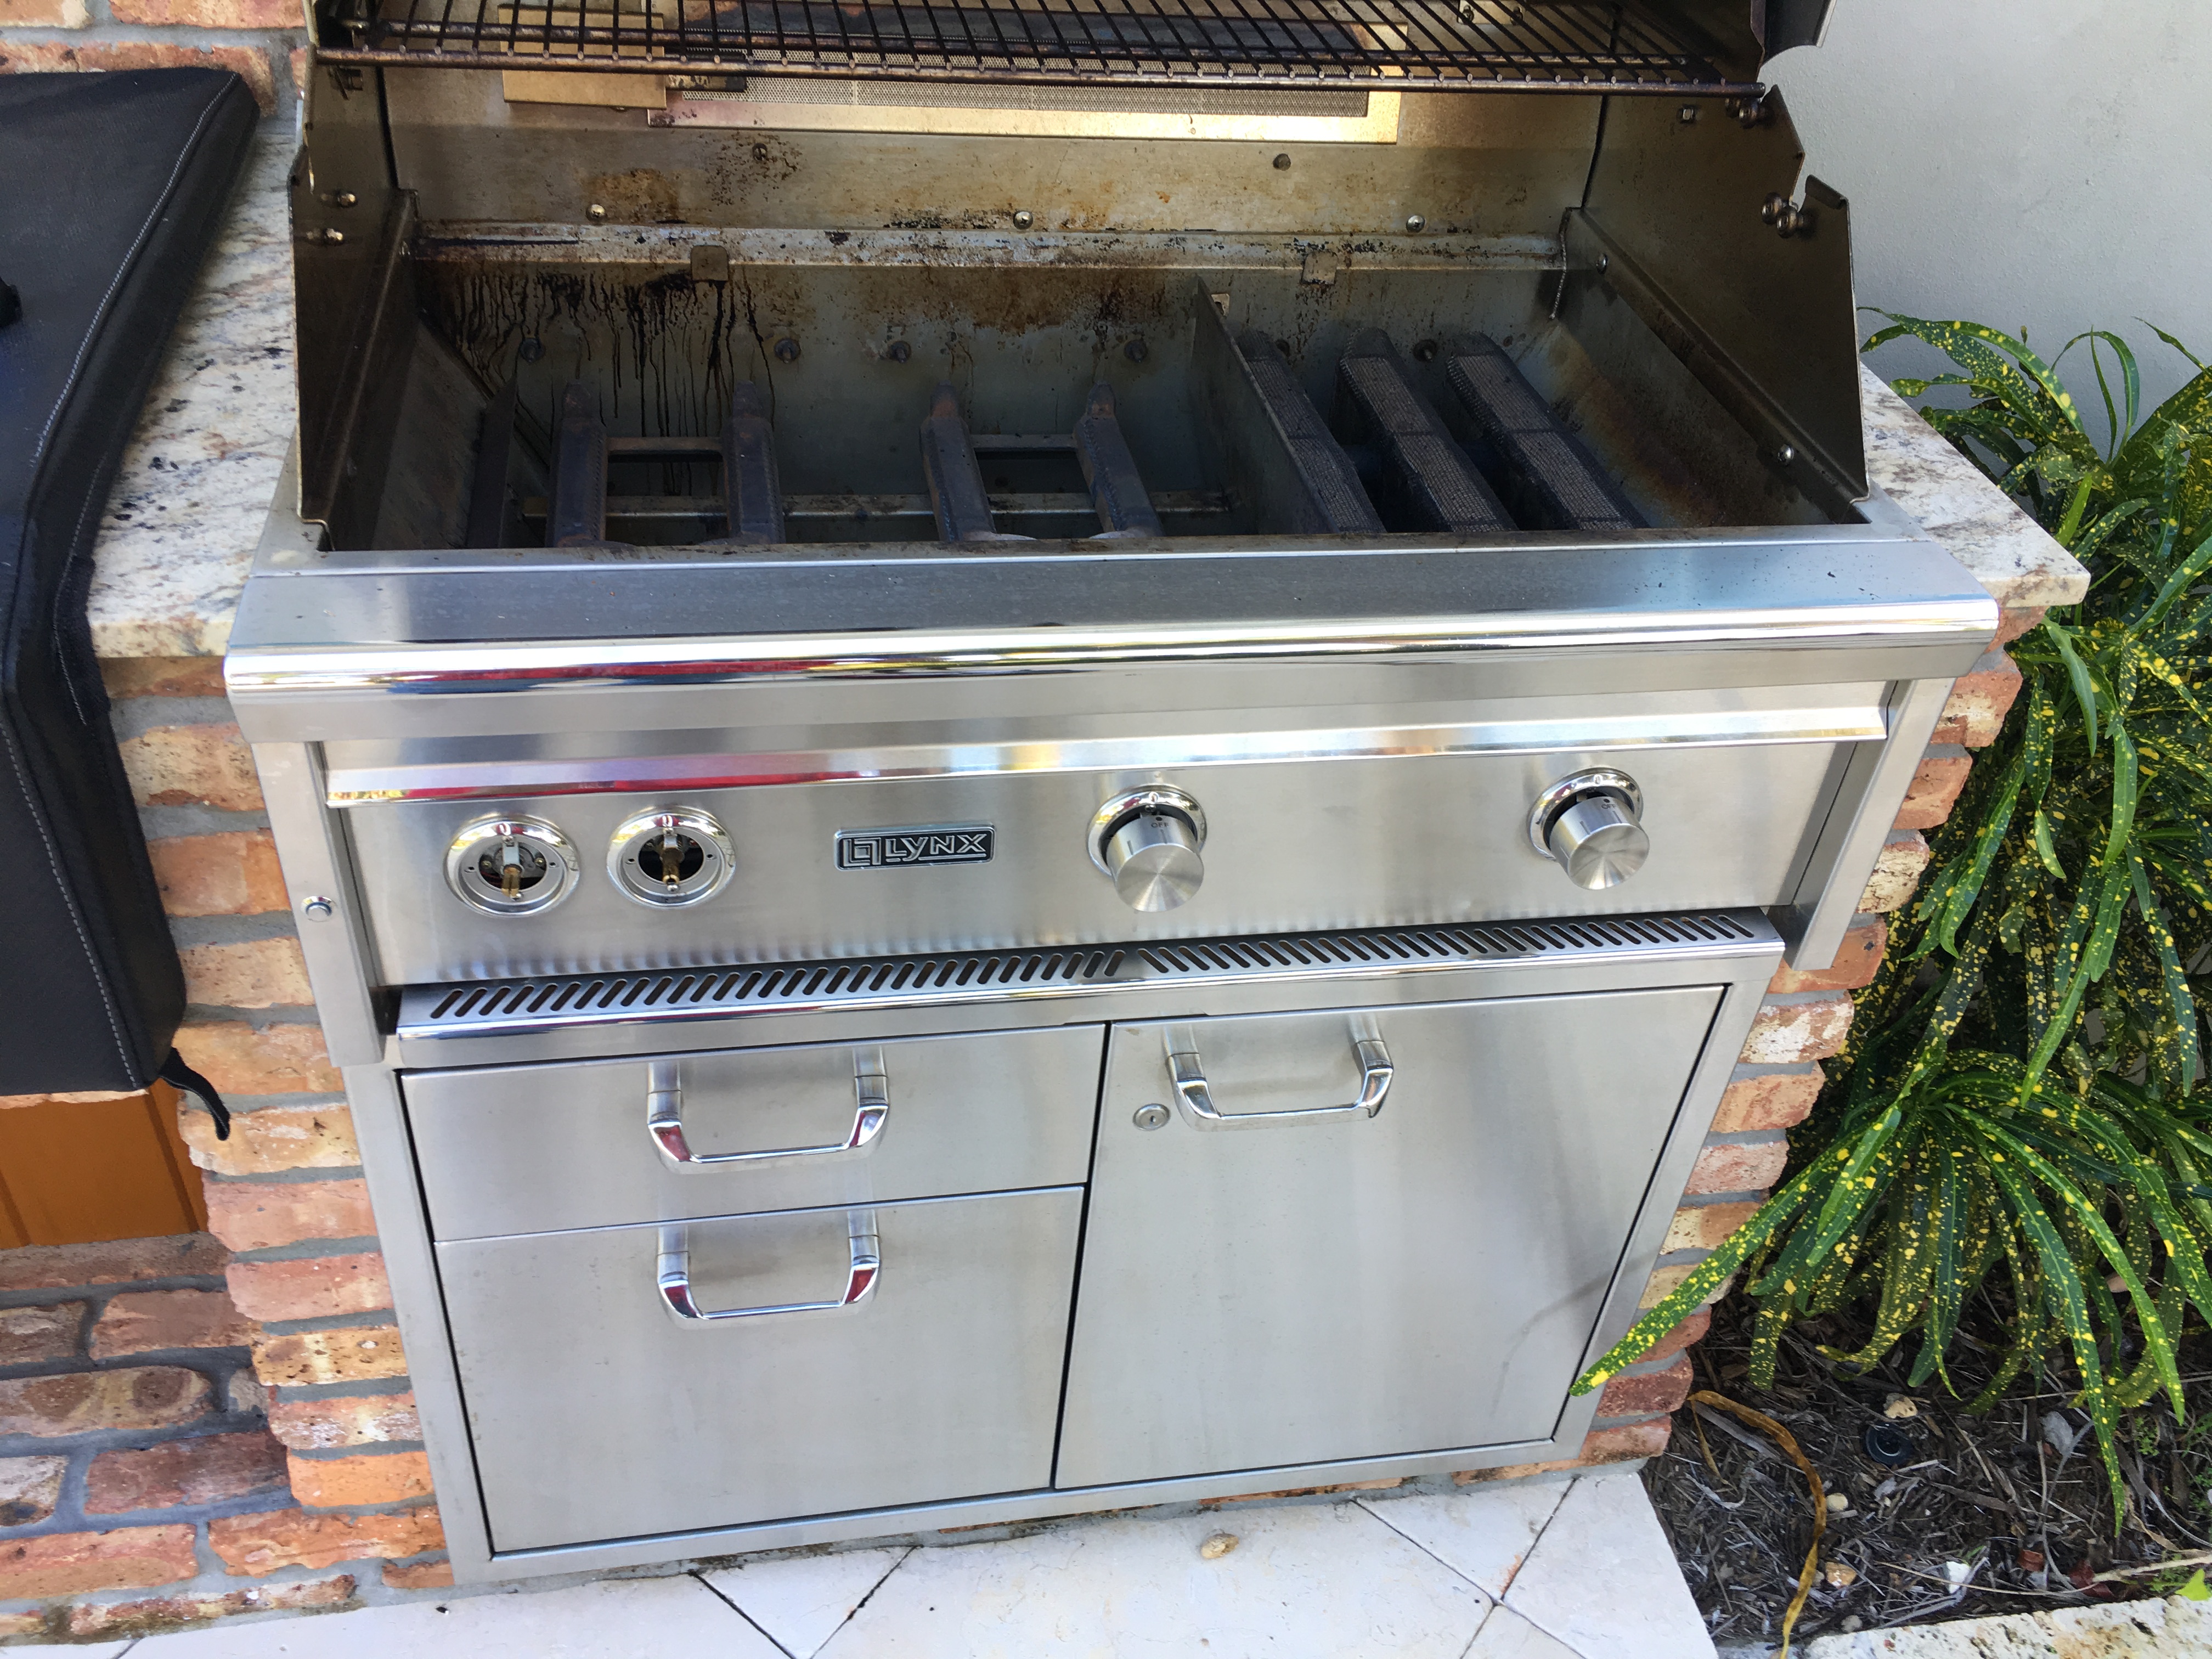
This Lynx Grill is a Q series 36" Grill with the new Prosear2 burner. All the valves on this grill come with the microswitch allowing for each burner to igniter from the control valve. On the Lynx Grills, your ignition is powered by electricity (or battery). If you find that your electrodes are not lighting, you will want to check your power supply. If you power supply is good, here are items you can troubleshoot : the transformer (on electrically powered units), microswitch or the electrode needs to be replaced.
Steps to replace a micro switch on a Lynx Grill
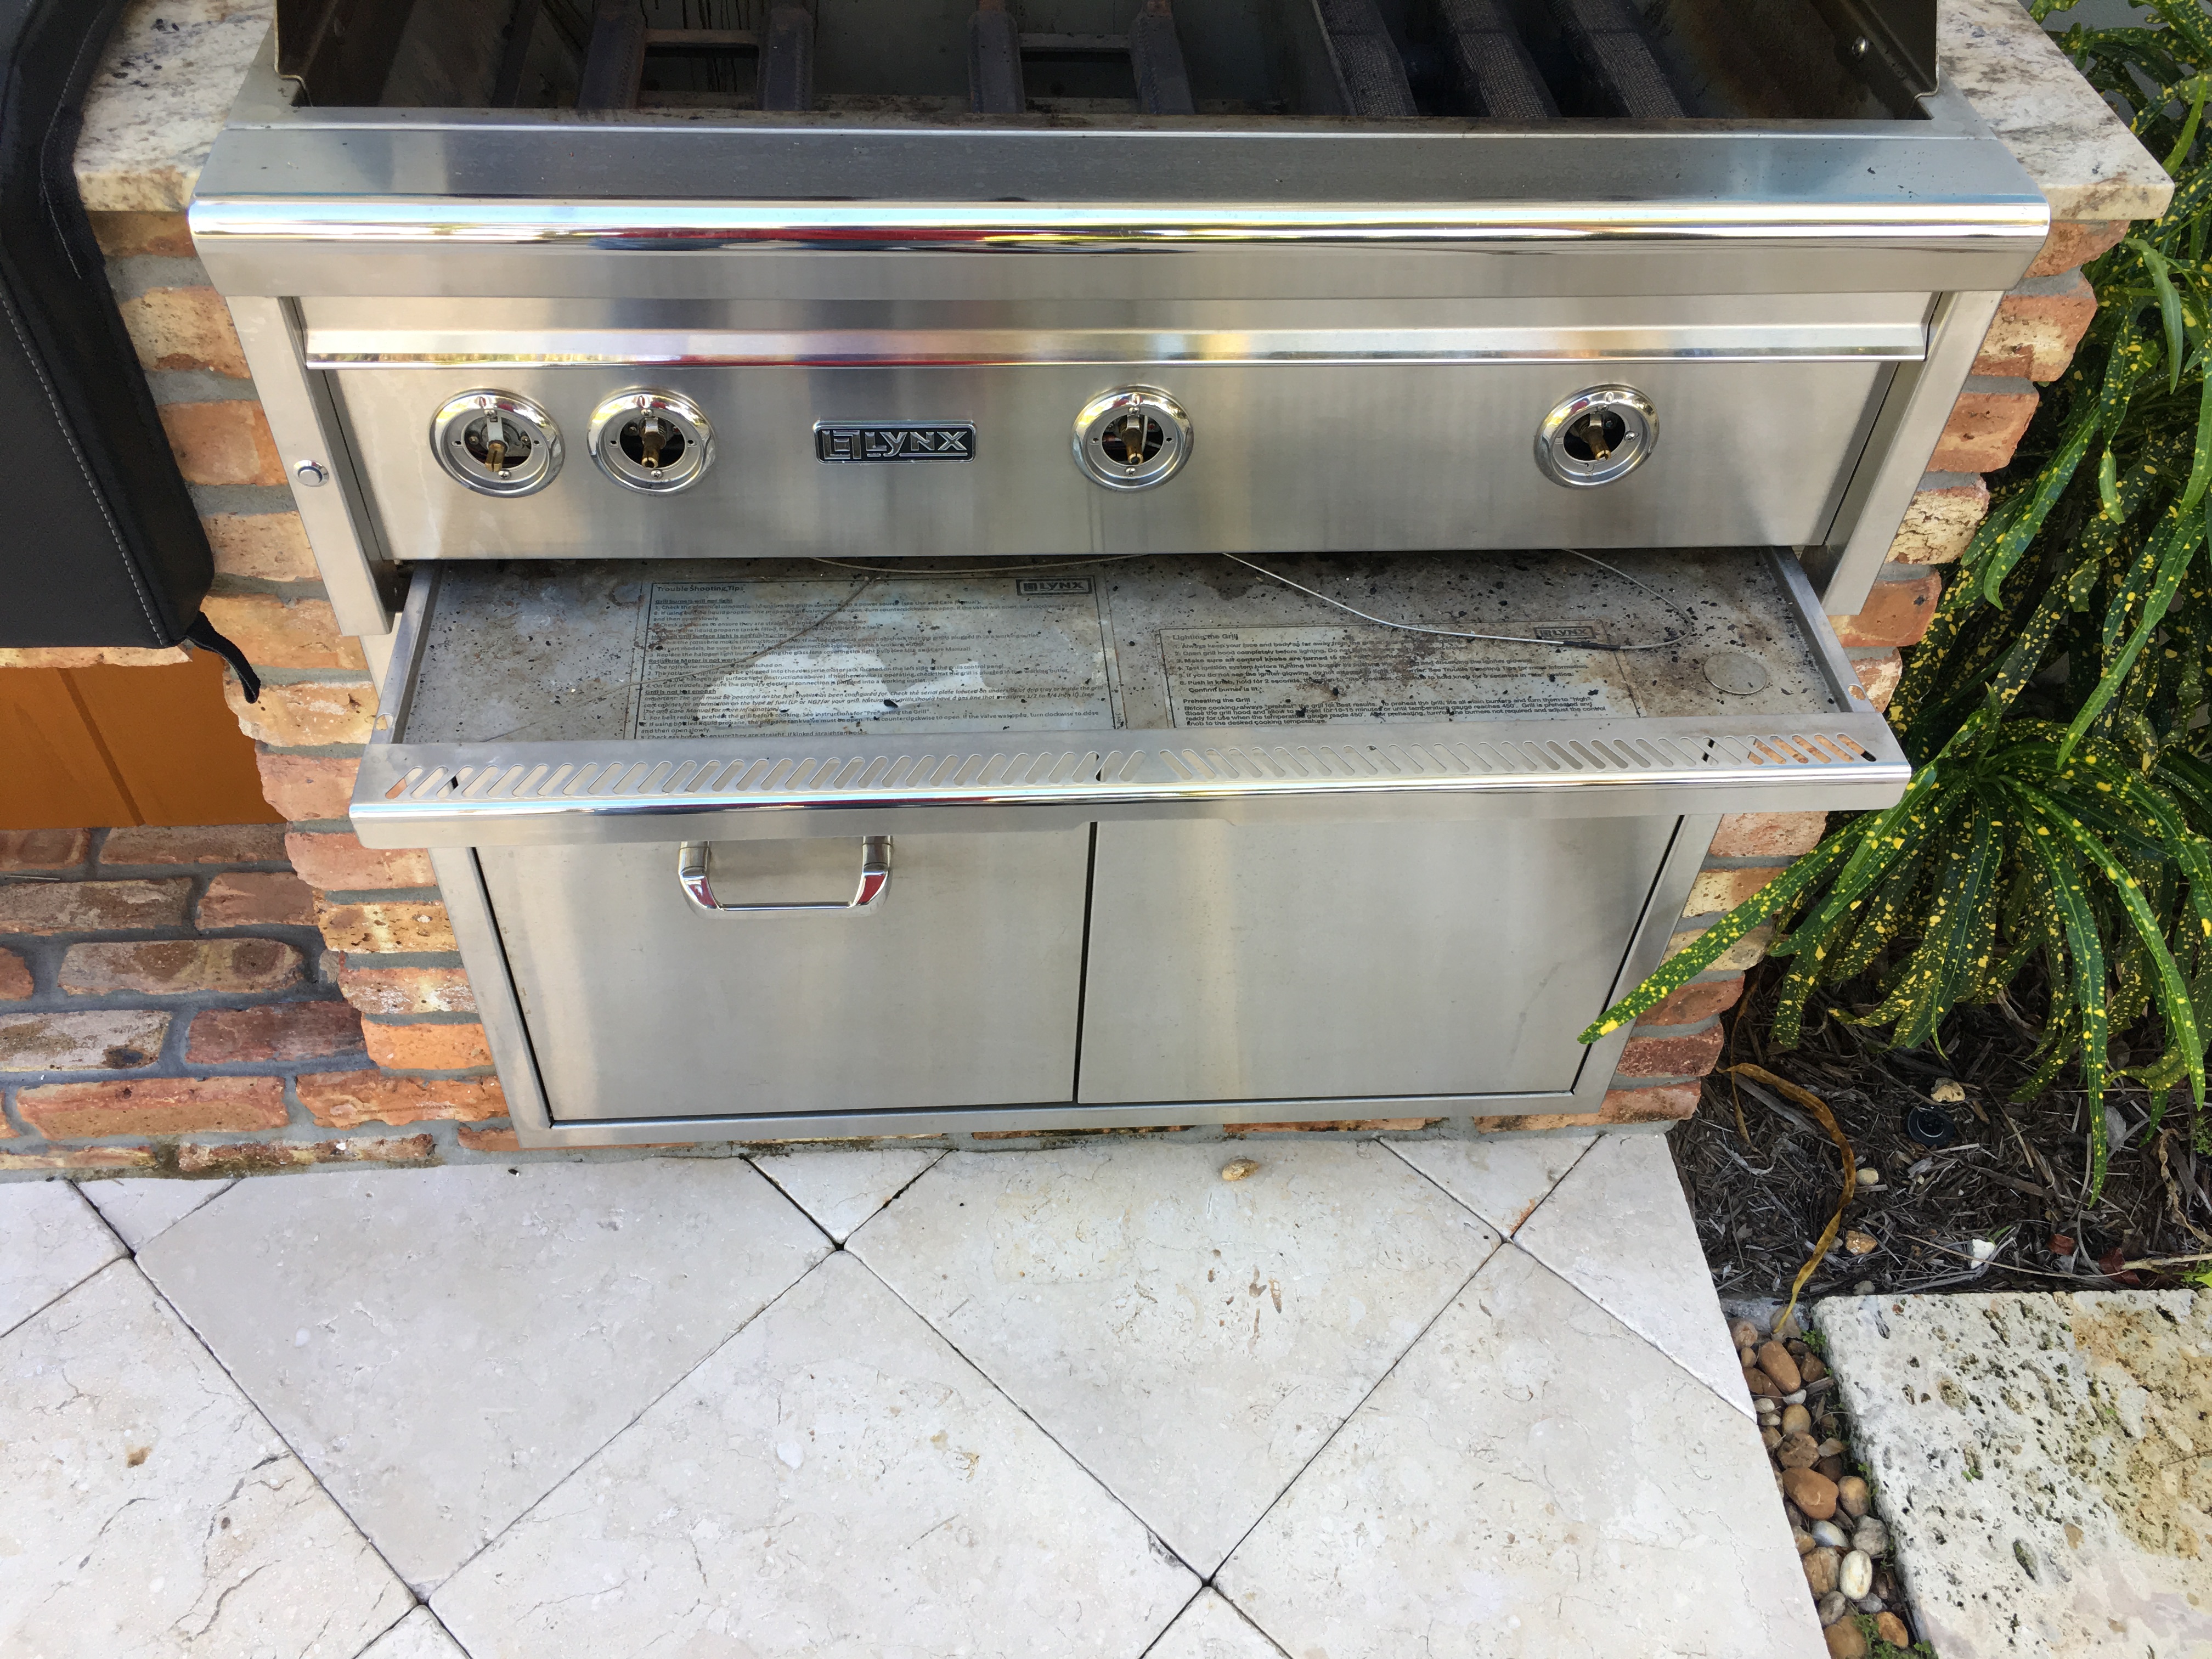
1. You will need to have access behind the control panel. Pull the drip tray out.
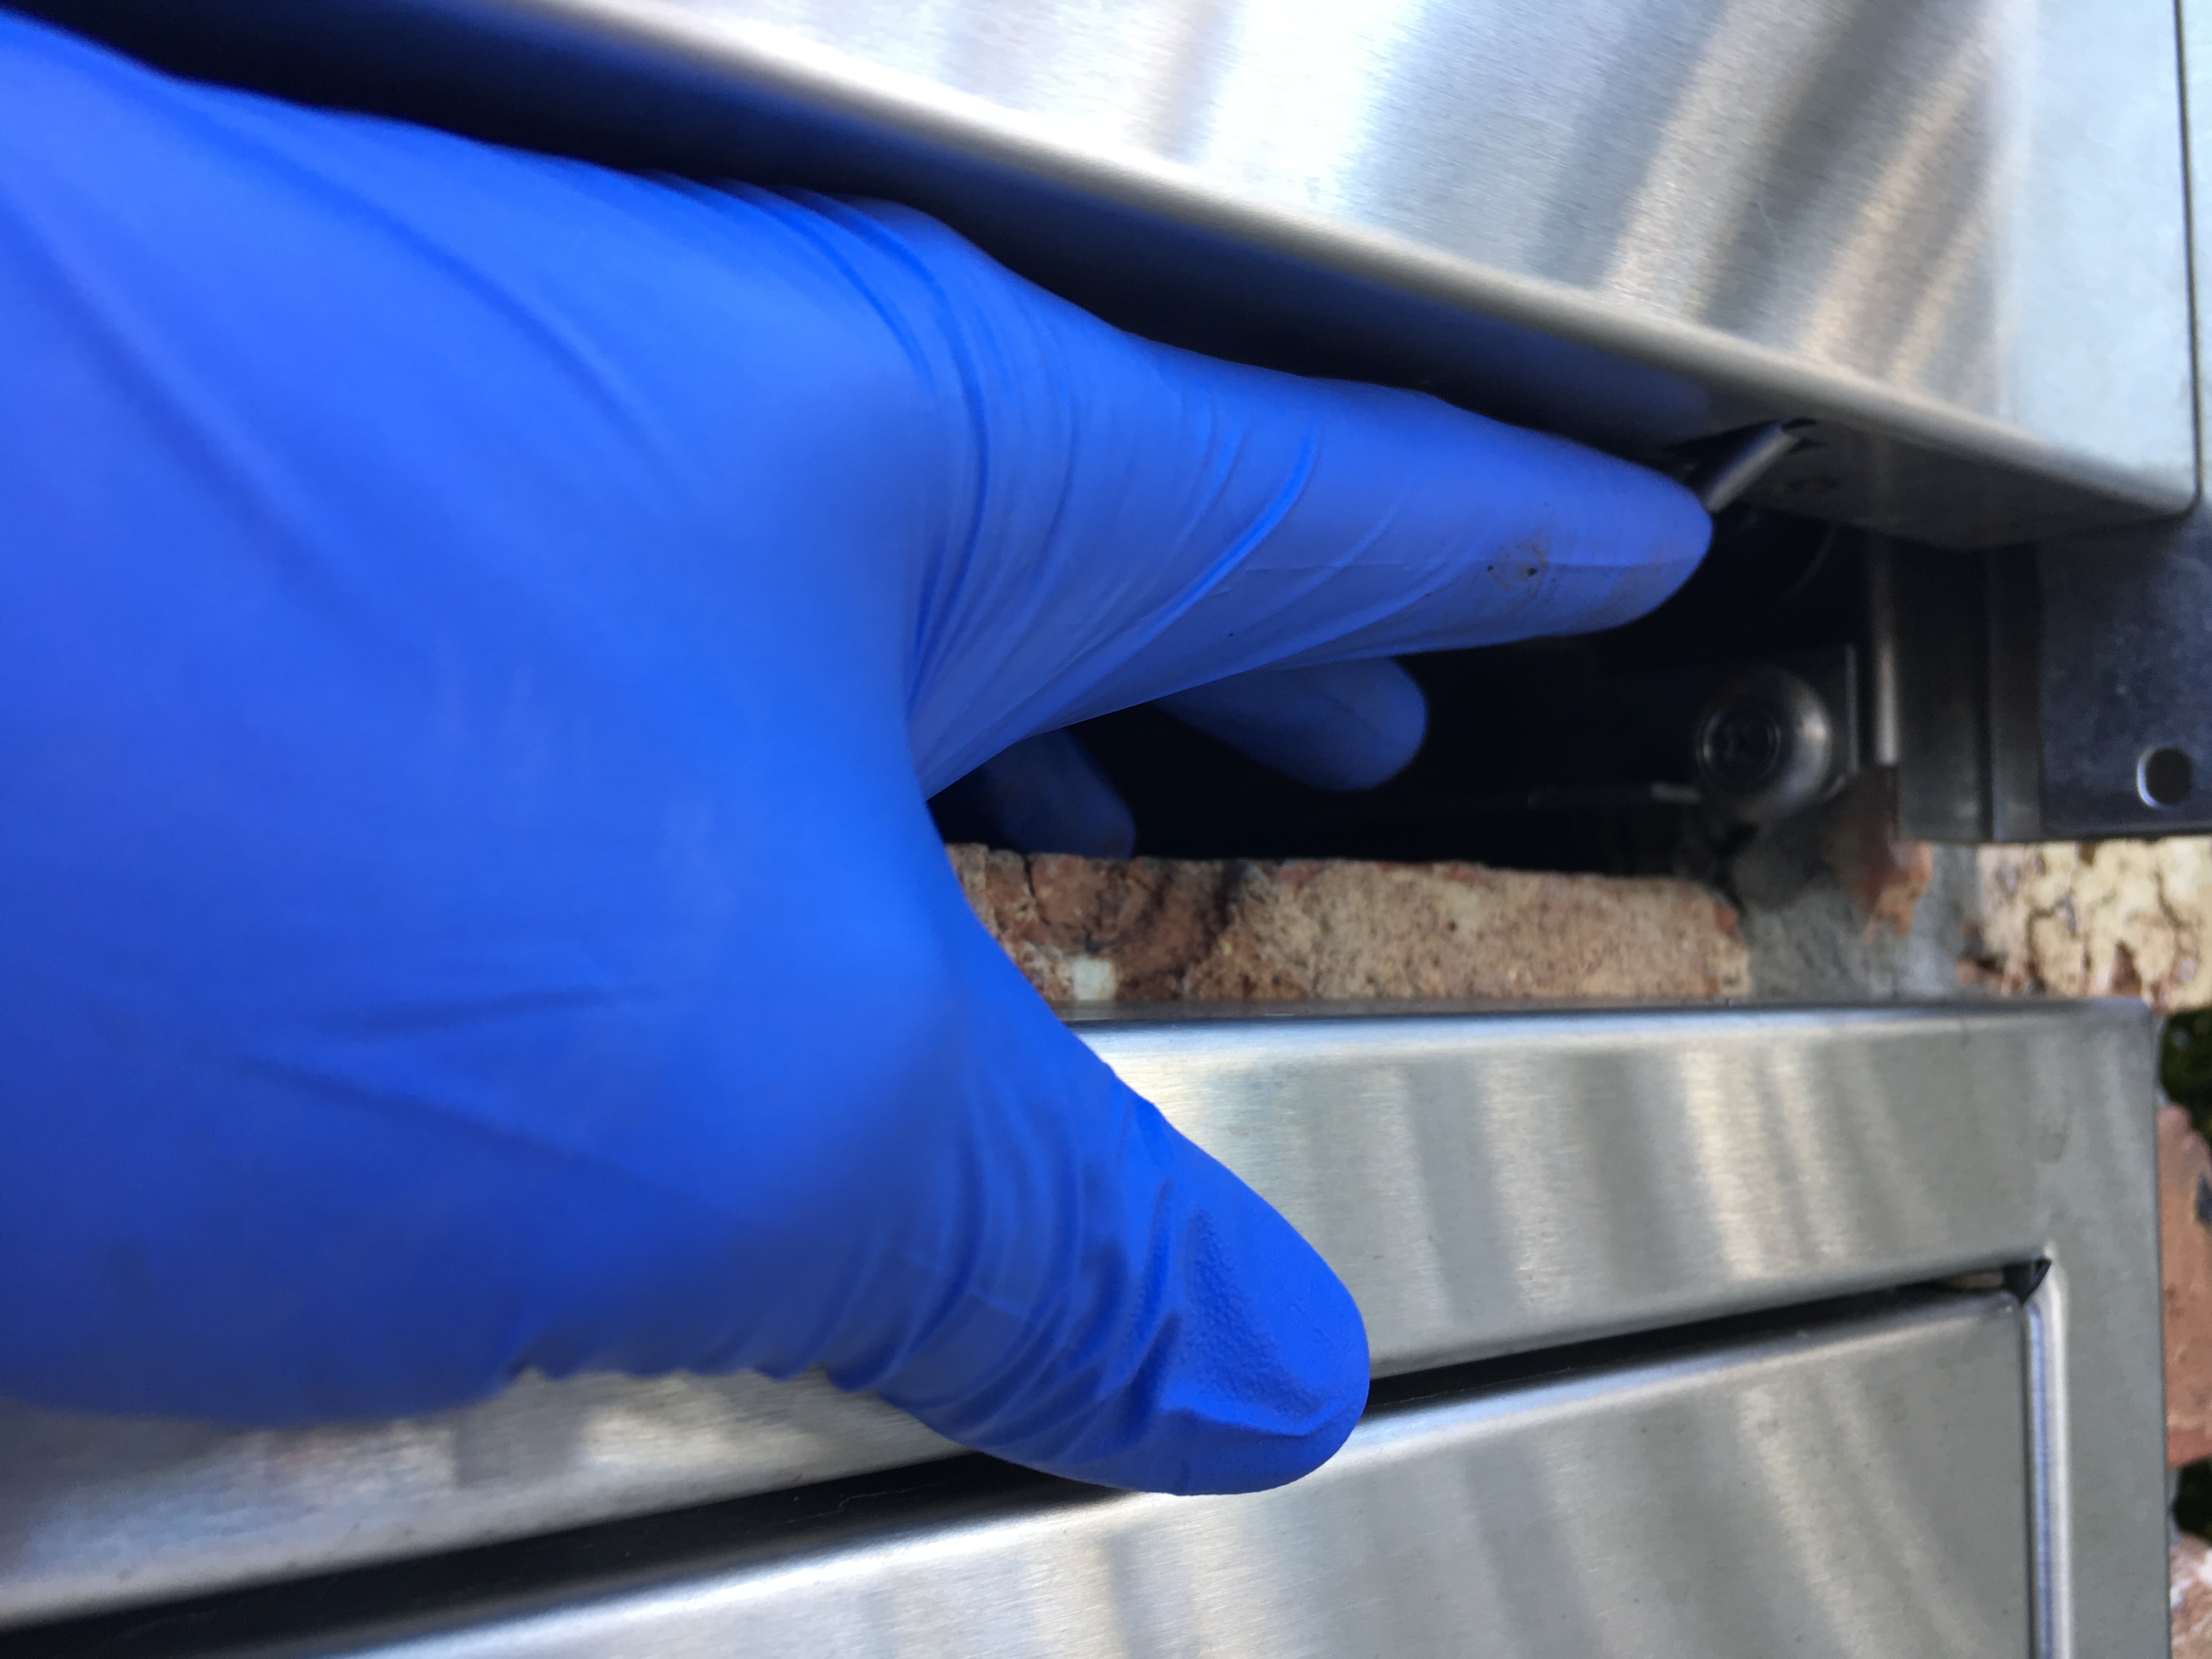
2. Feel underneath the control panel for two tabs on the left and right side and pull
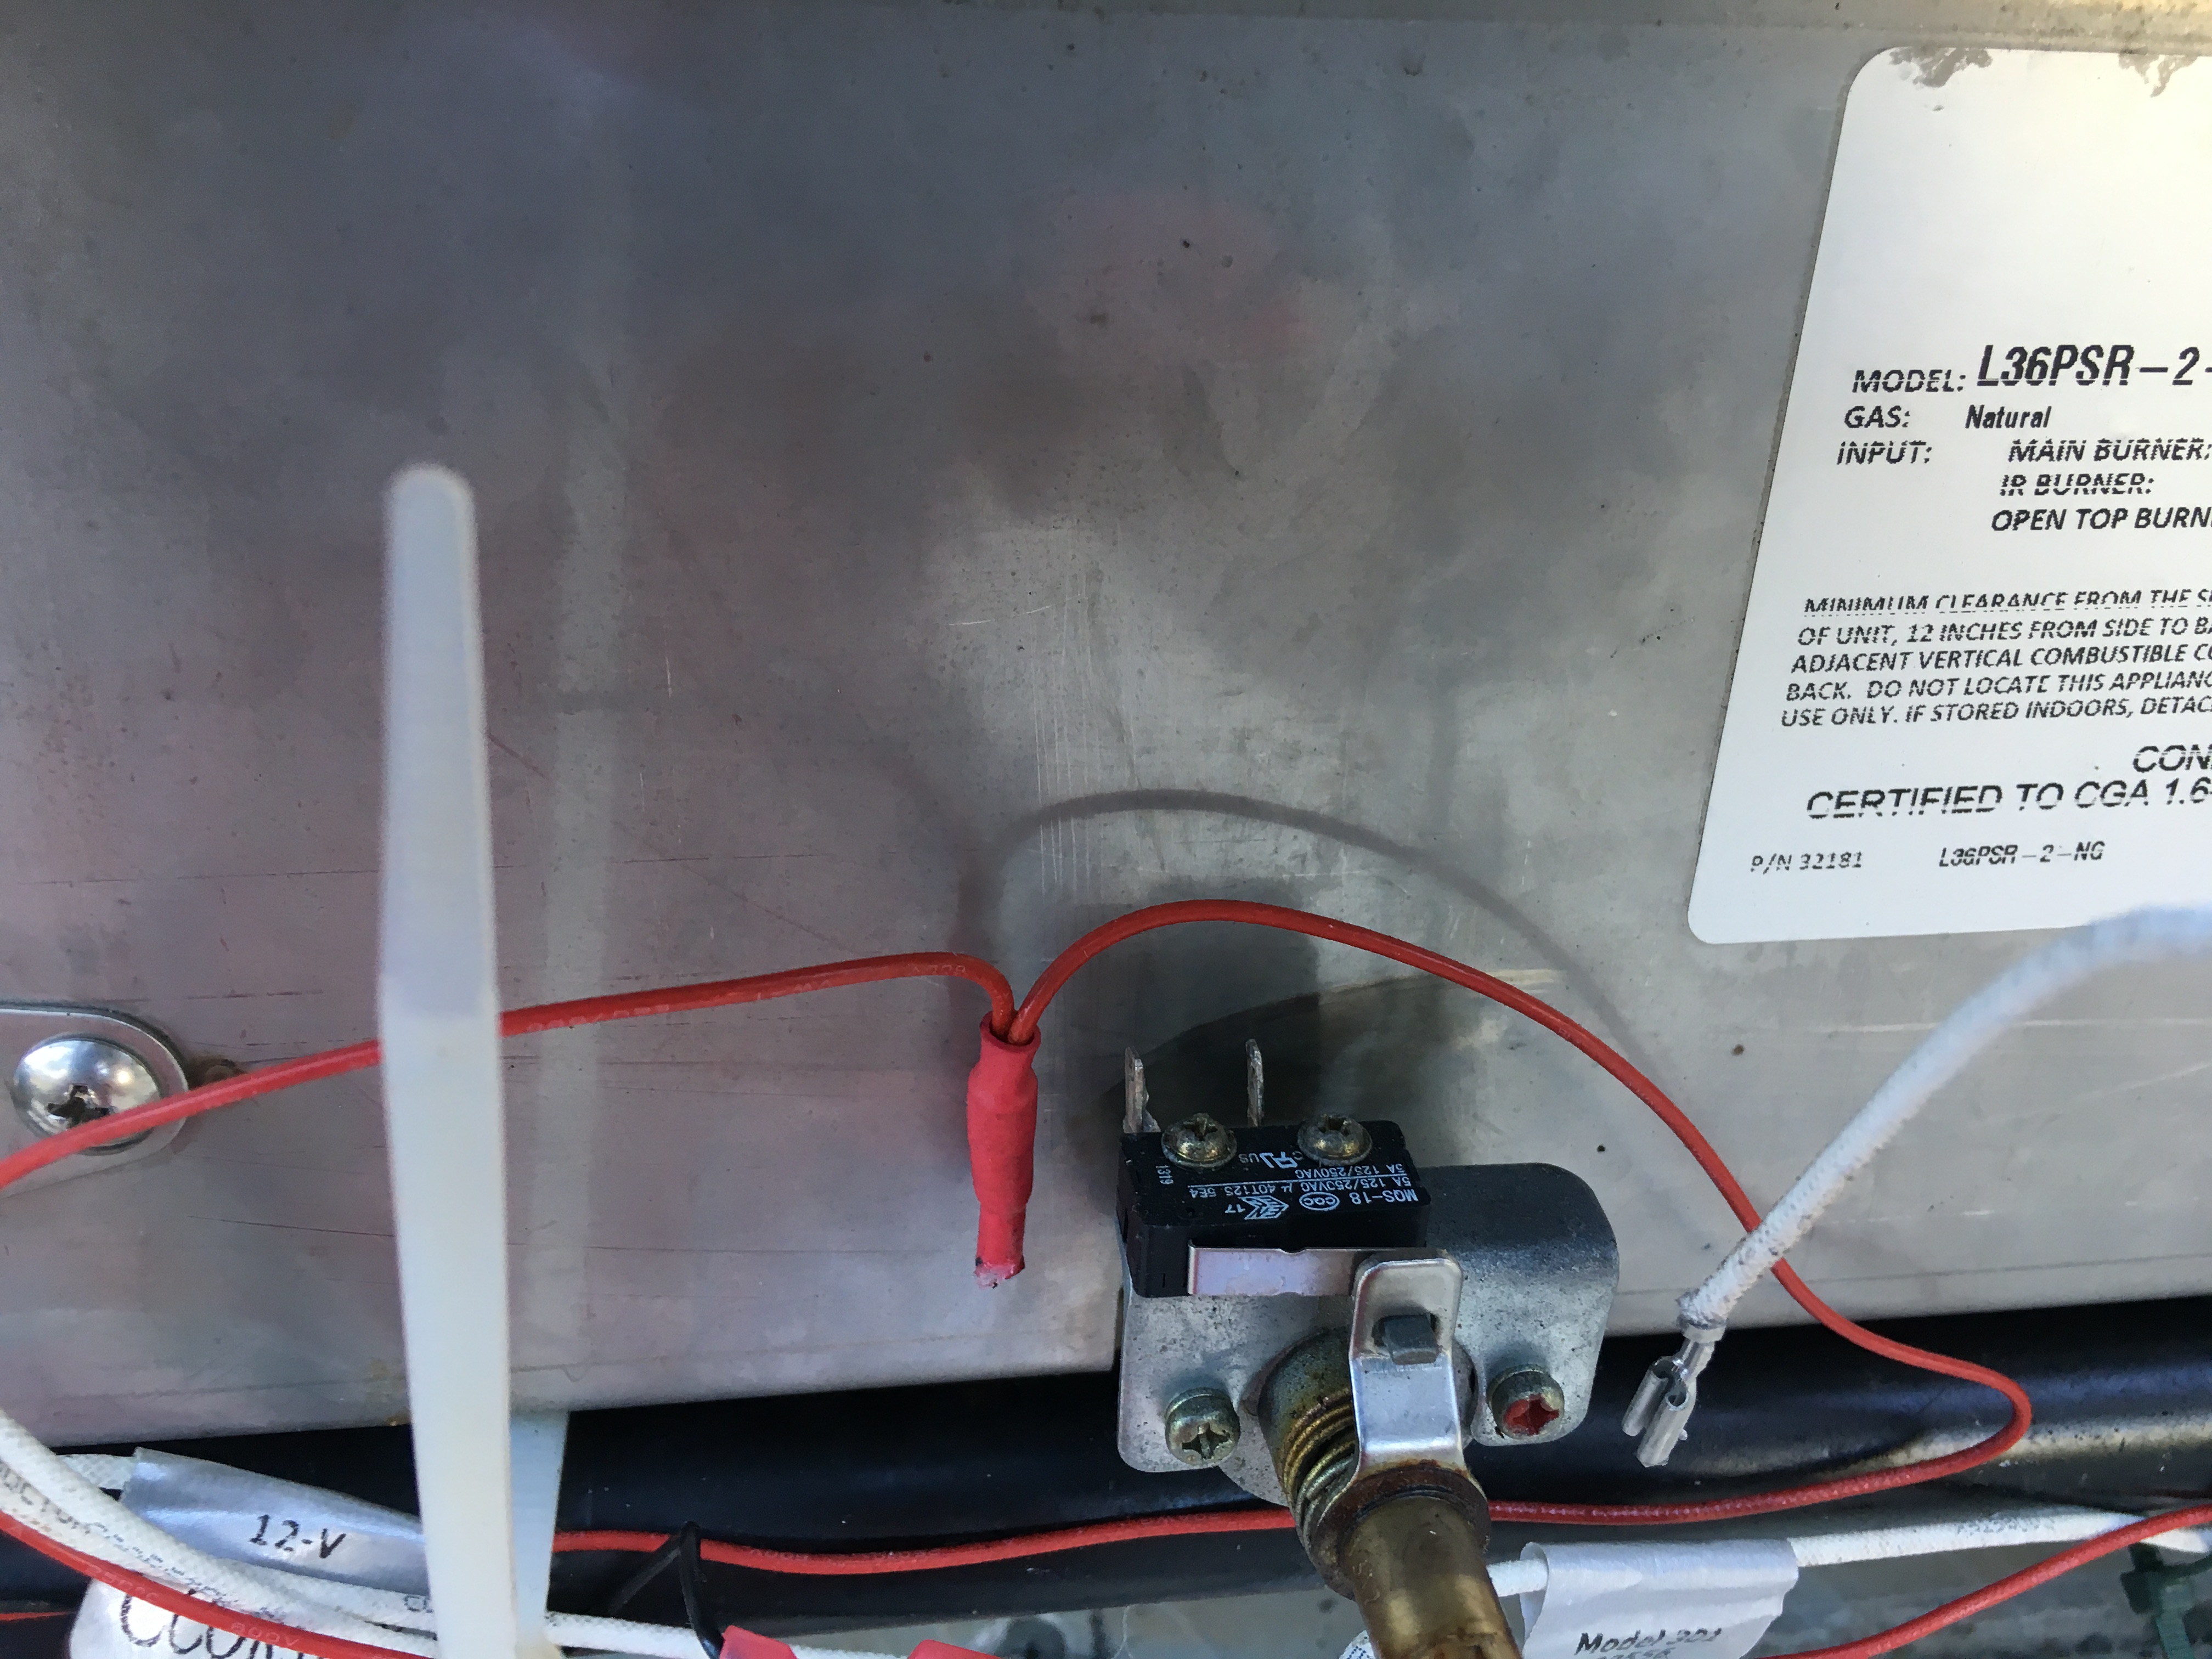
3. Lift the control panel off. Behind the control panel you will see your wire harness, ignition wires as well as your valves with microswitch
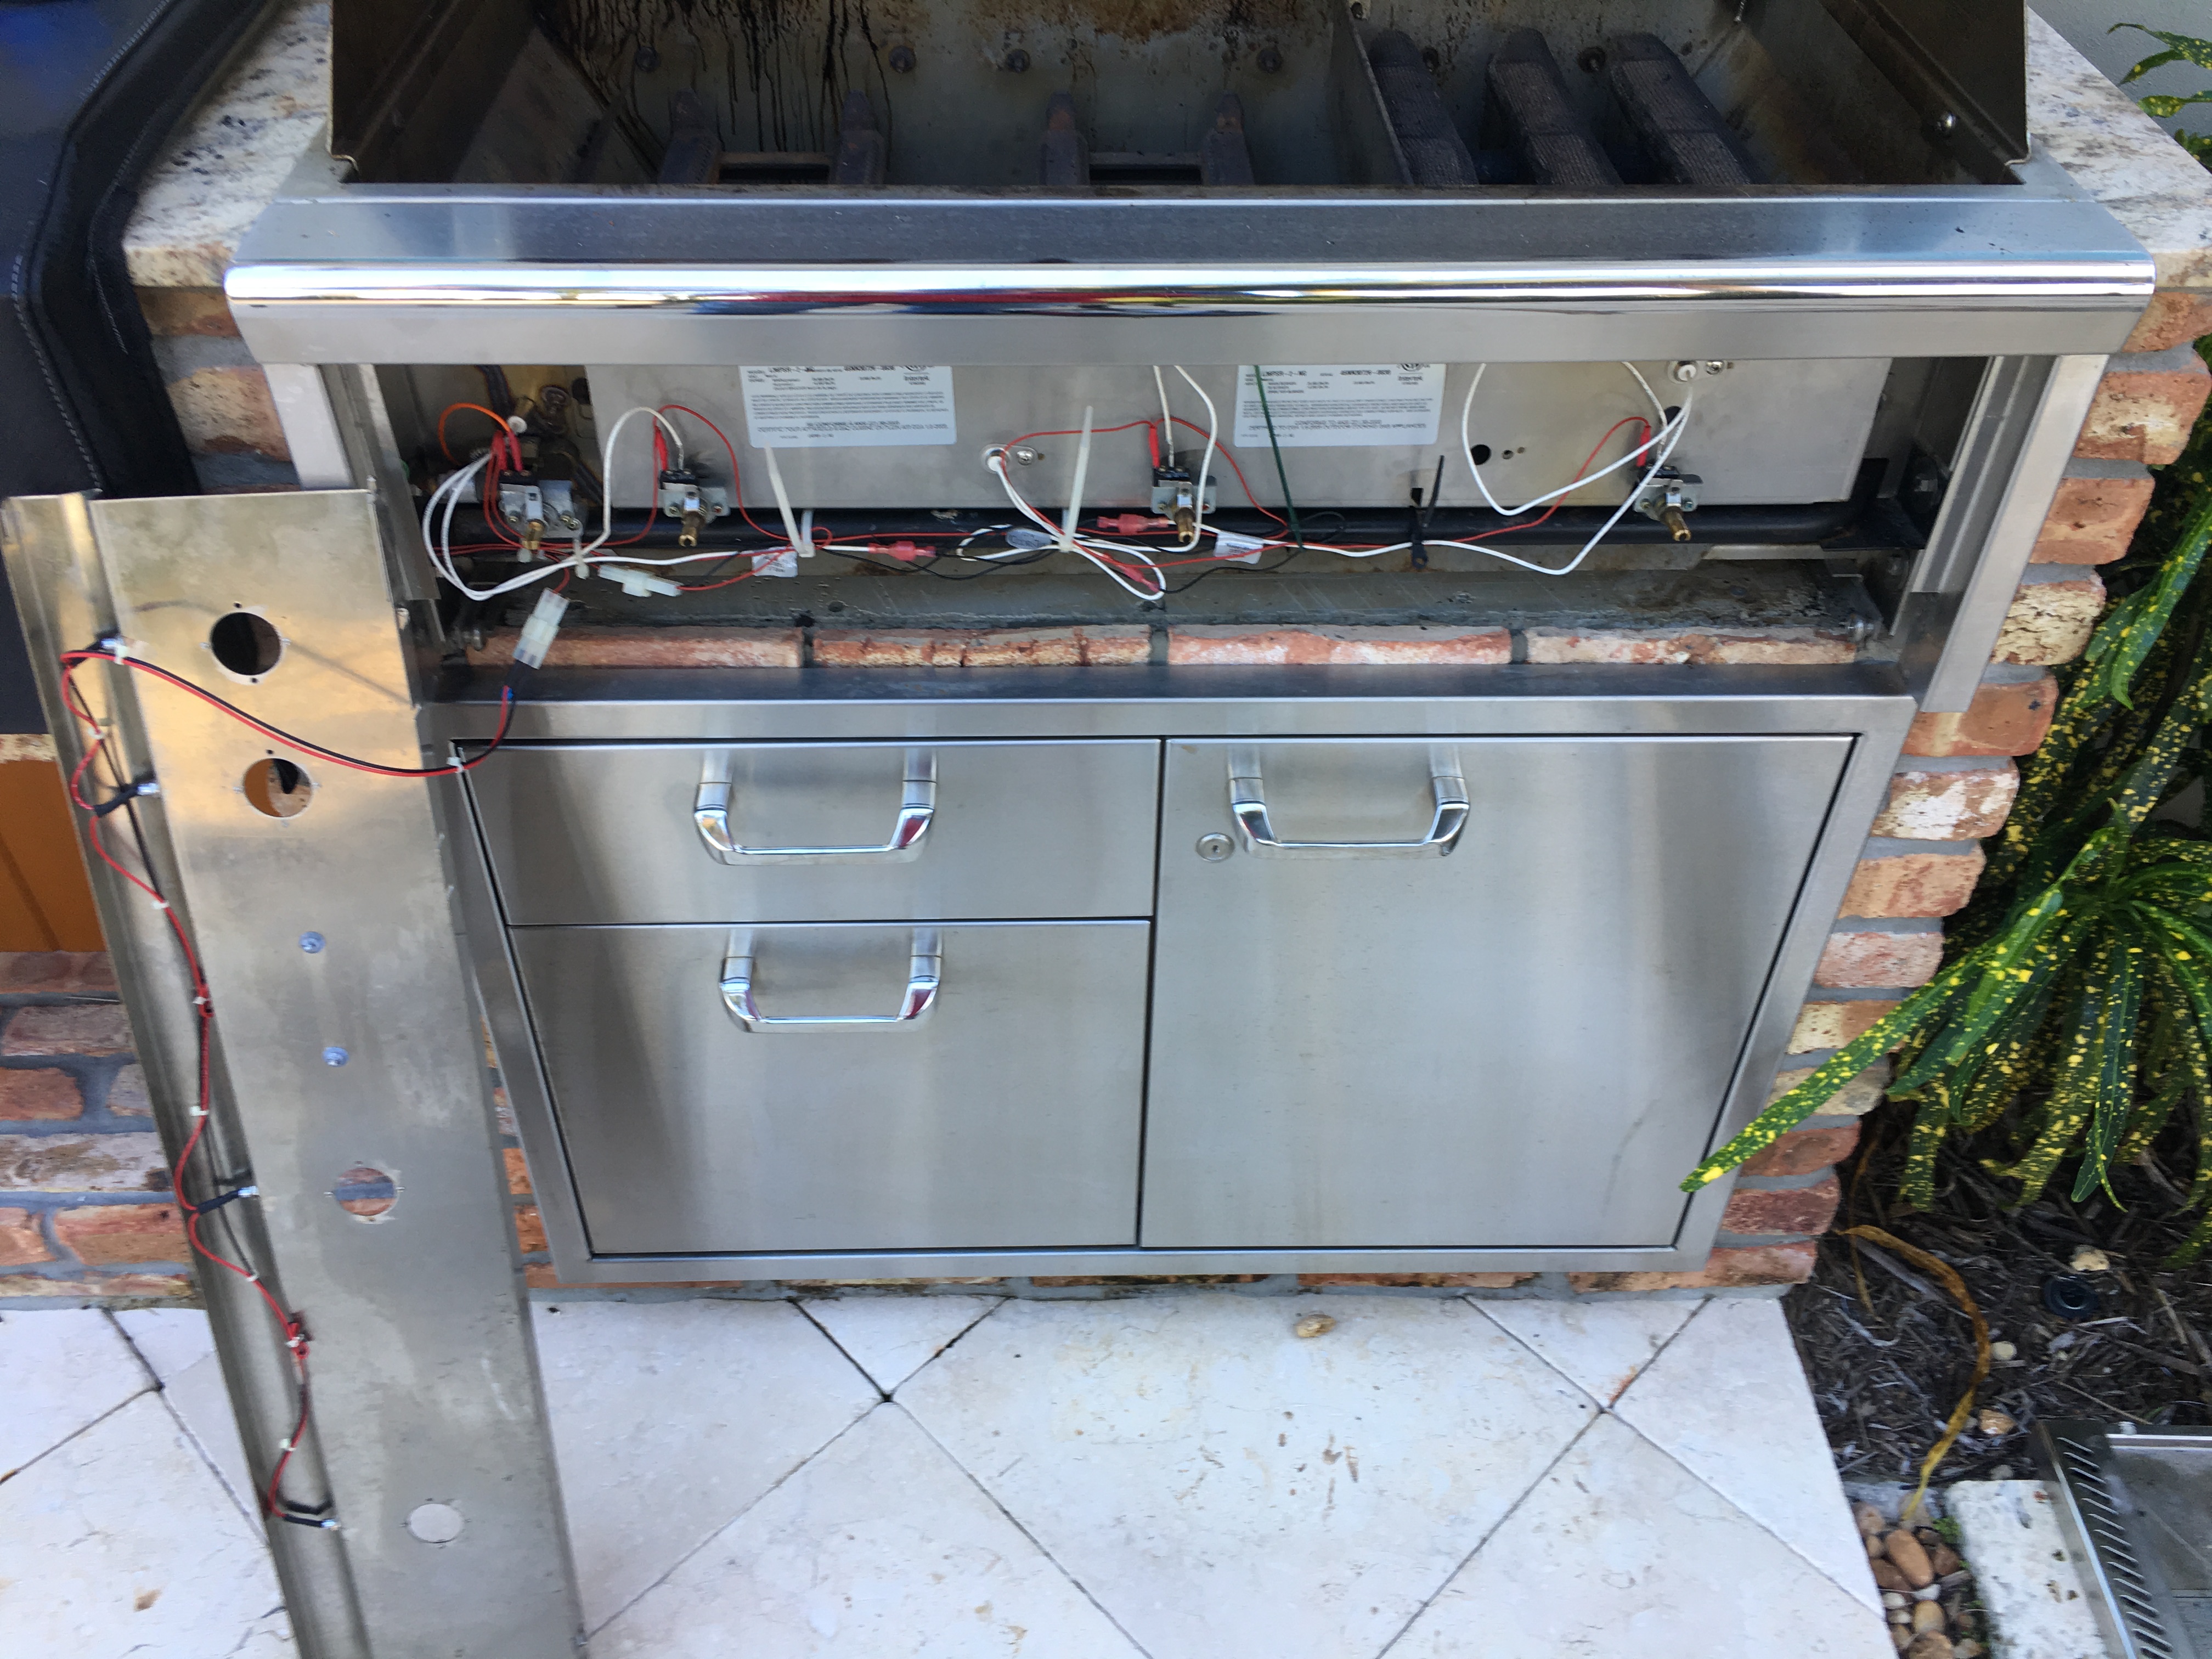
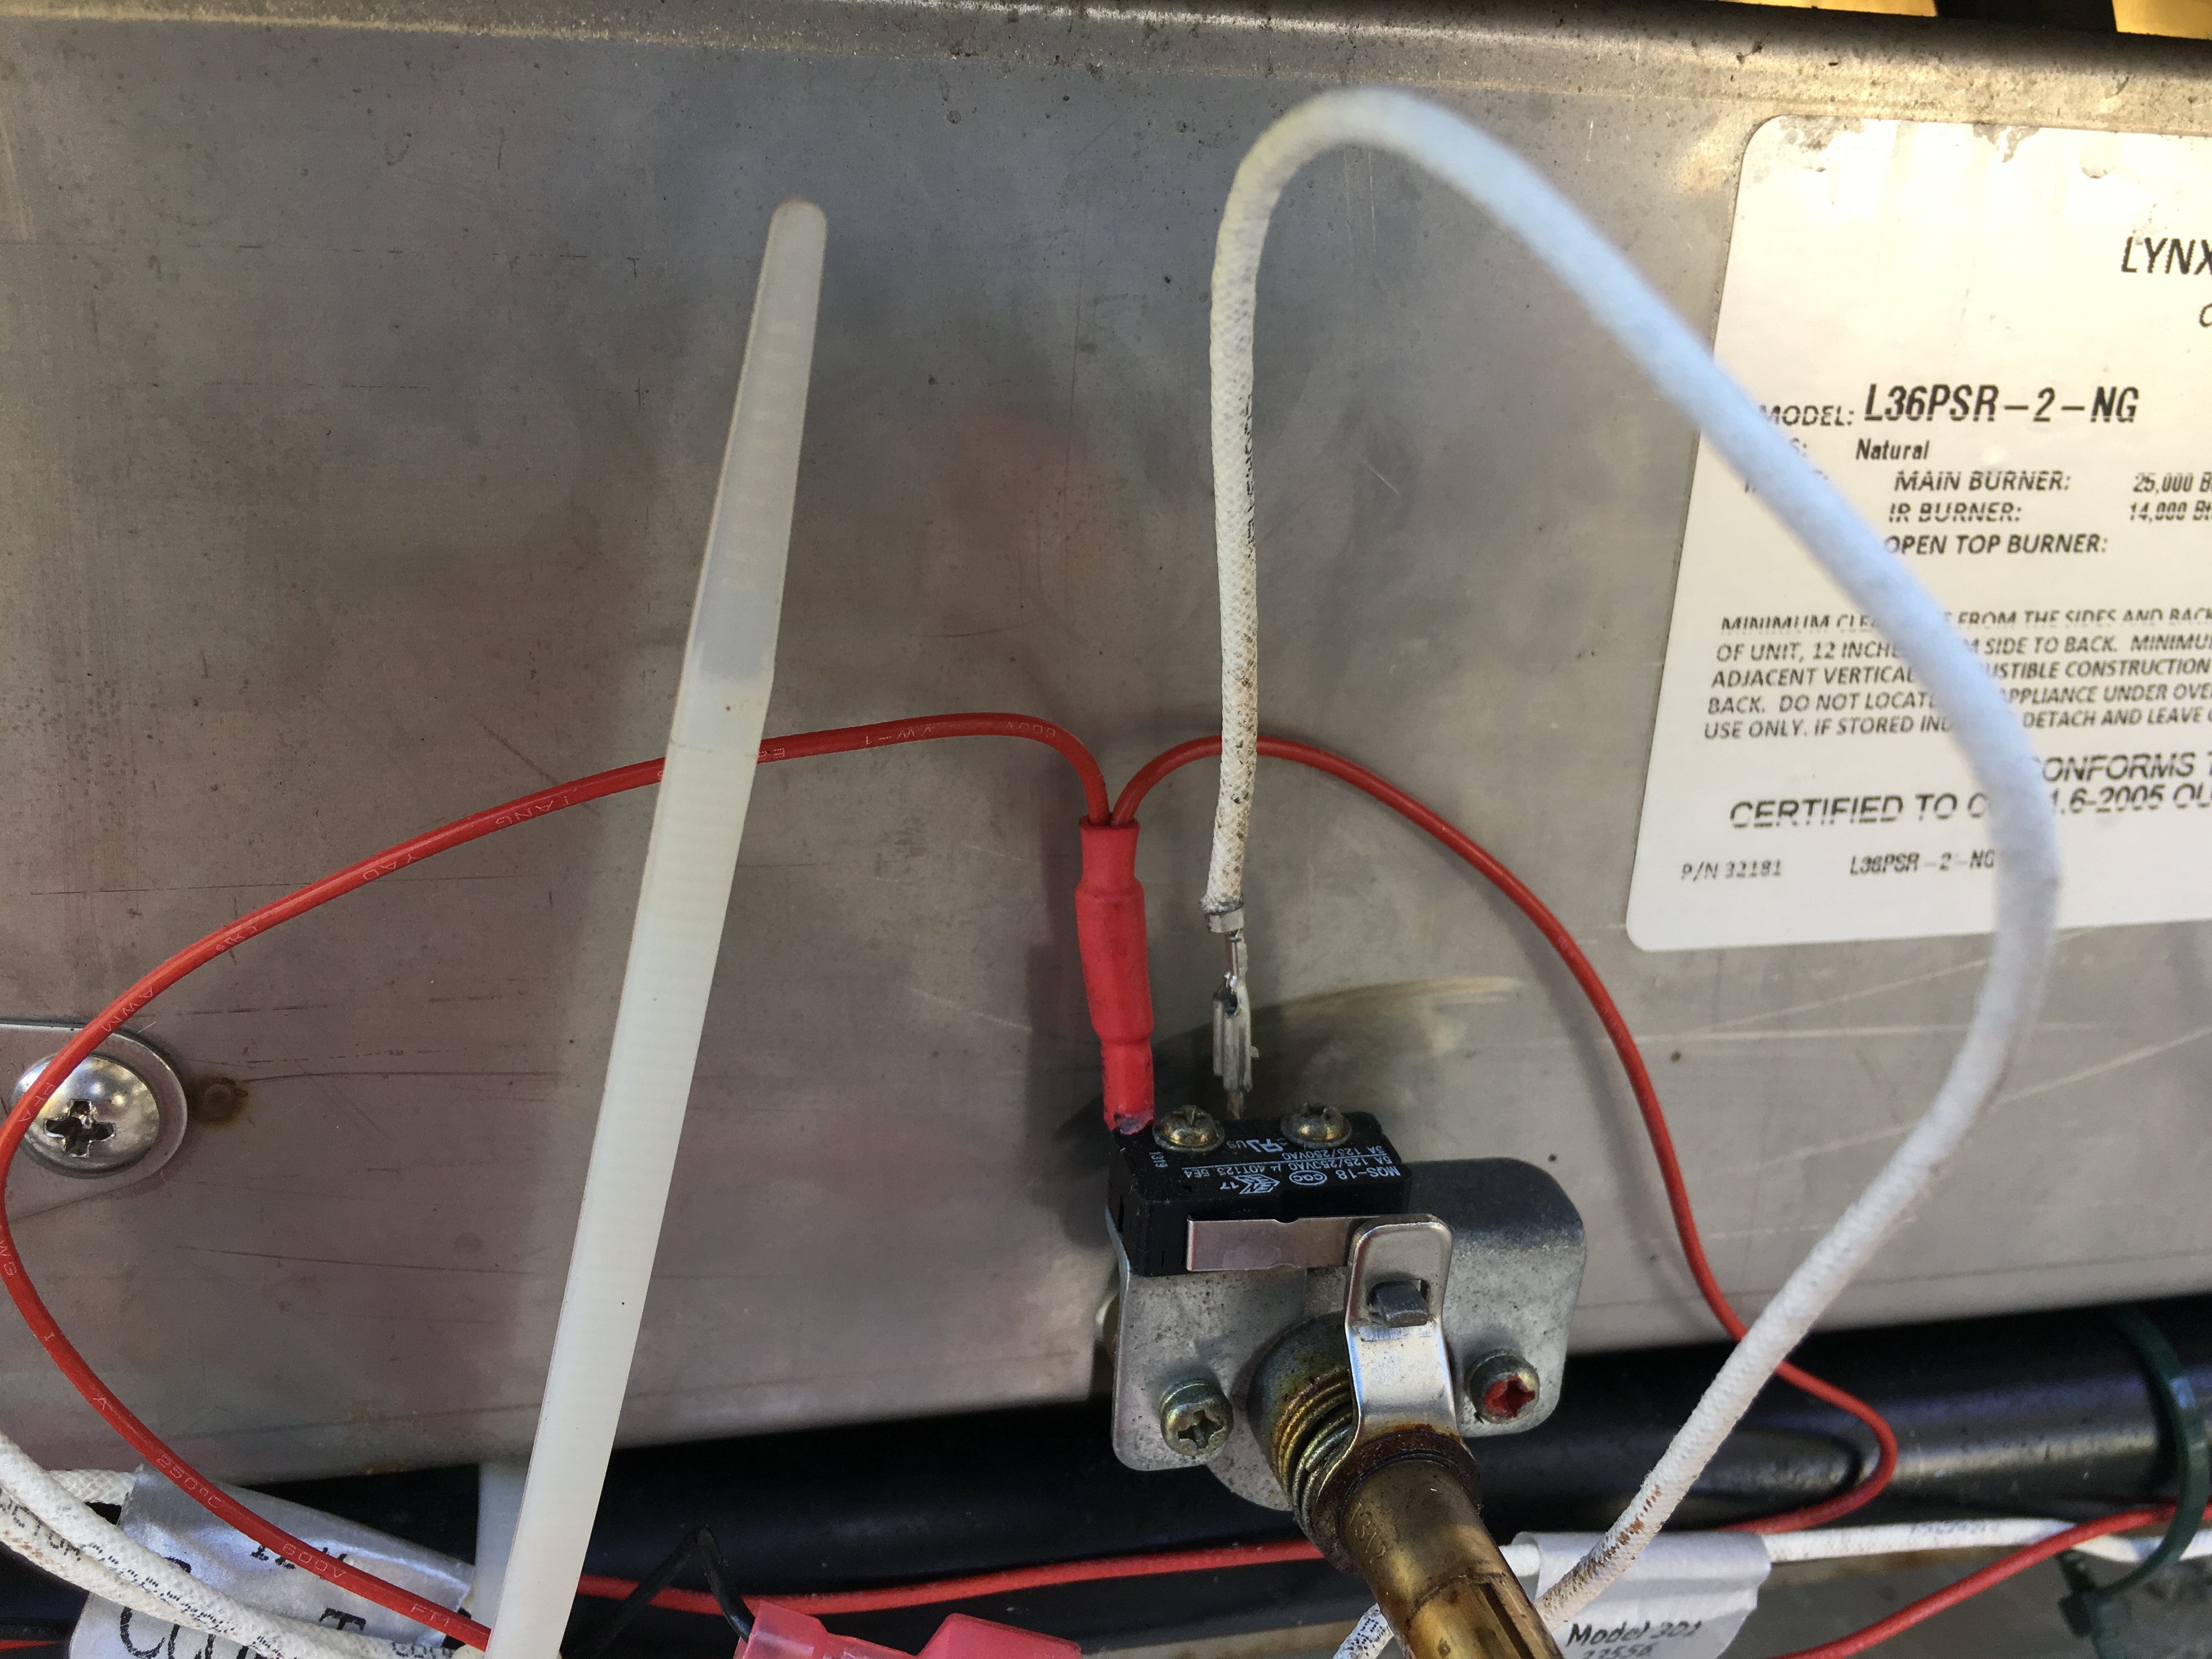
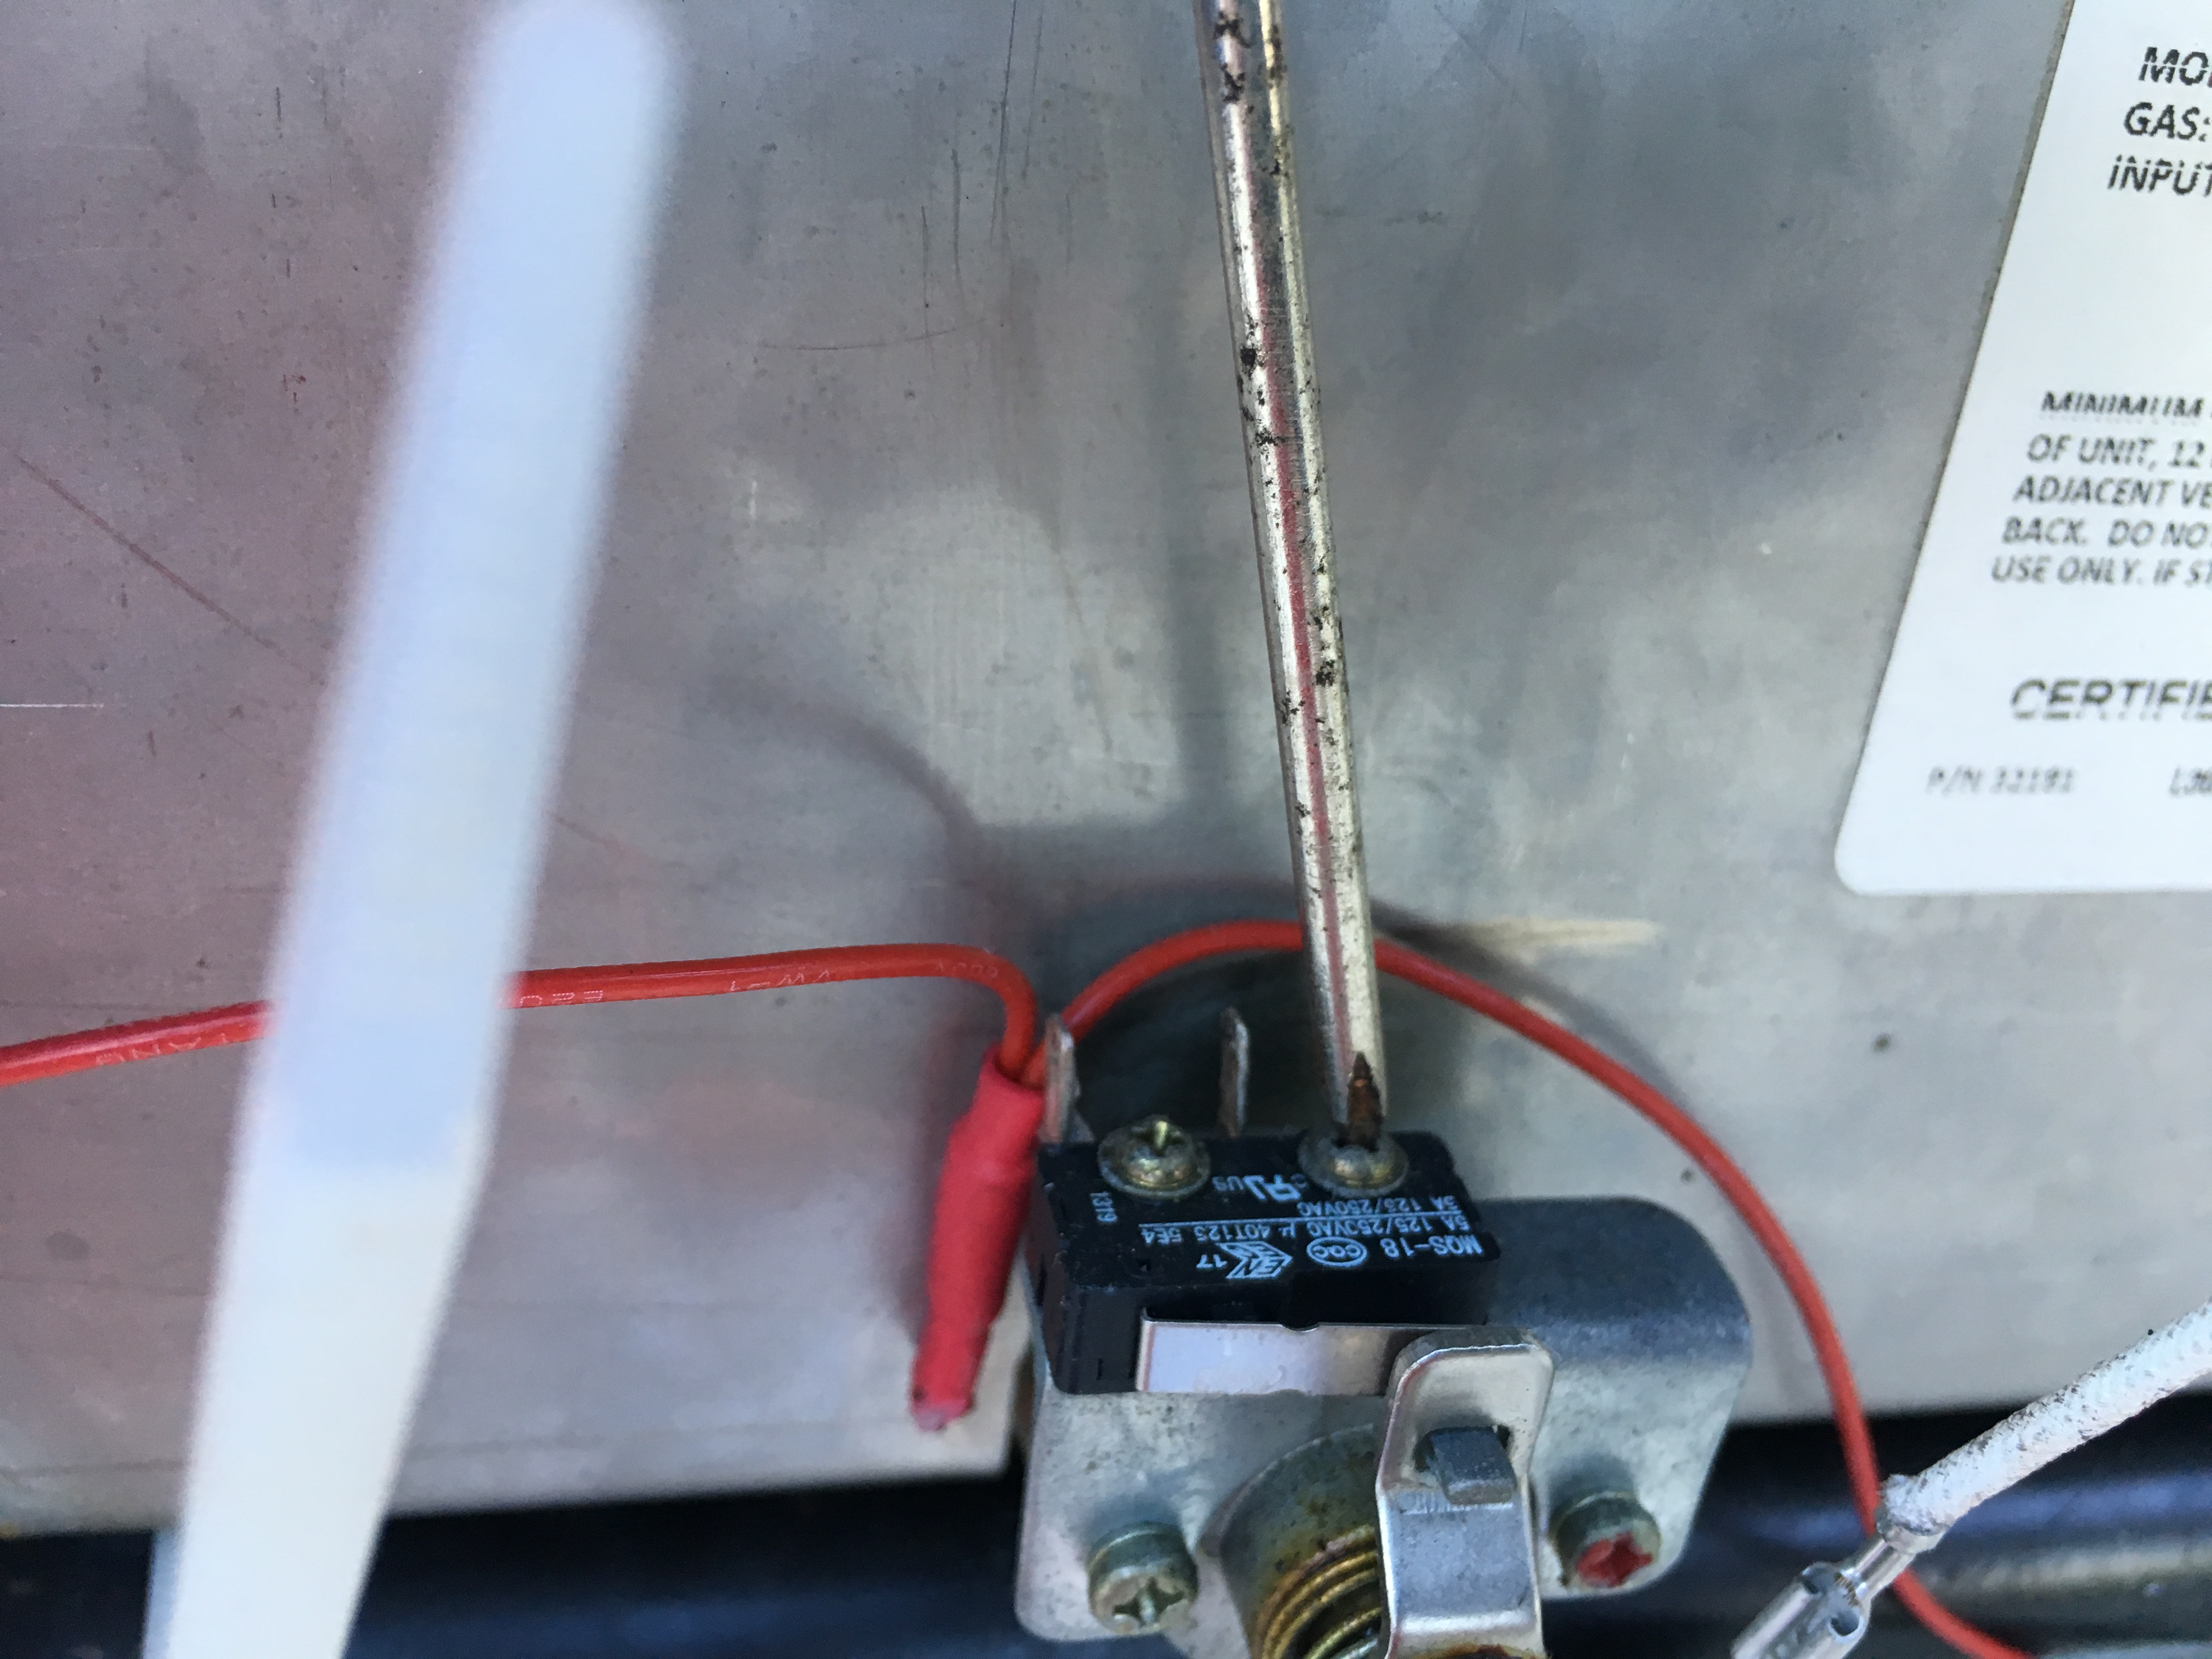
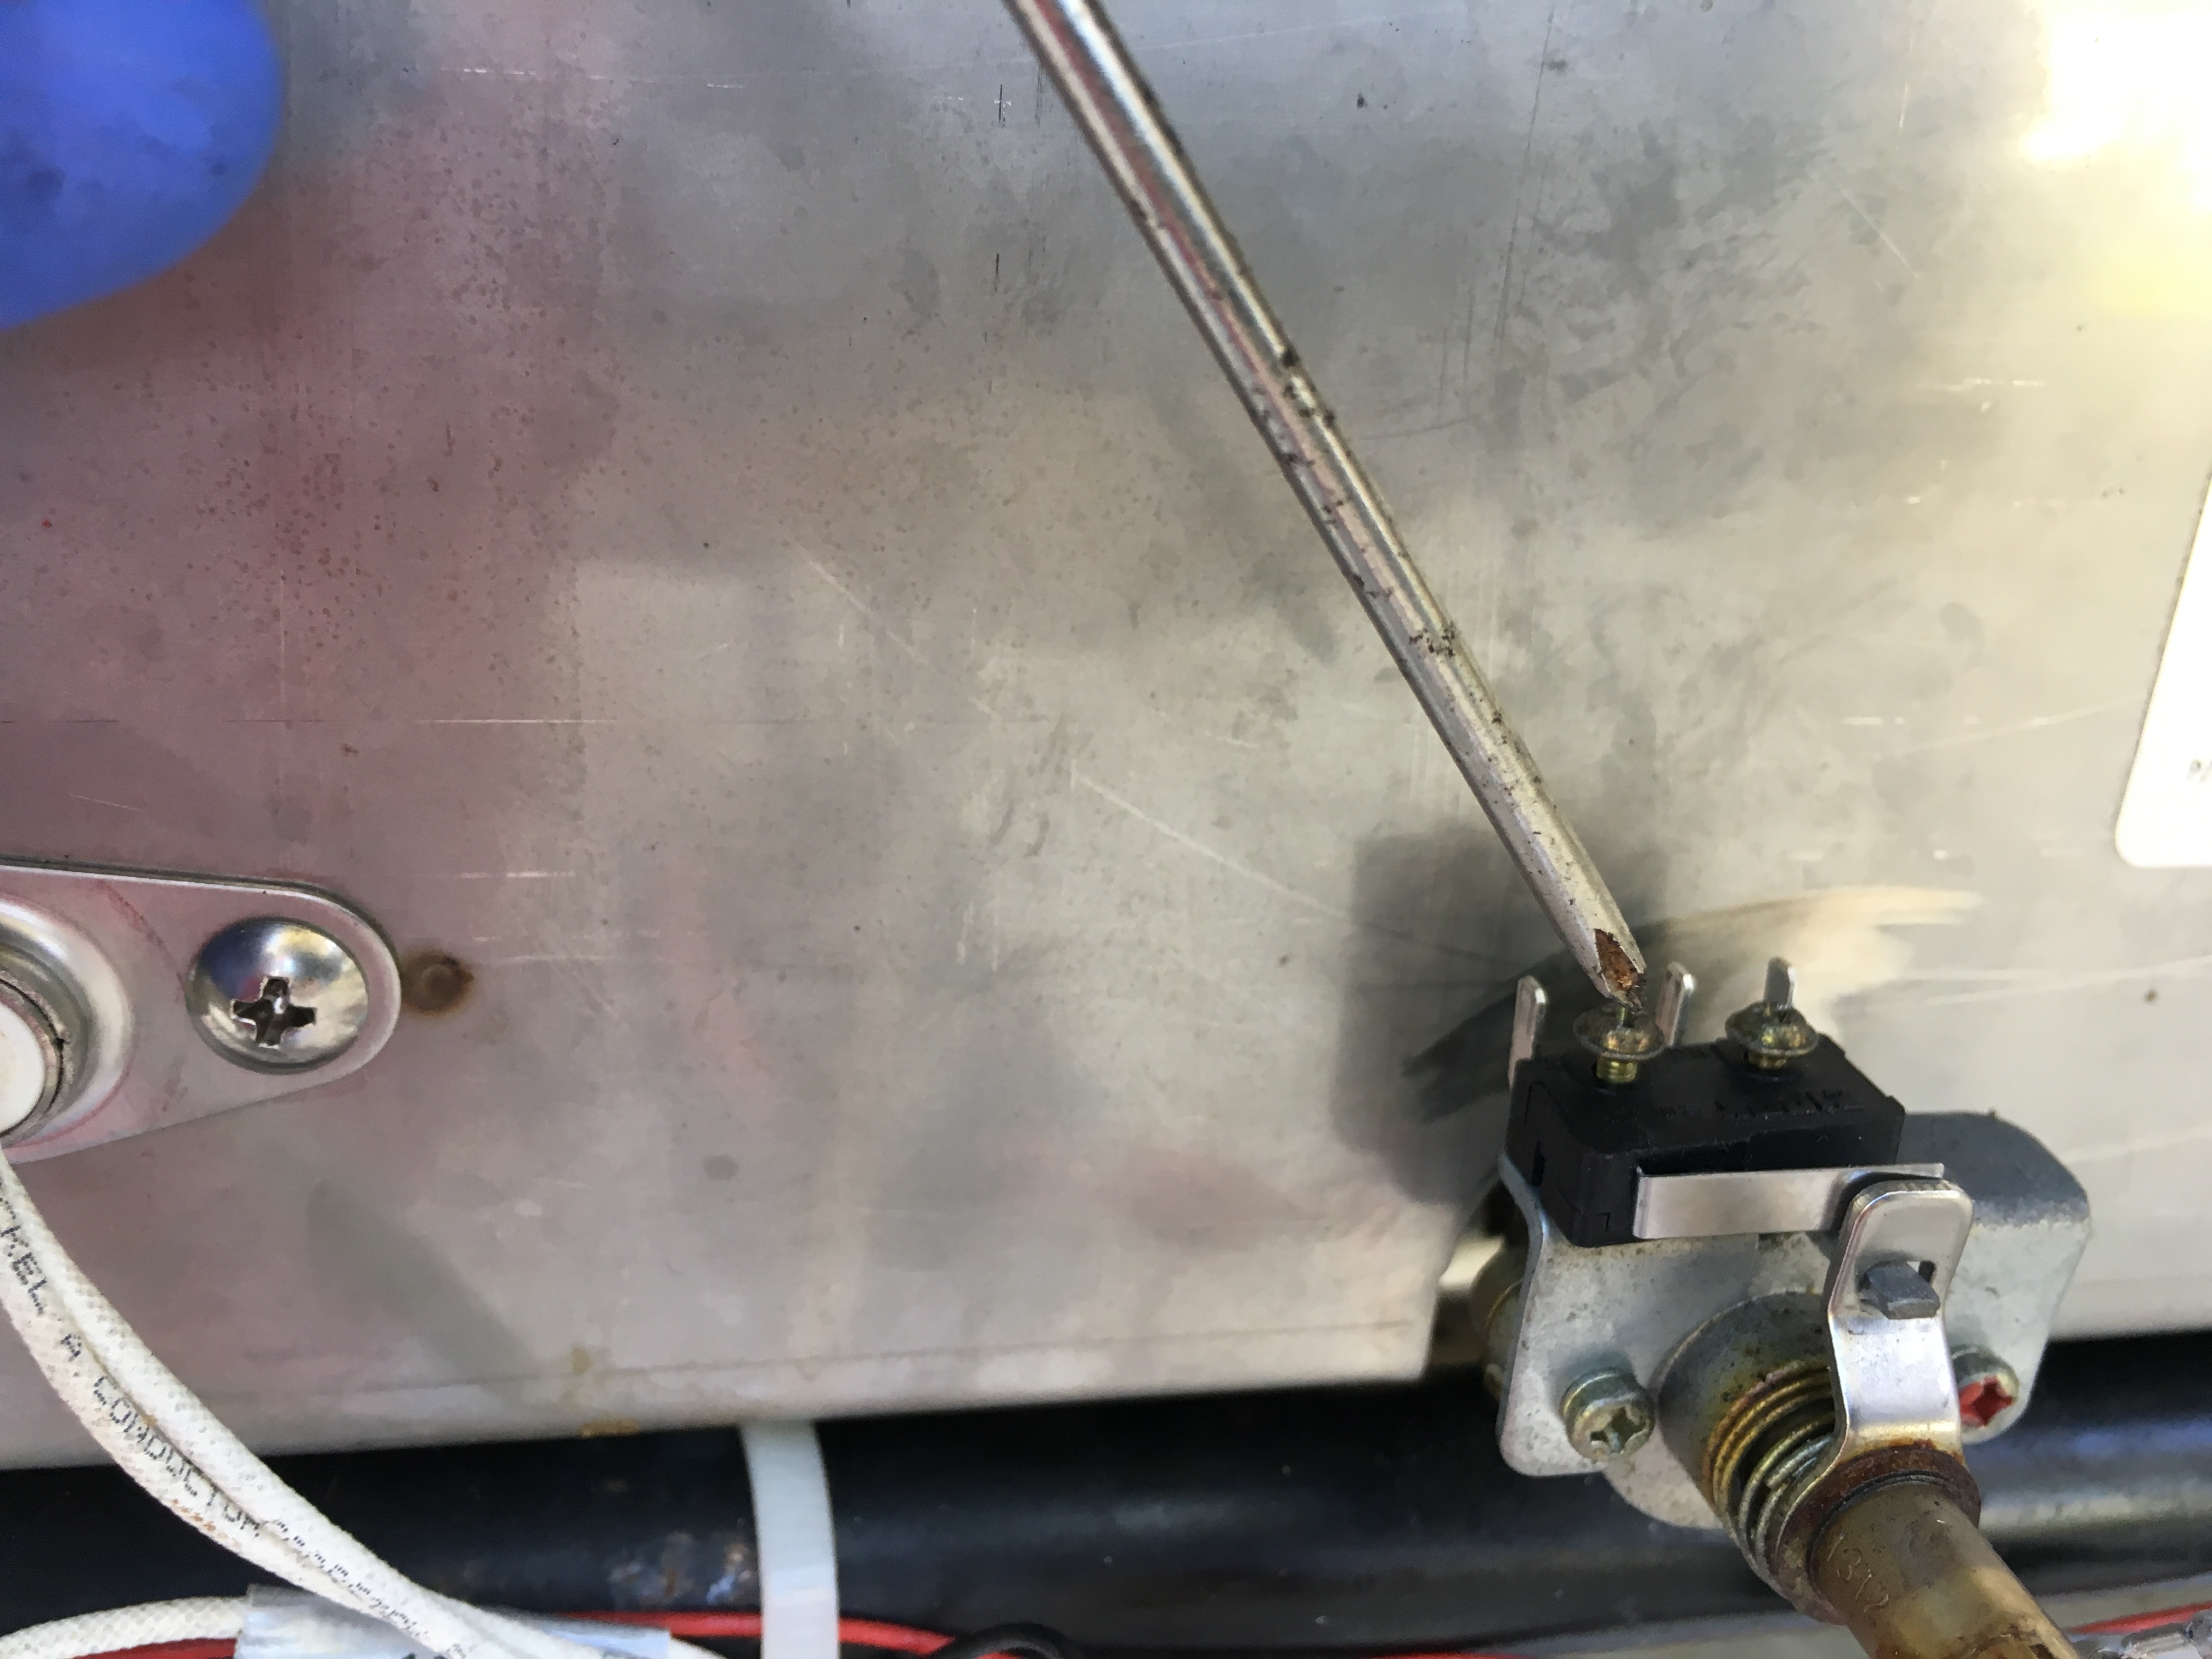
4. Pull the ignition wires from the micro-switch
5. Unscrew the microswitch from the valve
6. Install the new micro-switch on the valve and screw on the valve
7. Reinstall the ignition wires
8. Test fire the grill to be sure that your hot surface igniters are lighting your burners
9. Reassemble your control panel and drip tray
For a photo video demonstration, watch the video below
As an Authorized Lynx Service Representative, The BBQ Depot has all of your service parts as well as the knowledge to help you trouble shoot your issues.
If you should need further assistance, email info@thebbqdepot.com or call 877-983-0451 during our showroom hours (M-F 8 am to 5:30 pm EST; Sat 10 am to 5 pm EST)
