
How to Replace a Hot Surface Ignition in a Lynx Grill
How to replace the Hot Surface Ignition in a Lynx Grill
Lynx began using the hot surface ignition system in 2010 which is the L series grills. These electrodes glow an orange color vs spark like a traditional electrode.
In fact, grills that from 2007-2009 which are J and K series used a glo-coil electrode that are no longer being supported. These grills will have to be upgraded to the Hot Surface Ignition.
You may think that replacing the ignition in your Lynx grill is a daunting task. With our instructions, we will take a lot of the guesswork out.
NOTE : Before you replace all your electrodes, you may want to read our article on Troubleshooting a Lynx Hot Surface Ignition to be sure that the parts you are replacing are going to solve your problem. Nothing can be more frustrating than purchasing expensive parts you may not need.
The hot surface ignition system is composed of the microswitch, hot surface electrodes and the ignition harness.
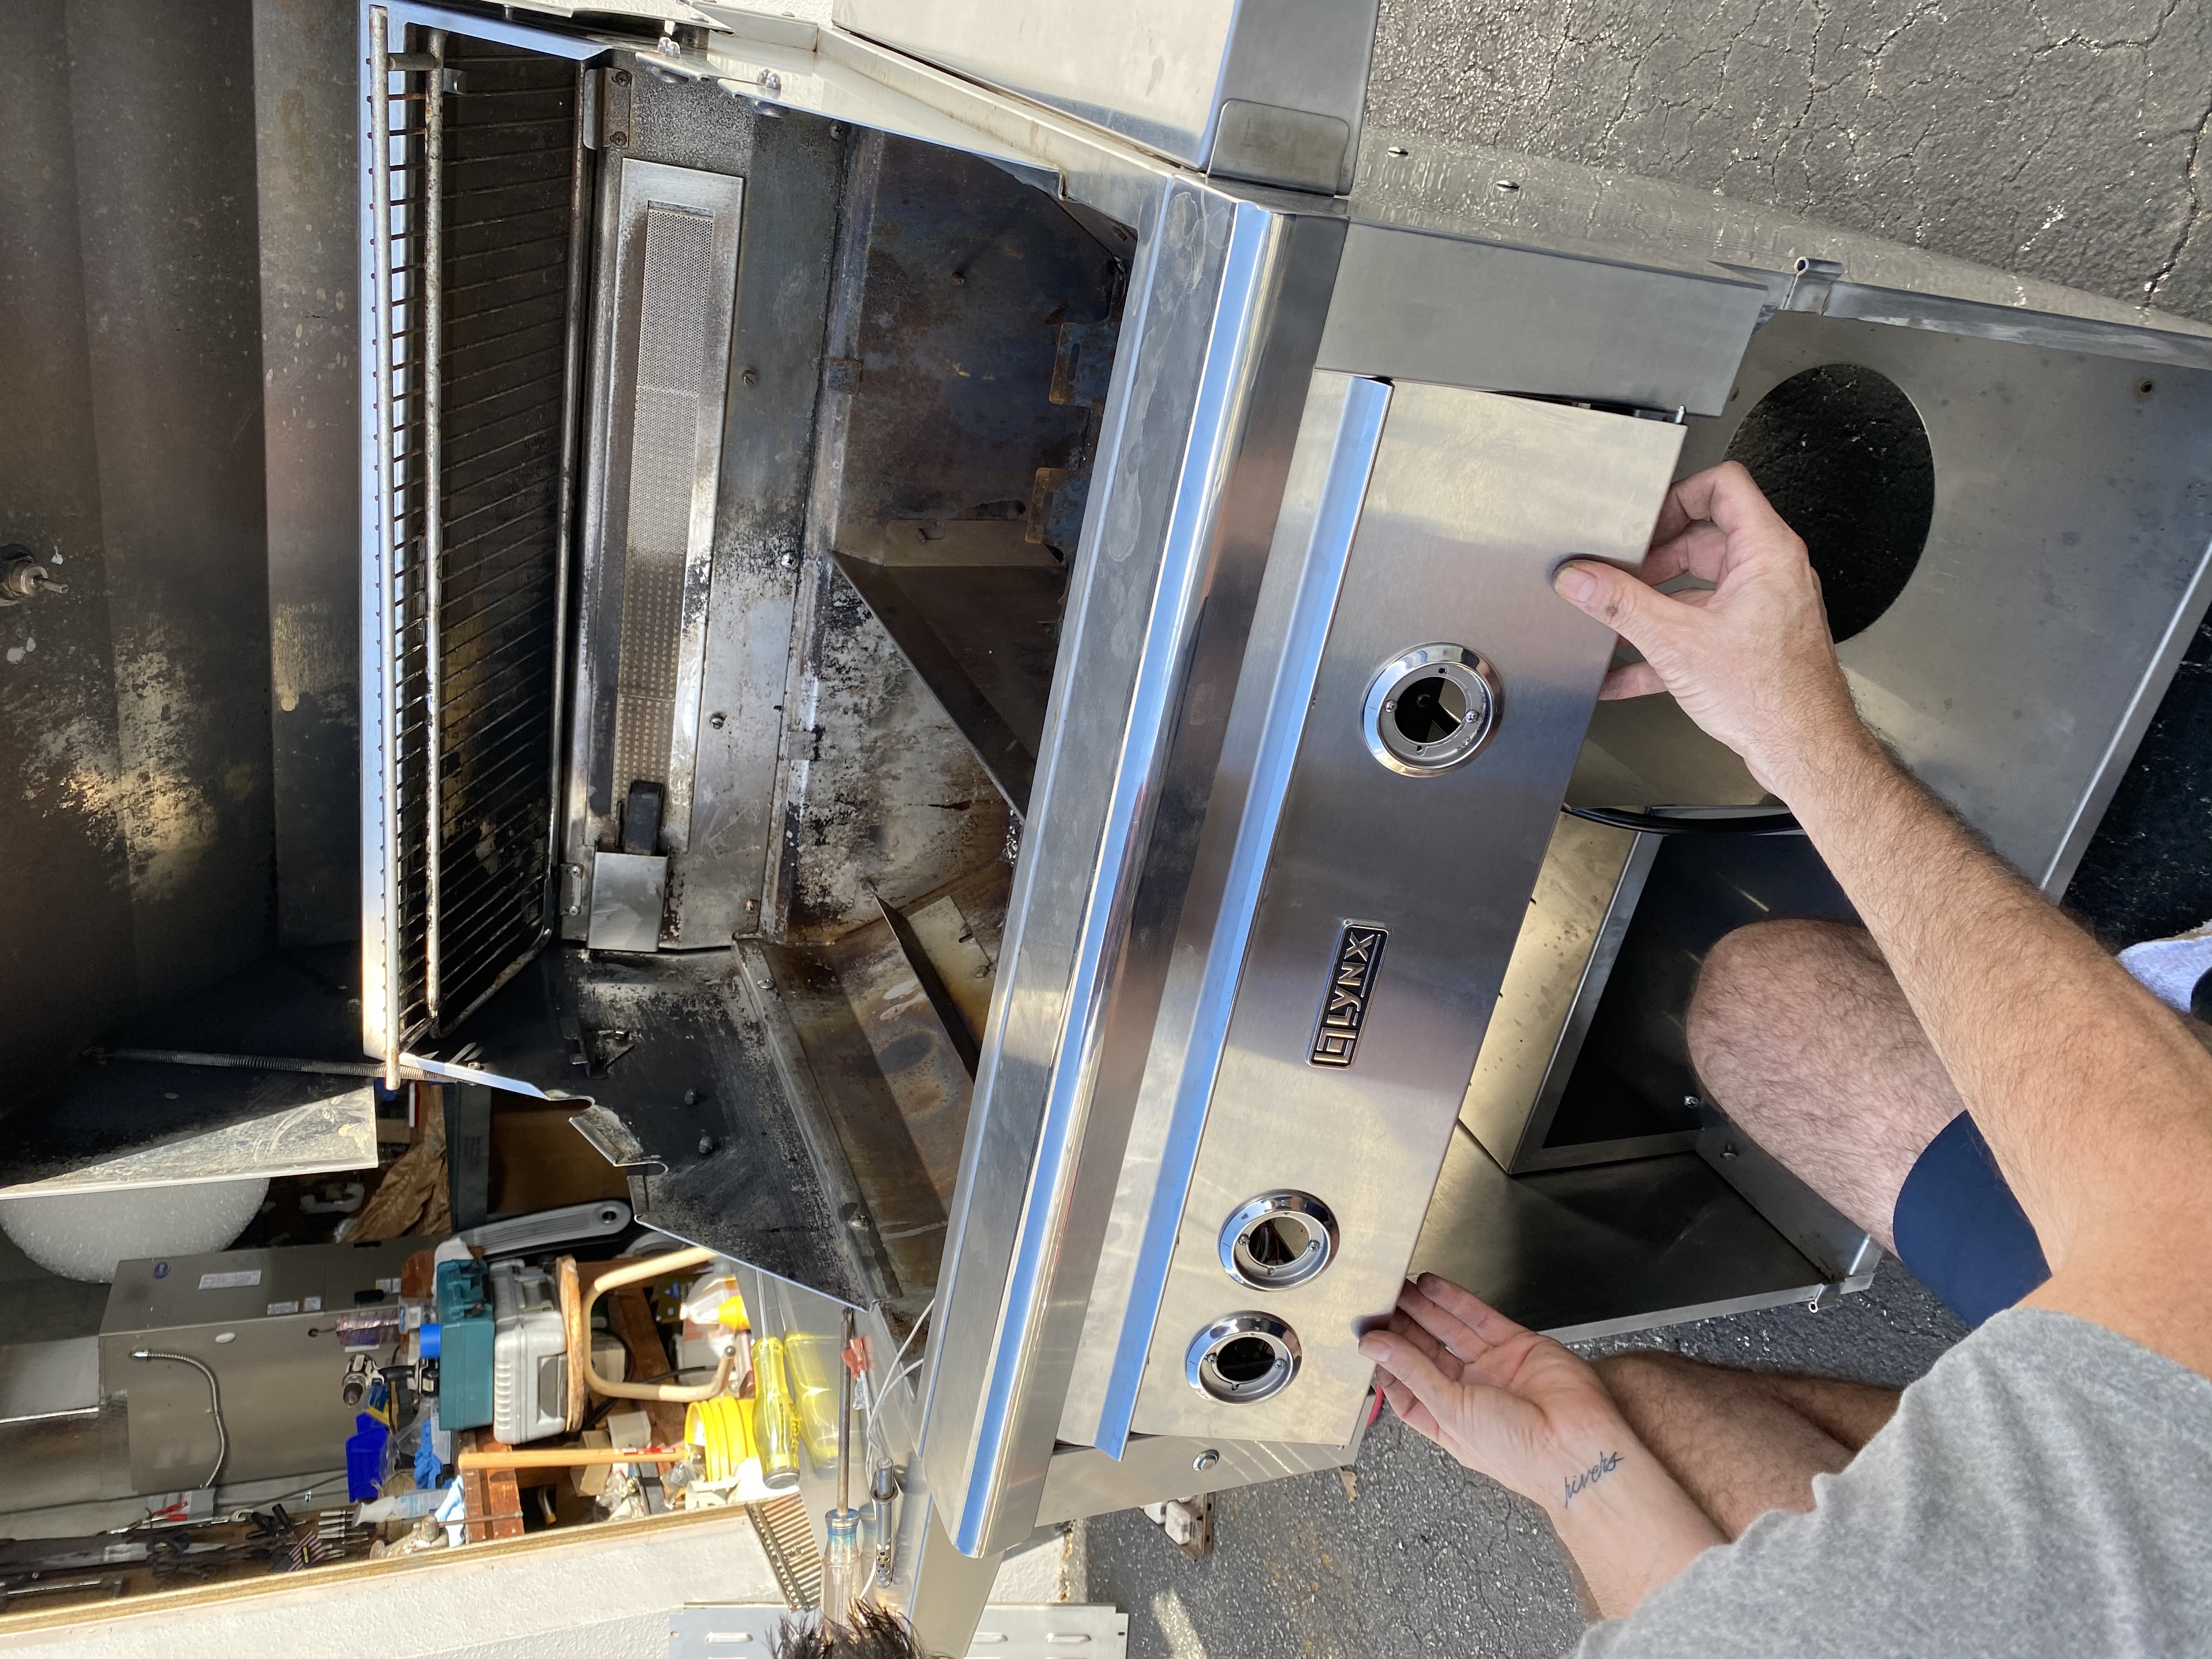
In this example we will be using a Lynx L30TRF (R series) Grill. You may be thinking ... why are we changing the ignition (already) on a grill that is a year old. This grill had a fire from an incorrectly installed burner that caused the ignition wires to burn.
You can use this step by step instruction on any model Lynx Grill. You will need to get the appropriate kit or hot surface electrodes.
The Lynx Grills from 2012 (N Series and Newer) will use 2 different style Main Burner hot surface igniters. The left burner will always use the 33051 and the center and burners to the right will use the 33556. The length of these electrodes are identical. Where they are different is in the mounting bracket. The 33556 has a mounting bracket all the way at the bottom of the electrode and the 33051 will have a mounting bracket that is 3/4 from the top.
All Grills that have a rotisserie backburner will use electrode 33052.
Parts Needed : 90185 Hot Surface Ignition Kit (Keep in mind that if you only need to replace one electrode you do not need to purchase an entire kit.)
The kits include the rotisserie electrode, main burner electrodes and the ignition wire harness.
")
Replacing the microswitches may be a good idea since these actually go bad more often than the electrodes.
Step 1: Remove the Control Knobs and Set aside.;
Tip : If you should pull the knobs off and the insert gets stuck on the valve stem, spray some WD-40 in the center and take pliers to help remove the insert. You can place it back in the knob after it is removed.
Step 2 : Remove the Control Panel Face Plate
You do this by pulling the prongs on the left and right corner inward and lifting the panel up.

Tip: If the prongs feel tight, you can spray some WD-40 on them. We suggest pulling the grease tray forward and resting the control panel on it. This will keep the LED harness from becoming unplugged.
Step 3: Remove the cooking grates and briquette trays
Take out the grates and trays from the grill and set them aside.
Step 4: Disconnect Electrode Wires from Microswitches
Remove the two wires from each microswitch: the white wire from the electrode and the red wire from the ignition harness.

Unplug the ignition harness from the power harness (white/clear plug).

Next, we will remove the electrodes.
Inside the firebox you will see the electrode mounted in a collector box. You will need to take a screw driver and remove the collector box. Take the old electrode out of the collector box and pull out. The right-side burner electrode will be attached to the heat shield that is right behind the valves. After you unscrew the electrode, you pull the electrode towards you to remove.
Once the old parts are removed from the grill, we can begin to install the new parts in the ignition kit.
We will replace the left main burner electrode (part 33051) first. Feed the electrode wires through the inside of the firebox. Place the electrode in the collector box and screw to into place.
Feed the electrode on the right burner through the heat shield and screw into place.
If you should need to change the microswitches, this would be the time to do so.
Slide the metal spade of the of the electrode wire on the microswitch (if the microswitch has 3 prongs just leave the far right one open. It does not have to be ground.) Repeat this for all the electrodes in your grill.
Take the ignition harness and plug the small red spade into the microswitch and connect the larger spades to the second ignition wire.
Step 5 : The Rotisserie electrode.
This one is a little more time consuming as it is not as easy to get to as the main burners. In order to get the collector box (to the left of the rotisserie burner) you have to first remove the igniter cover.

Then you can remove the collector box to get to the electrode (part 33052).
To unplug the electrode, you will have to open the access cover on the rear of the grill.

Once the cover is removed you can unplug the old electrode and replace with the new. Be sure to install the new electrode with the flat side facing the rotisserie backburner.
Step 6: The Rotisserie Electrode
Be sure to test all of the electrodes to be sure they are glowing. If not, be sure that all wires are secure and that there is power at the electrical box.
Step 7 : Reinstallation
Reinstall all component's taken out of the grill.
If you should have any questions determining the series of your Lynx Grill, need assistance with troubleshooting tips or help determining your parts please call us at 877-983-0451 or email us info@thebbqdepot.com. We are one of the largest stocking Lynx Parts Dealer in the nation.
