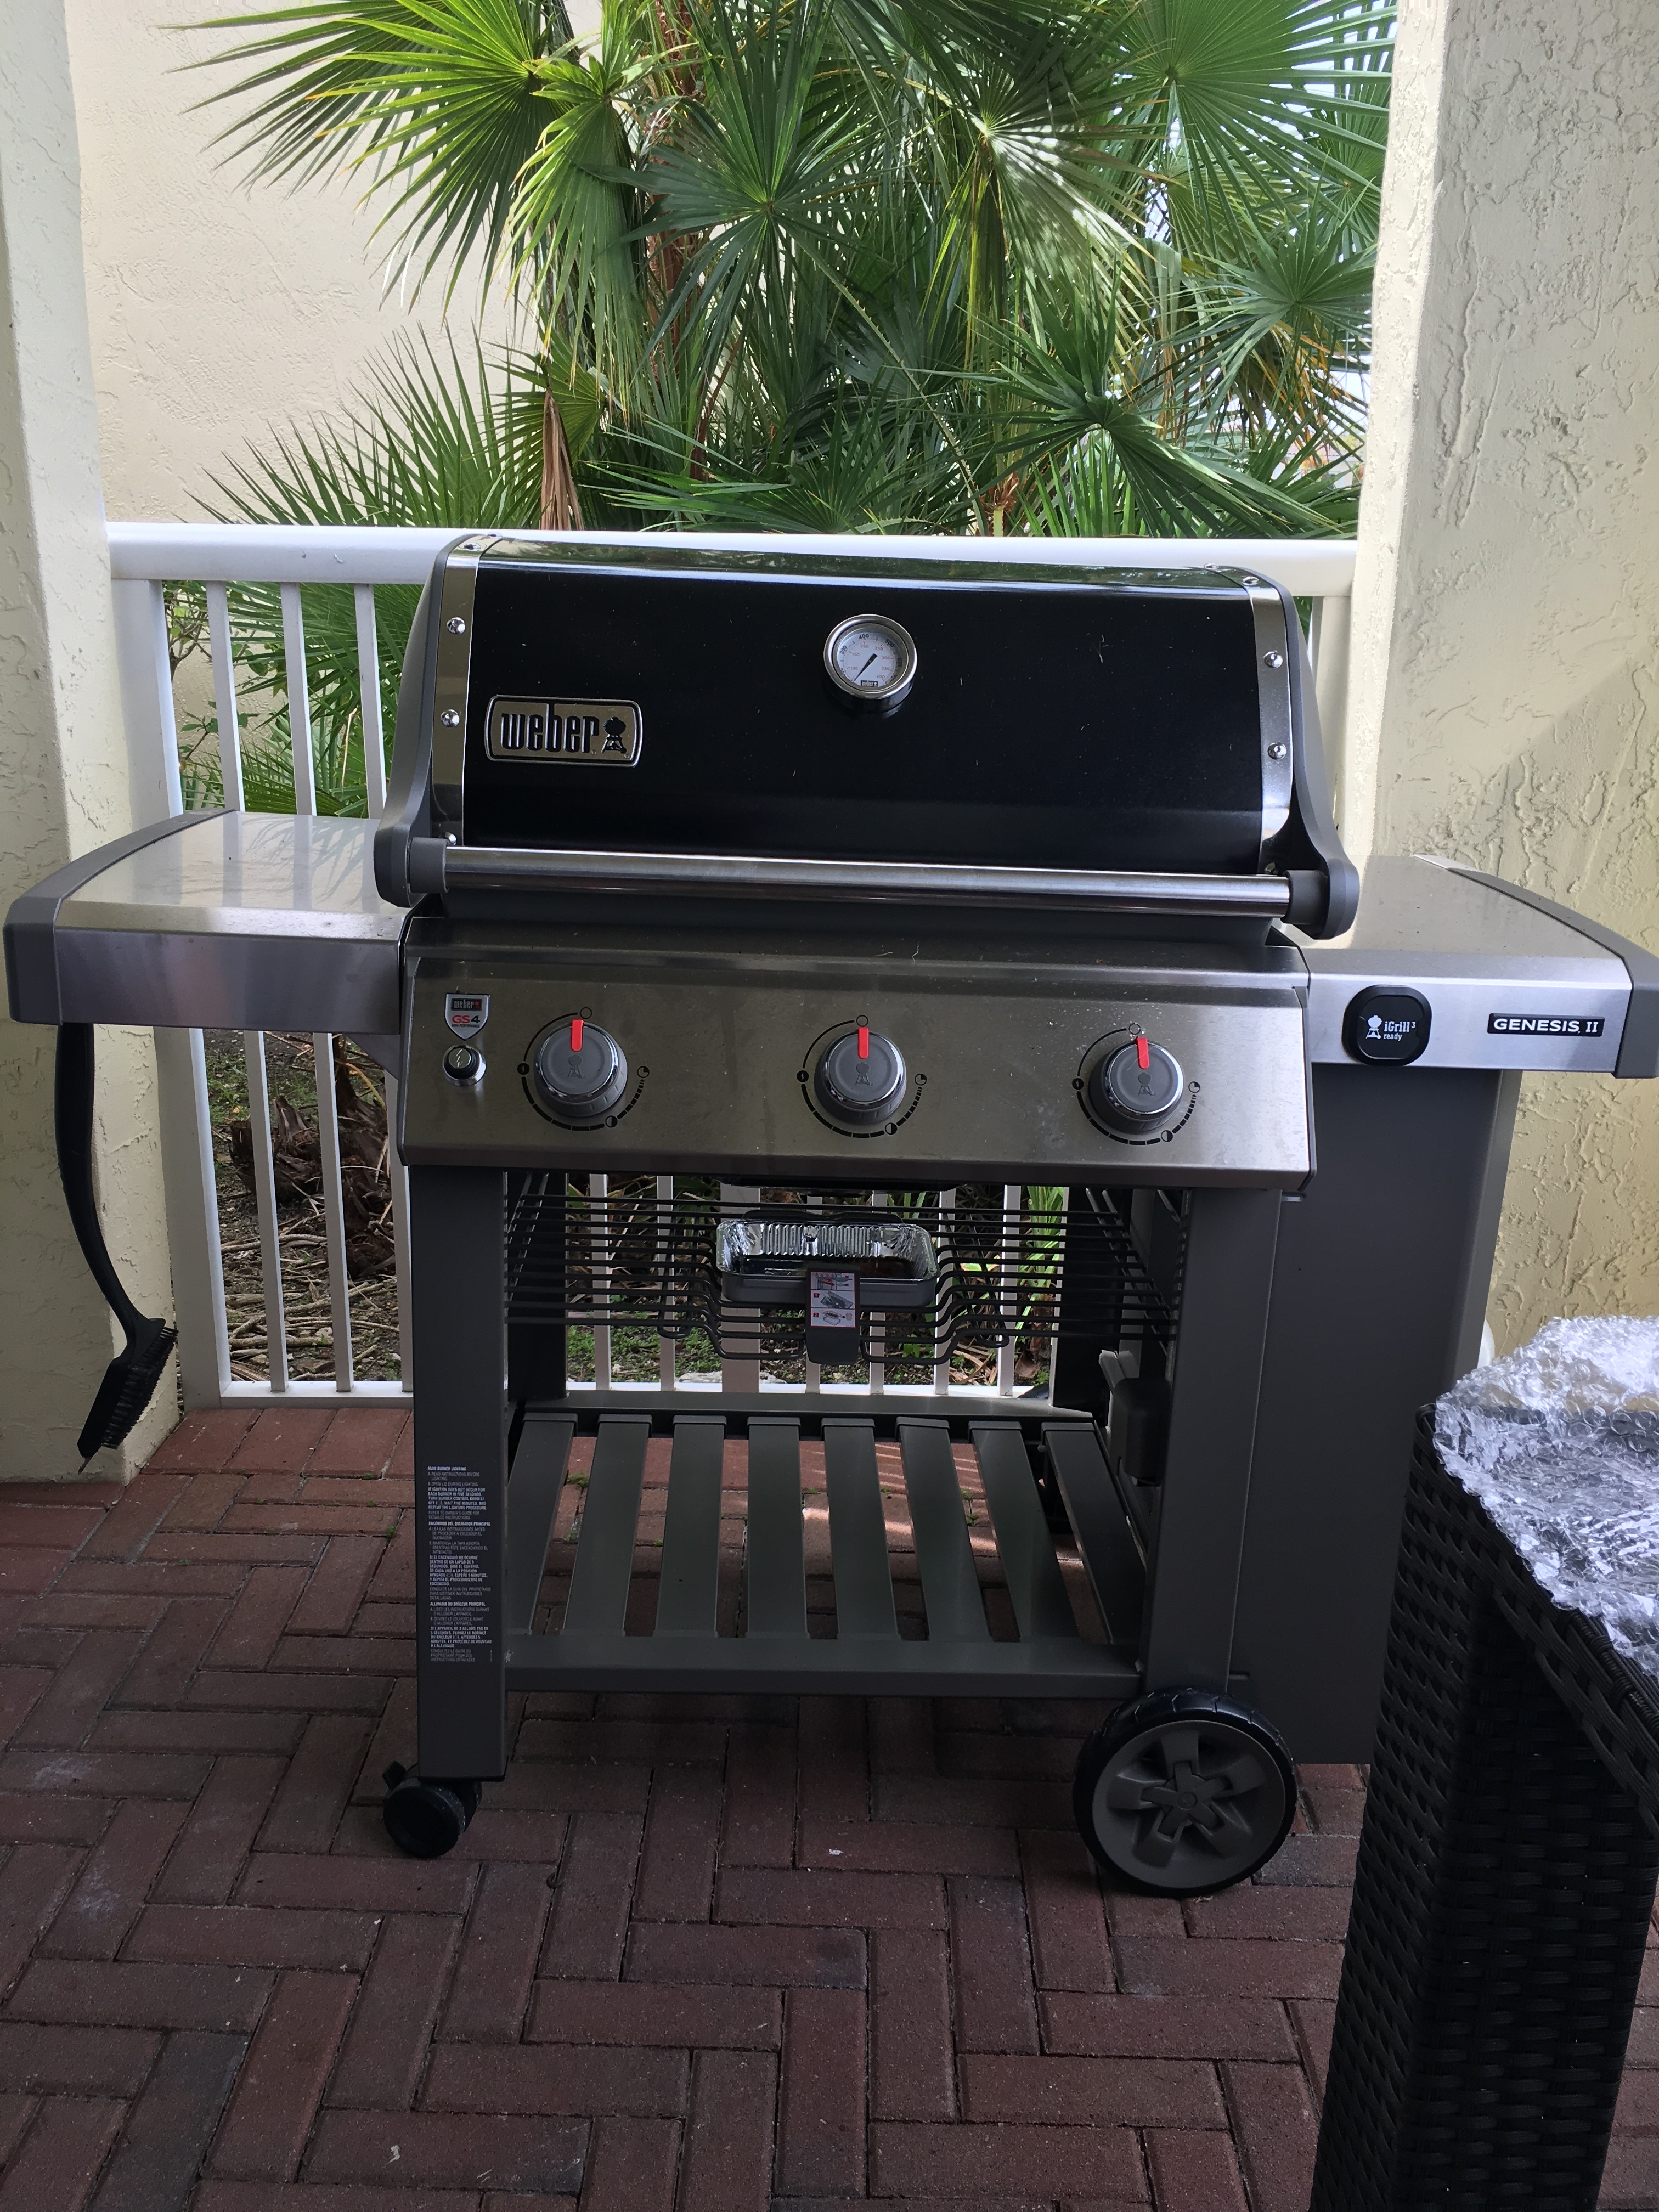
Weber Genesis II - E310 Grill Burner Installation
Weber Genesis Grills were known for years for their high quality horizontally mounted burners.
These burners were tube burners and had right control knobs (up until 2010).
These burners mounted into the carry over tube. The electrodes mounted on the first burner and the carry over tube would light the other two. Over time the mounting screws that held the crossover tube in place would corrode making it difficult to remove.

Changing The Burner
The easiest way to change these burners was to take the control panel off and remove the 2 screws on the manifold and pull the burners out of the crossover tube. We find this method is easier in the field because over time the screws that mount the crossover tube oxidize and may be very difficult to remove.
If you can remove the crossover tube mounting screws then you would have to pull the burners from the crossover tube and replace with new ones.
In 2011, Weber introduced the E, EP & S Genesis Grills with front mounted controls. The burners were still tube burners but they did away with the crossover tube and mounted electrodes on each individual burner. Since the burners are held in place with a screw that quickly corrodes, you may find it easier to change these burners by removing the manifold and installing the burners then put the manifold back.
Click here for a guide to help in determining the Weber Grill you have
When the Genesis II was introduced, the burners changed from a traditional round tube to a flat tube and changing the burners became easier as they are now held in place with a burner bracket at the back of the firebox. Each burner has its own slotted burner bracket and its own electrode.
To Remove and Install a new burner in a Weber Genesis II - E310 Grill
1. Be sure Grill is completely cool
2. Remove the cooking grates and flavorizer bars and set aside
3. Grab the burner and turn to the left and lift up out of the slot of the back brace.
4. Remove the electrode by taking a flat heat screw driver under the body of the electrode tube and lifting it out of the holder on top of the burner
5. Install the new burner by first re-attaching the electrode to the holder on top of the burner
6. Slide the back of the burner over the orifice valve
7. Install the top of the burner by sliding down into the slot at the back of the firebox and turn to the right to secure
8. Repeat until all burners are installed
Tip : Test the burners to be sure all are lighting with a nice blue flame with yellow tips. You may need to to adjust the air adjustment take a torx head screwdriver and loosen the bolt at the top of the air adjustment. Slide the air adjustment front or back until you have your desired blue flame with yellow tips throughout the burner
9. Reinstall cooking grates and flavorizer bars
Please see our video demonstration on replaceing these burners

