
Cleaning and Replacing Burners, Ceramic Rod Trays and Igniters on a DCS Grill
DCS Cleaning And Repair
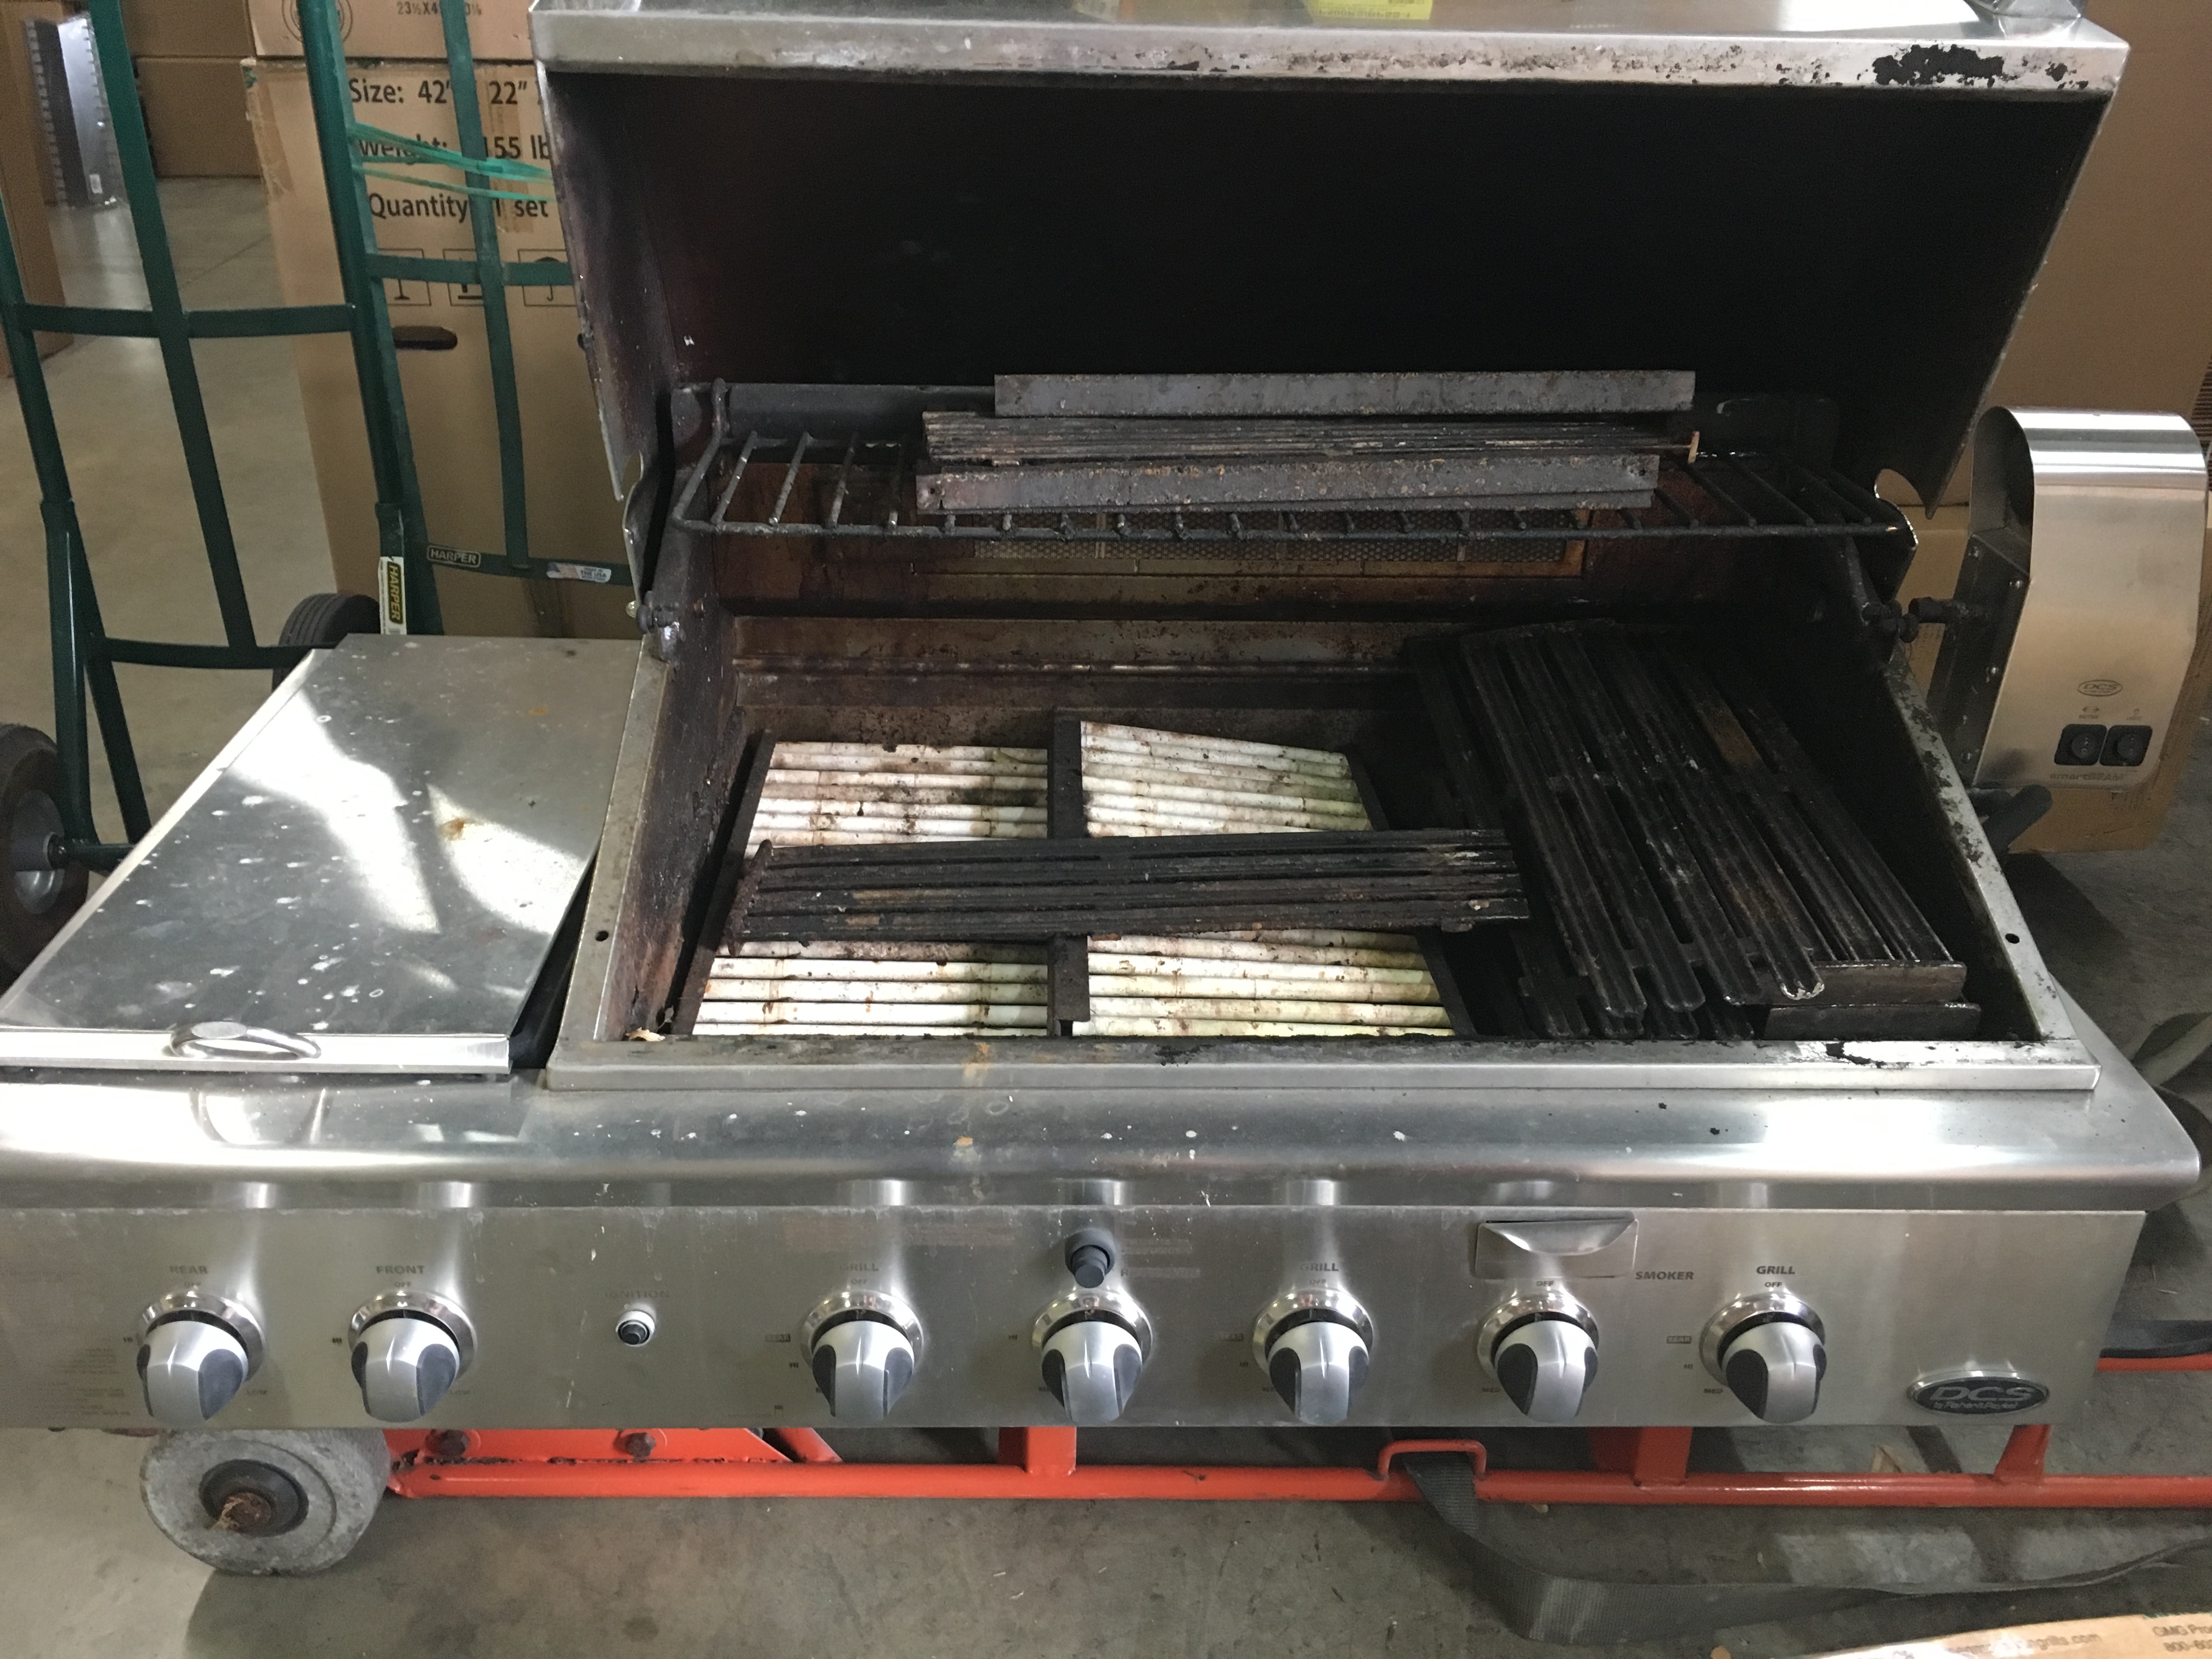
These pictures were taken using a DCS 48" Built-in Grill with Side Burner that was brought to us for a full grill cleaning and repair. Before we inspected the grill, the customer called asking for an estimate to replace the three burners, six cast stainless cooking grates, all three trays with ceramic rods and the warming rack estimating over $1400 in replacement parts. When the grill was brought to our location, we were able to see that the grill body (including the manifold) was in great shape and it only needed a full degreasing and cleaning and only needed 2 trays and 3 collector boxes. We show a picture (image A & B) of the before and after cleaning of the burner. With a little maintenance, you can completely restore your grill.
Grill Before:
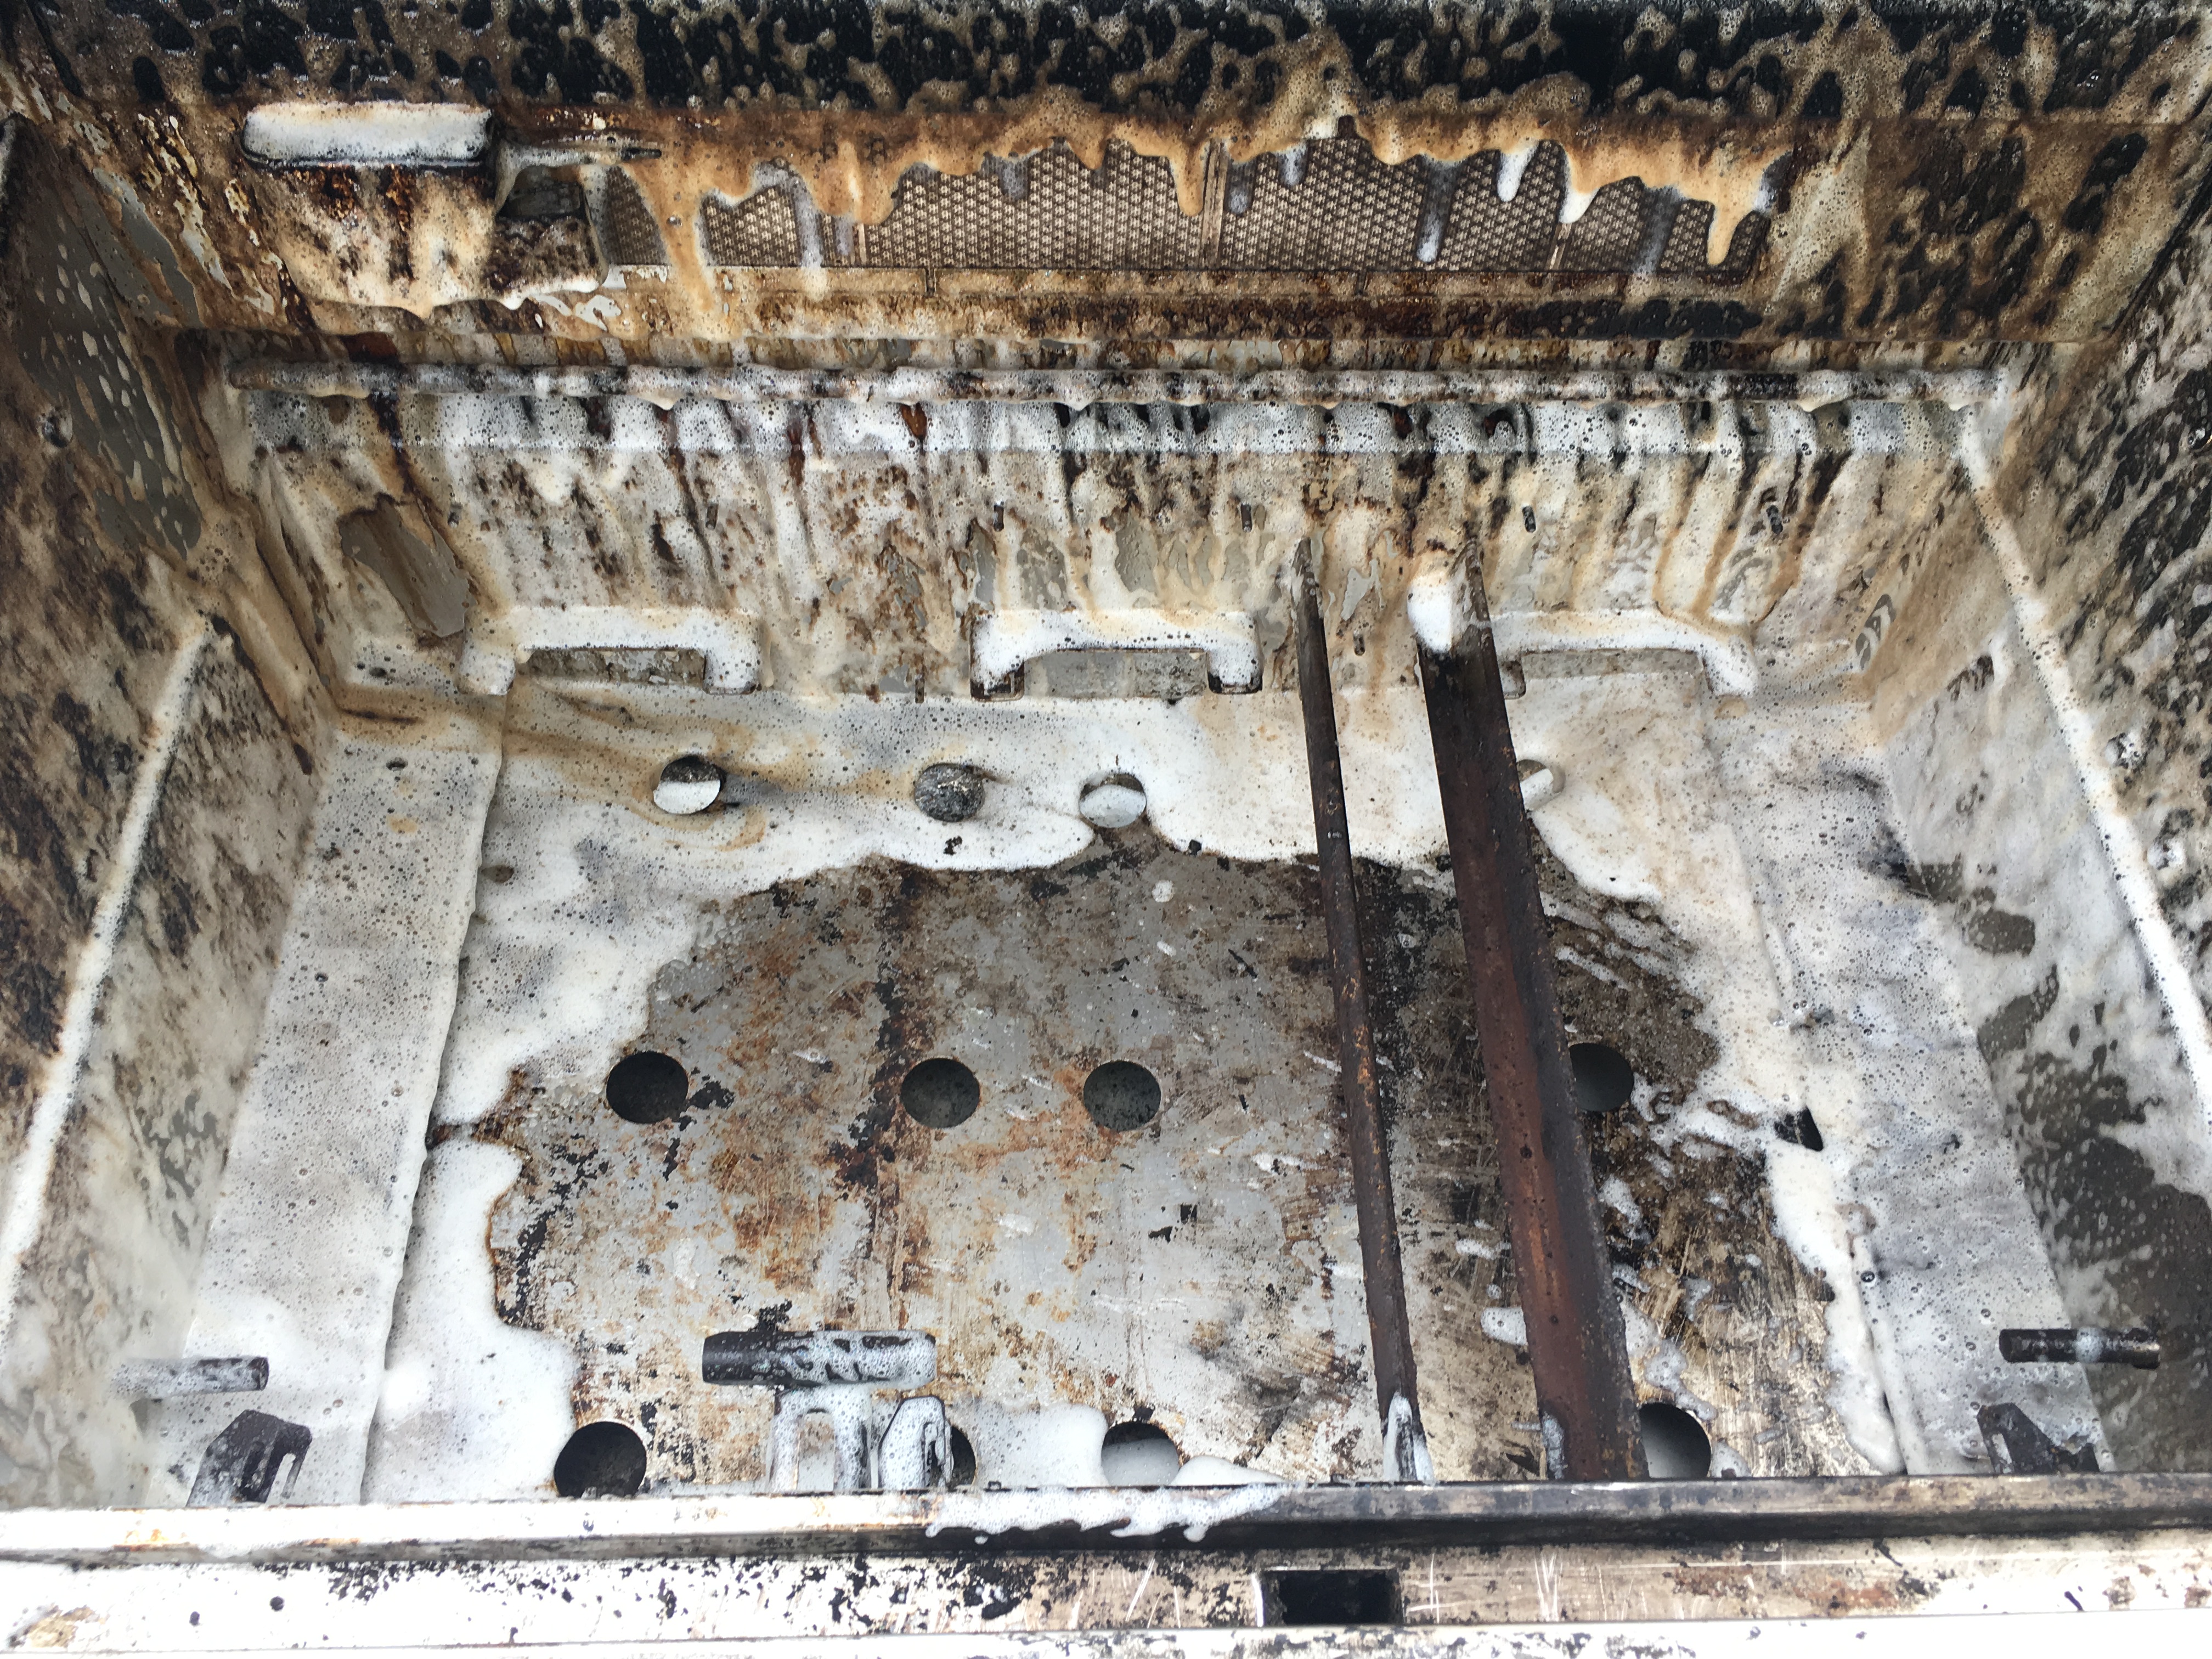
To clean the grill, Remove all the components out of the grill and set aside. Vacuum out all the debris that is left at the bottom of the grill. Spray degreaser around the entire inside of the grill and let sit while you clean the interior grill parts.
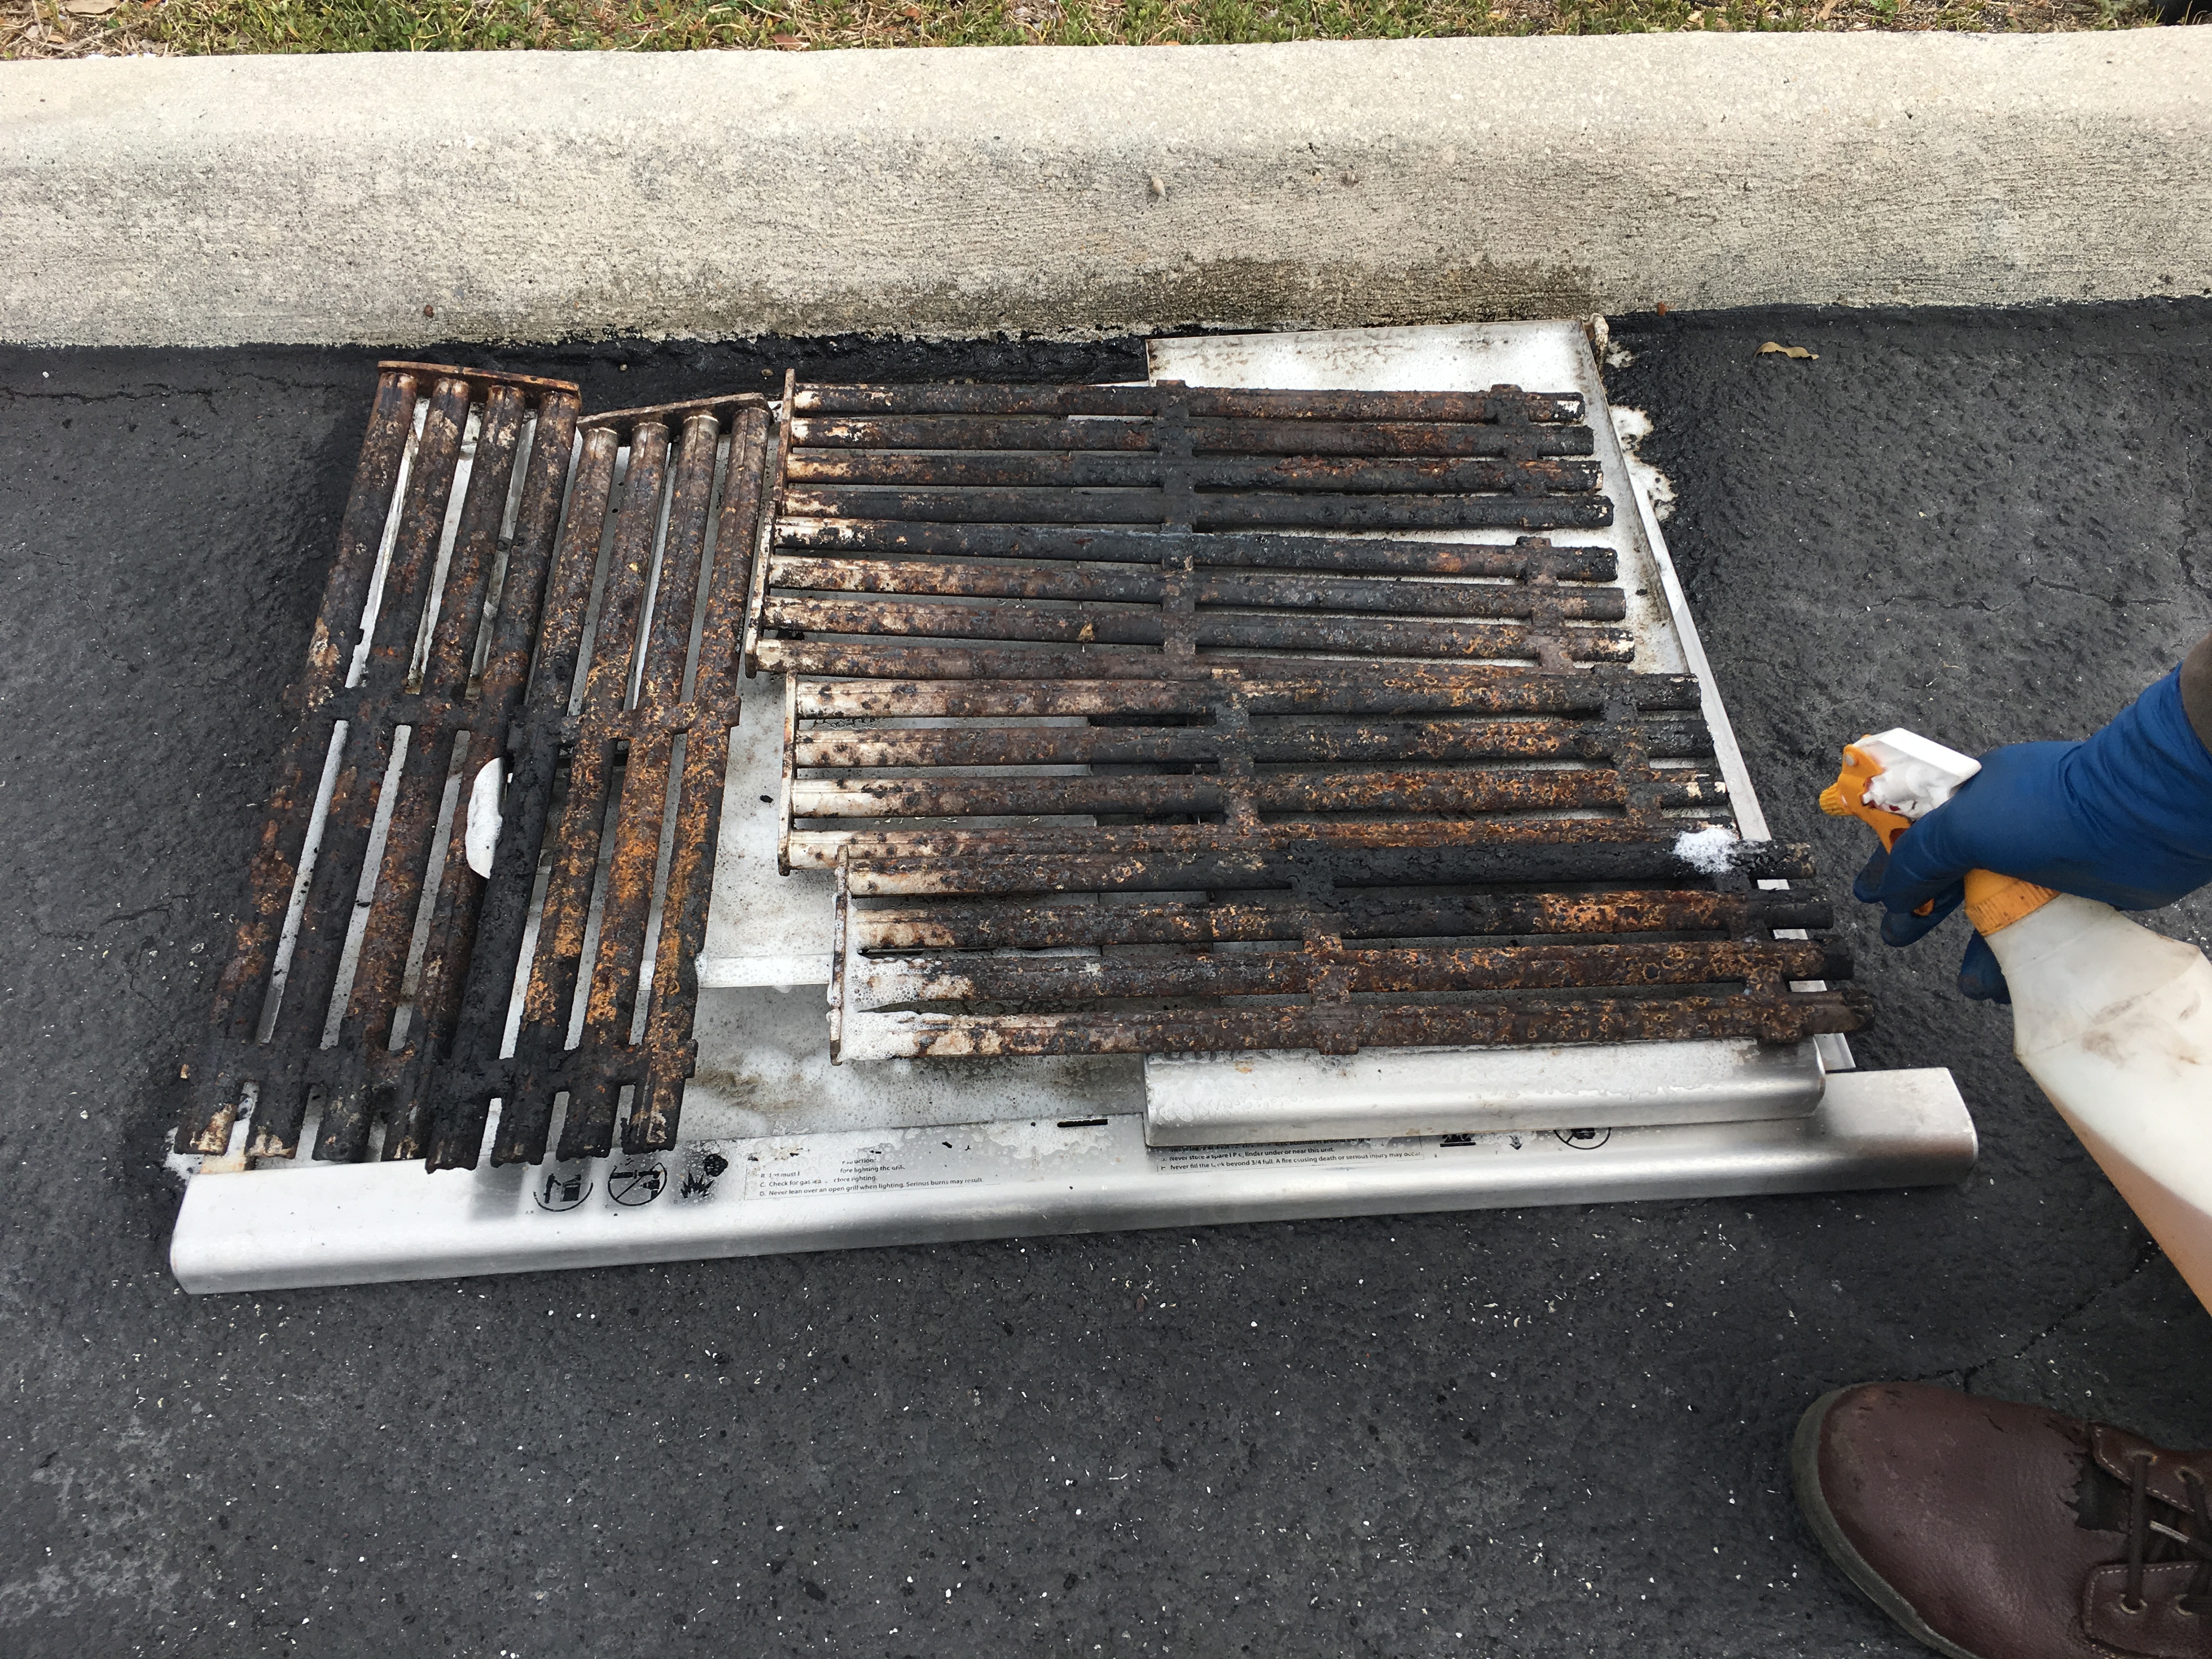
Spray the interior parts (cooking grates and rod trays) with degreaser as well and let sit. Take a brass bristle brush and to remove grease and debris and rinse degreaser off with water. Burners should only be brushed using a brass bristle brush, no water.
To replace the Burners :
You will first need to remove your cooking grates, ceramic rod trays and the old burner. We suggest inspecting burner for any breaks or cracks and making sure the holes around the top of the U shape are still even and in tact.
In the picture below (image A), all the holes are perfectly intact and there we no gaping holes around the burner. It just needs to be cleaned with degreaser (see image B).

If there is significant wear and damage to the holes, you will need to replace the burner with a new one.
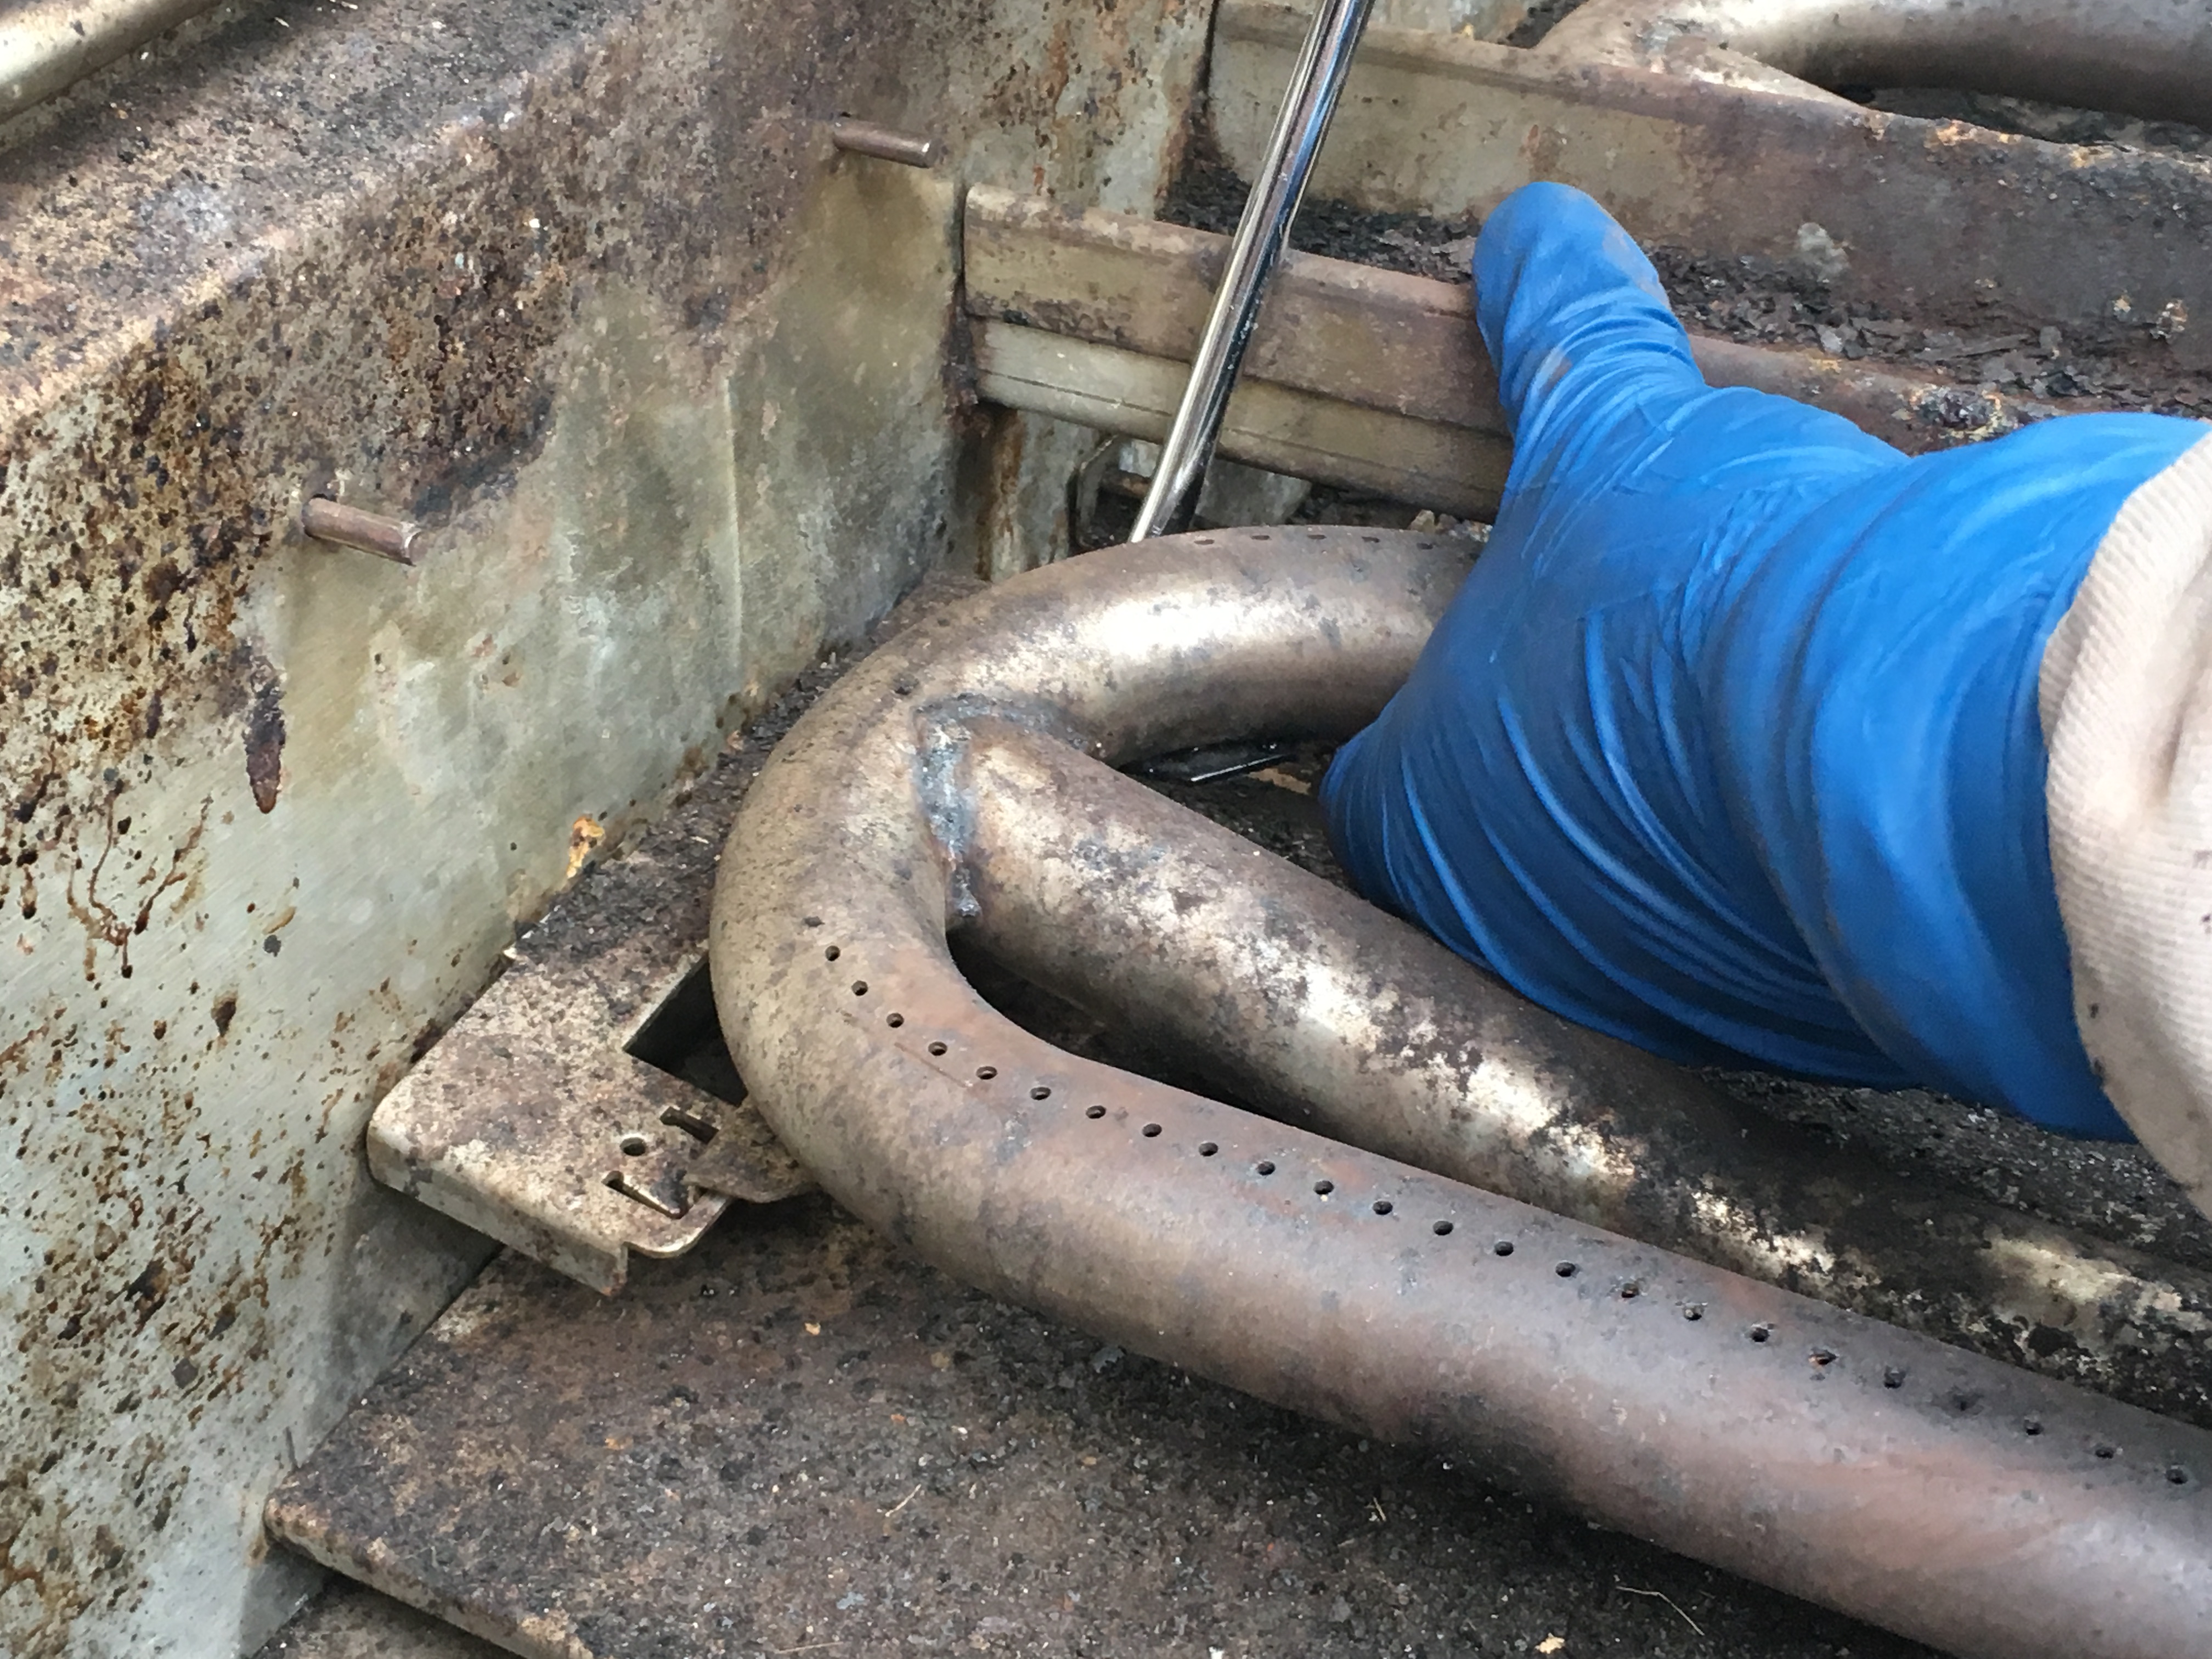
Image C
To remove the old burner, use a flathead screwdriver (Image C) to pry under the burner in order to loosen from the burner bracket. Then pull the burner up from the back and up out of the the front of the firebox. Then place the new burner in the grill with the tube side first. Place the burner over the valve stem at the front of the firebox. Then, you will need to line the tabs at the bottom of the burner with the slots on the mounting bracket. Push the burner down into the slots of the bracket mounted at the back of the firebox to secure the burner in its place. You can view a video of our burner removal and replacement.
It may be a good idea to vacuum any loose debris that has fallen at the bottom of the grill firebox before you replace with new or cleaned parts.
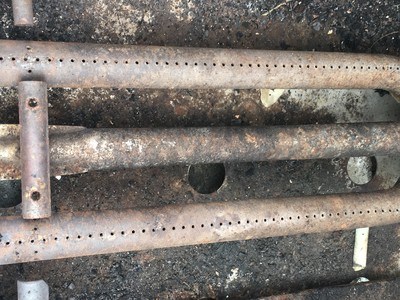
When is it time to Replace the Ceramic Rods and trays?
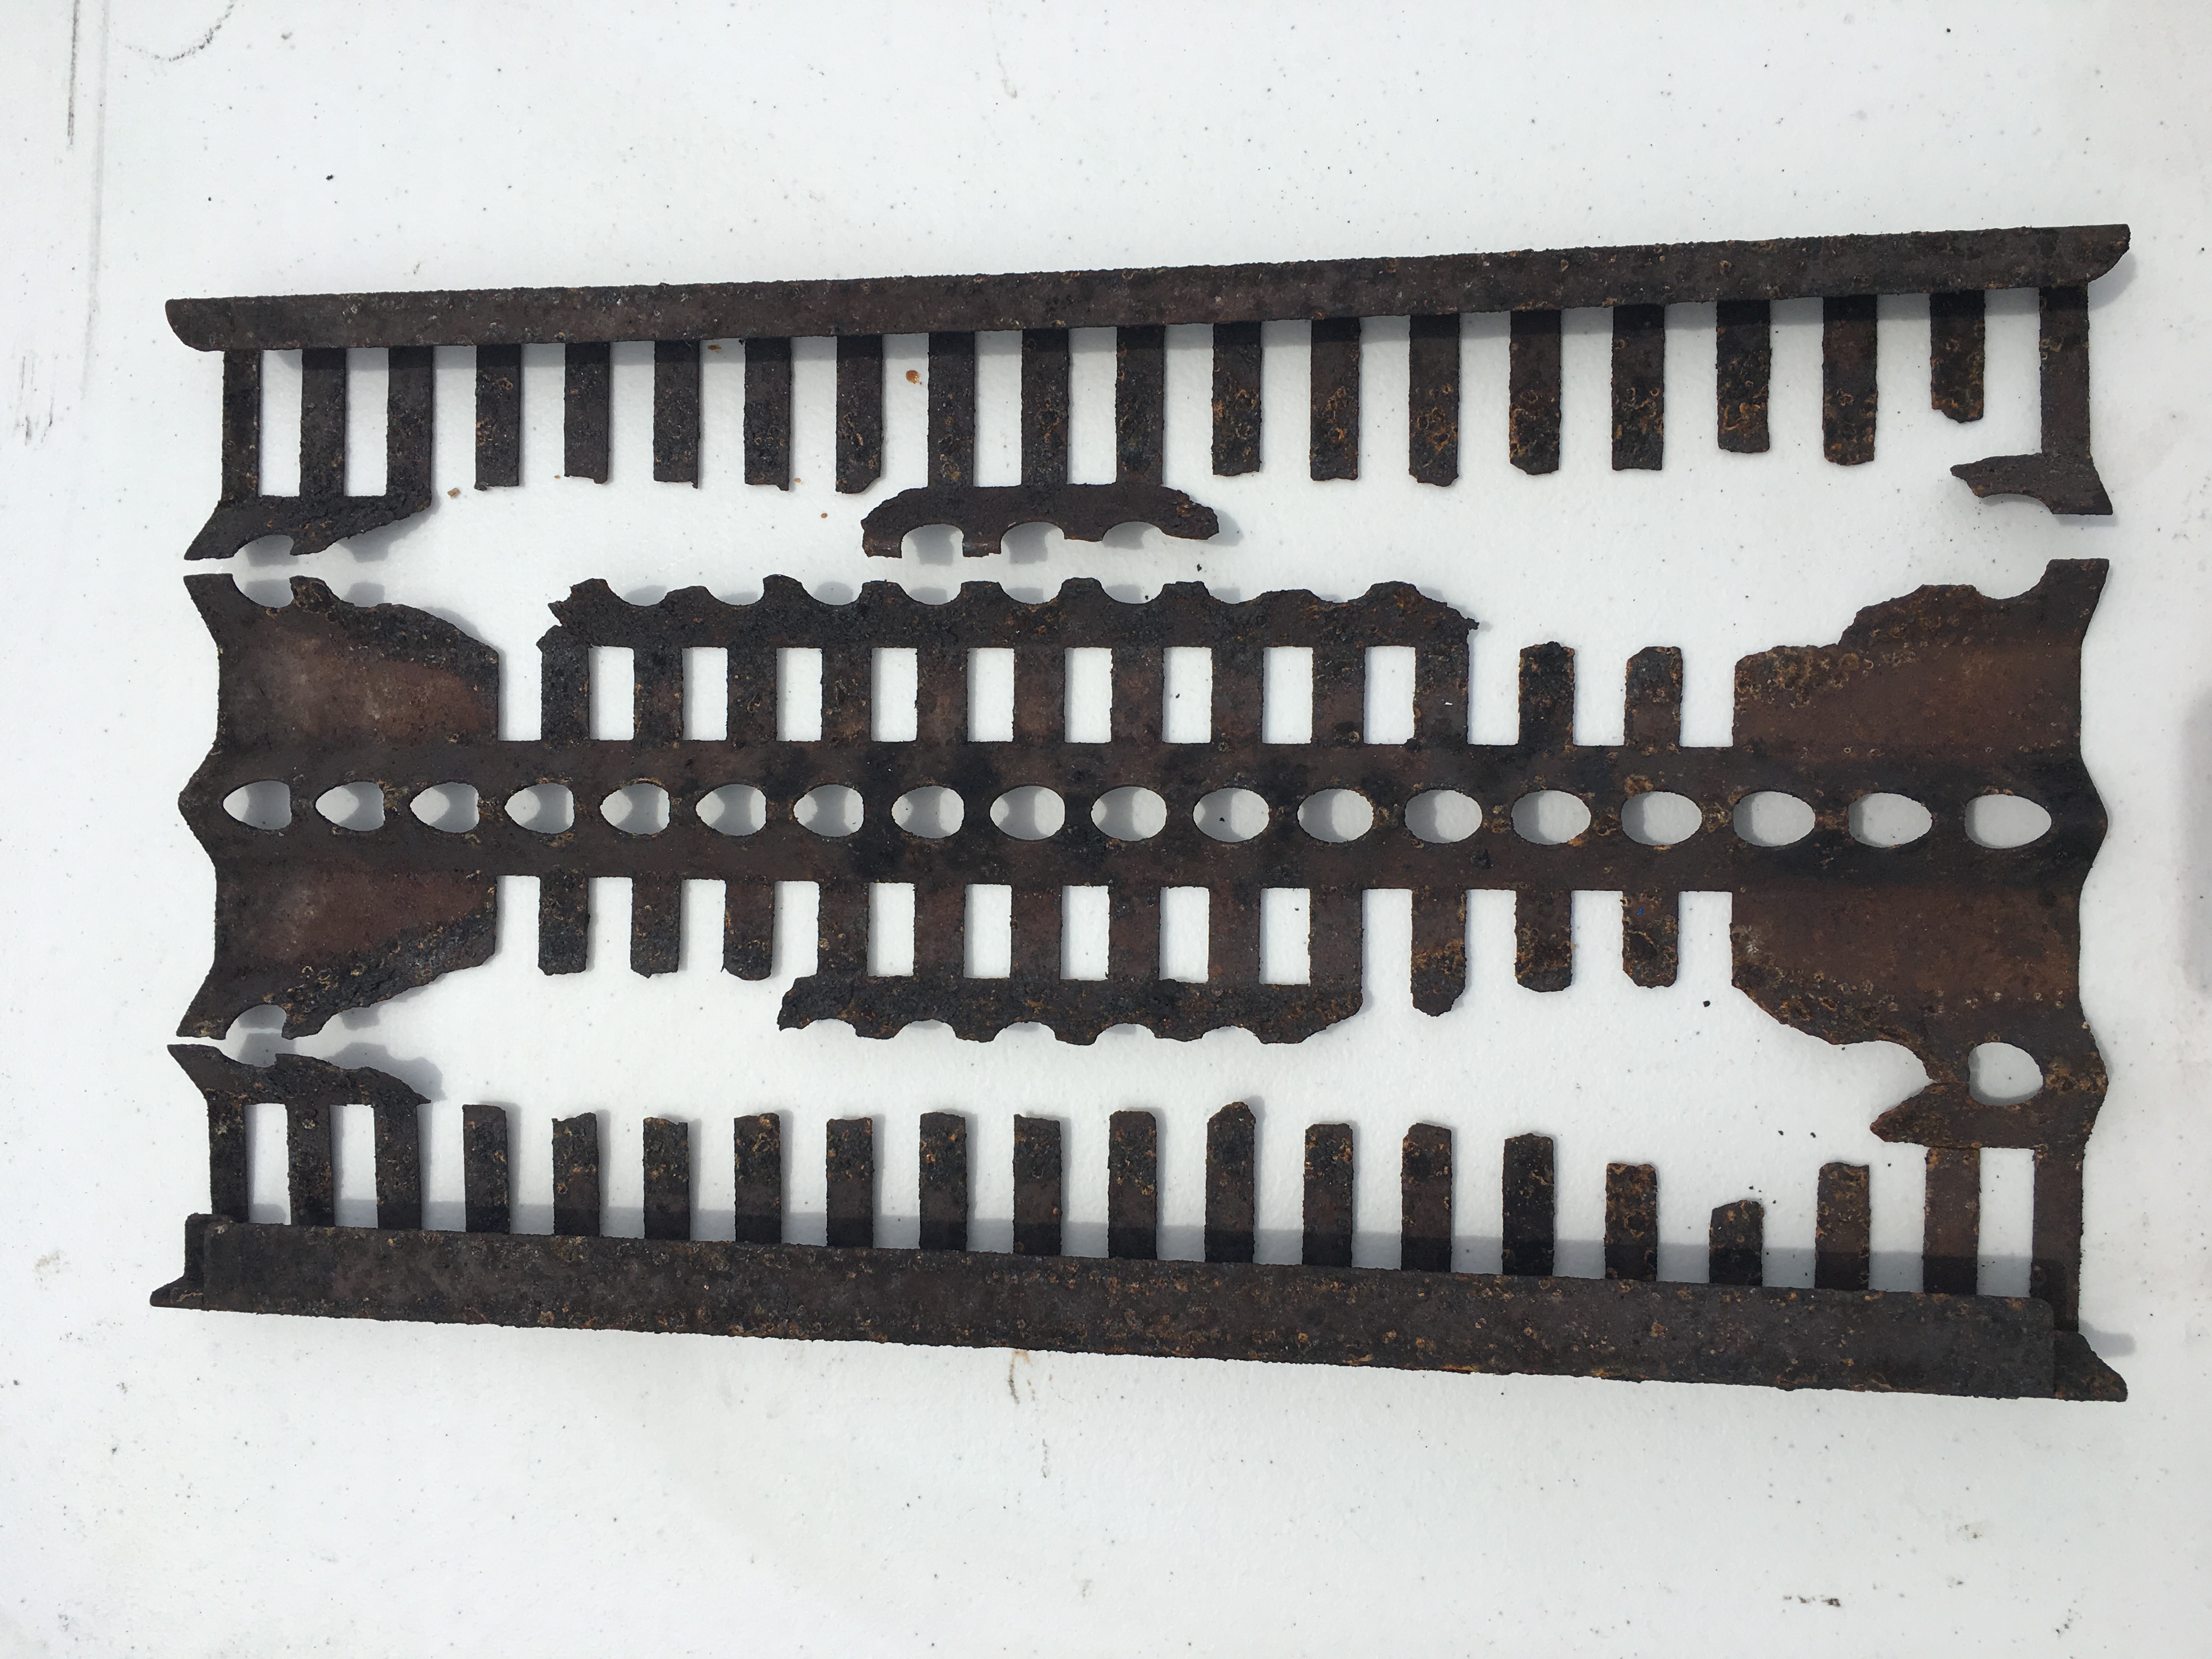
Image D
As seen in the picture above (image D), this ceramic rod tray has significant wear and broken slats meaning it's time to replace. A tray in this condition, will also can cause the ceramic rods to slip through and break as they hit the bottom of the firebox. These rods can get expensive keeping in mind each tray takes 18 rods. Only broken rods need to be replaced. Rods covered with grease need only to be cleaned. Potentially saving money in replacement parts.
To replace the ceramic electrodes and collector box
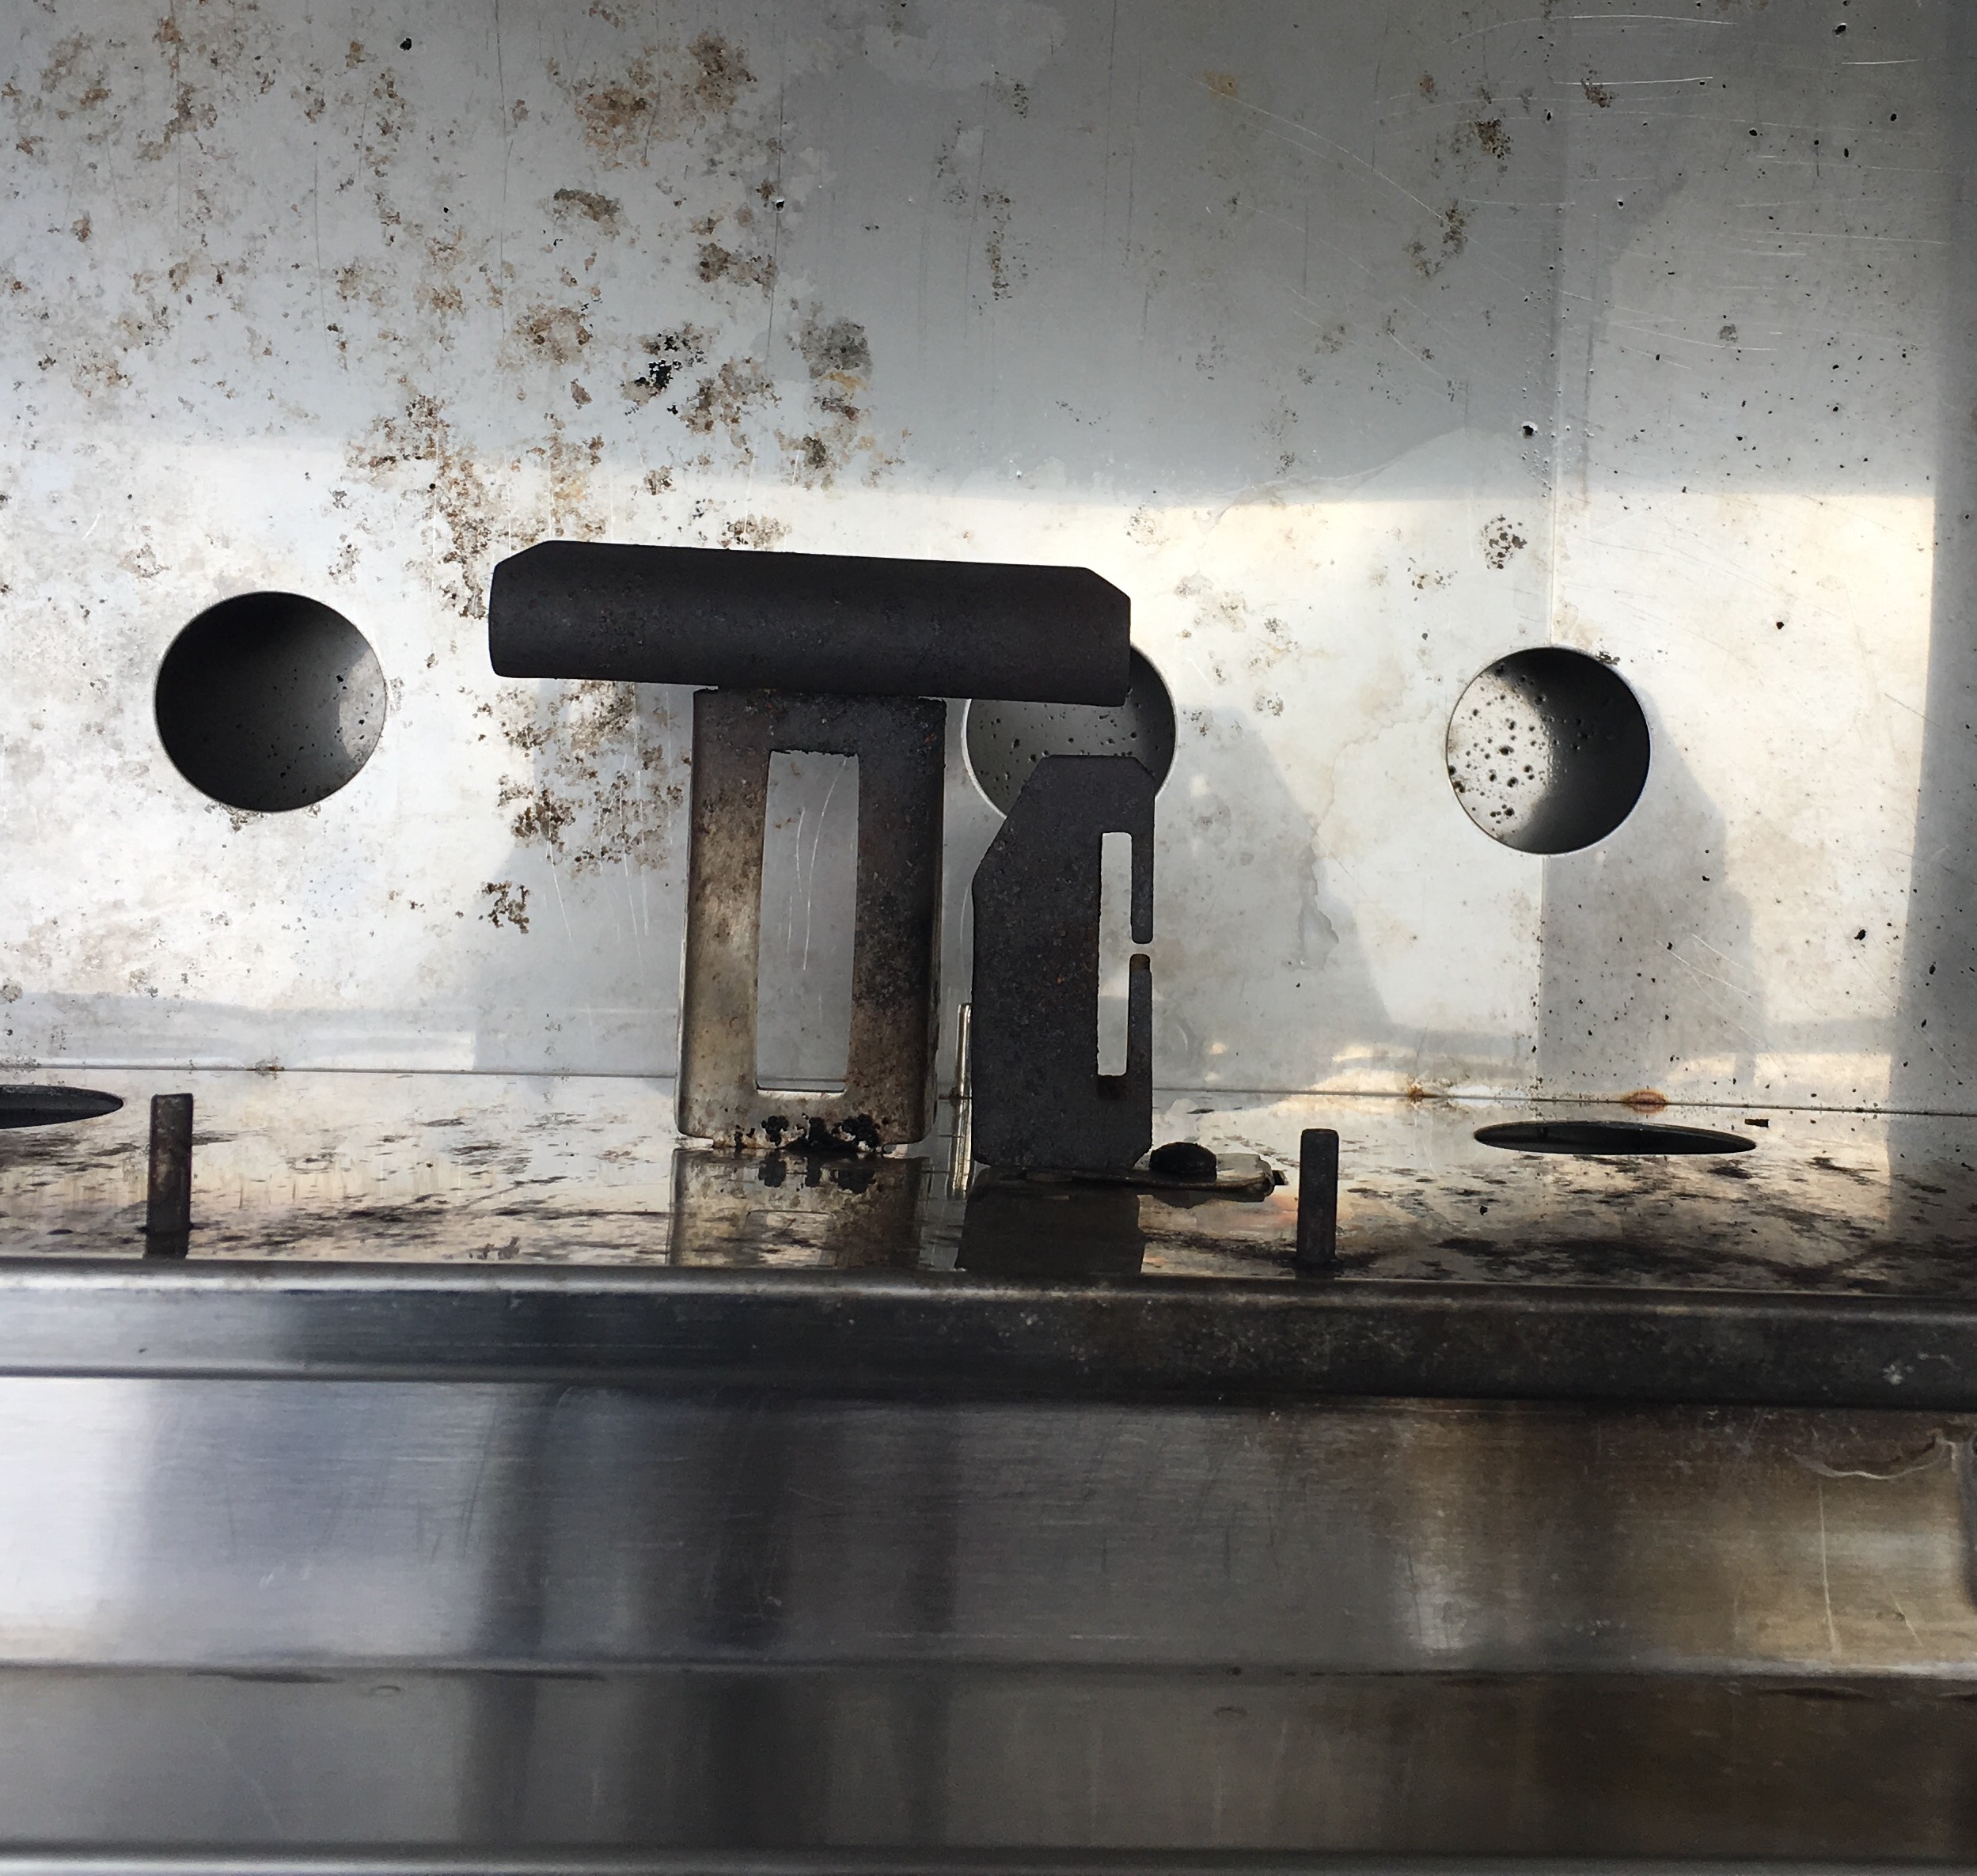
Image E
To remove the collector box with the electrodes and wires, you will need to remove the cooking grates and ceramic rod trays. The collector box is mounted to the front of the inside of the firebox (see image E) attached with a screw. Remove the screw to detach the collector box. Before you can take out the collector box you can either cut the wires (if the entire piece needs to be replaced) or you will have to detach the wires from the spark generator that is located behind the control panel.
In order to access the inside of the control panel, remove the drip tray located below the knobs. Then you will need to remove the knobs. If your knobs are sticking to the valve stems, you may need to spray some WD-40 behind the knobs and let it sit. (see image F)
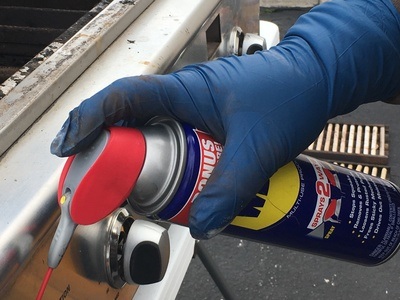
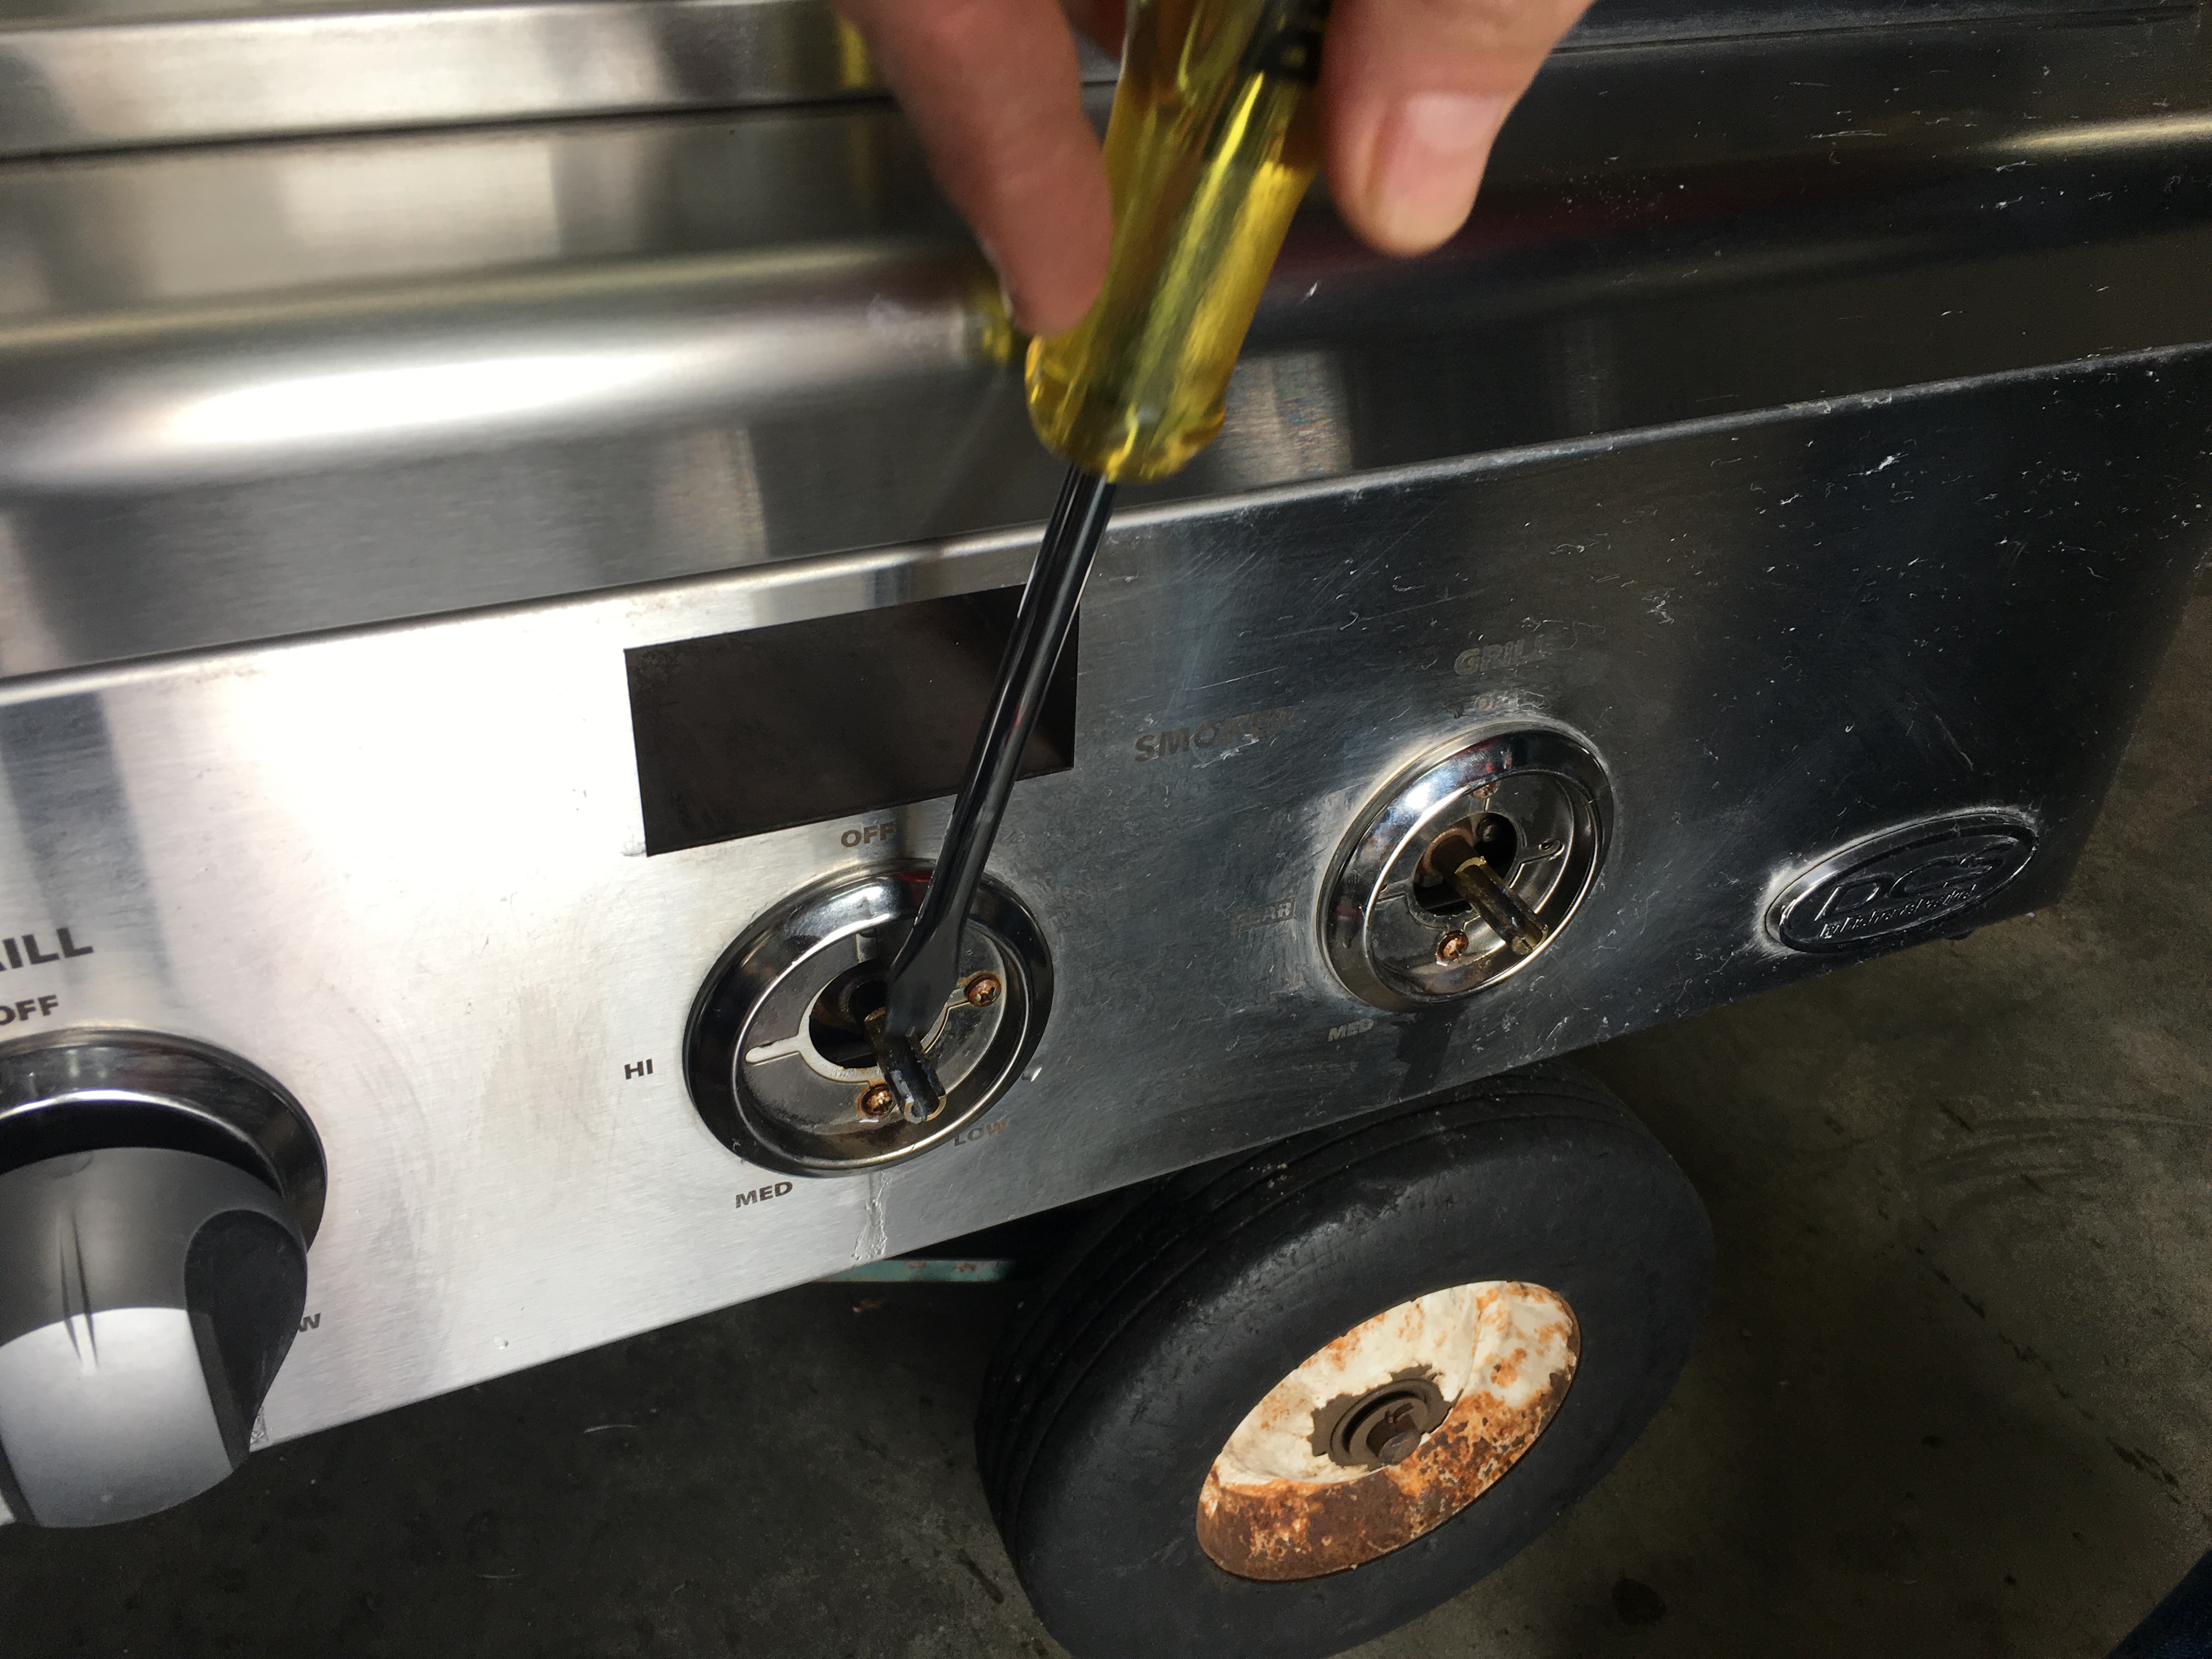
Image F Image G
Take a flathead screwdriver and place it behind the knob, gently prying the knob off (see image G).
On each side of the control panel are screws that need to come out in order to lift the control panel (image H) to expose the ignition box.
Lift the panel and you will find the spark generator (image I) and the wires that connect to the electrodes. Unplug the wires and pull them through the inside of the firebox along with the collector box.
To repair the spark generator :
If your spark generator does not make a clicking sound, you may only need to replace the battery. The 9-volt battery is located under the grill control panel in a bracket at the bottom of front of the panel.
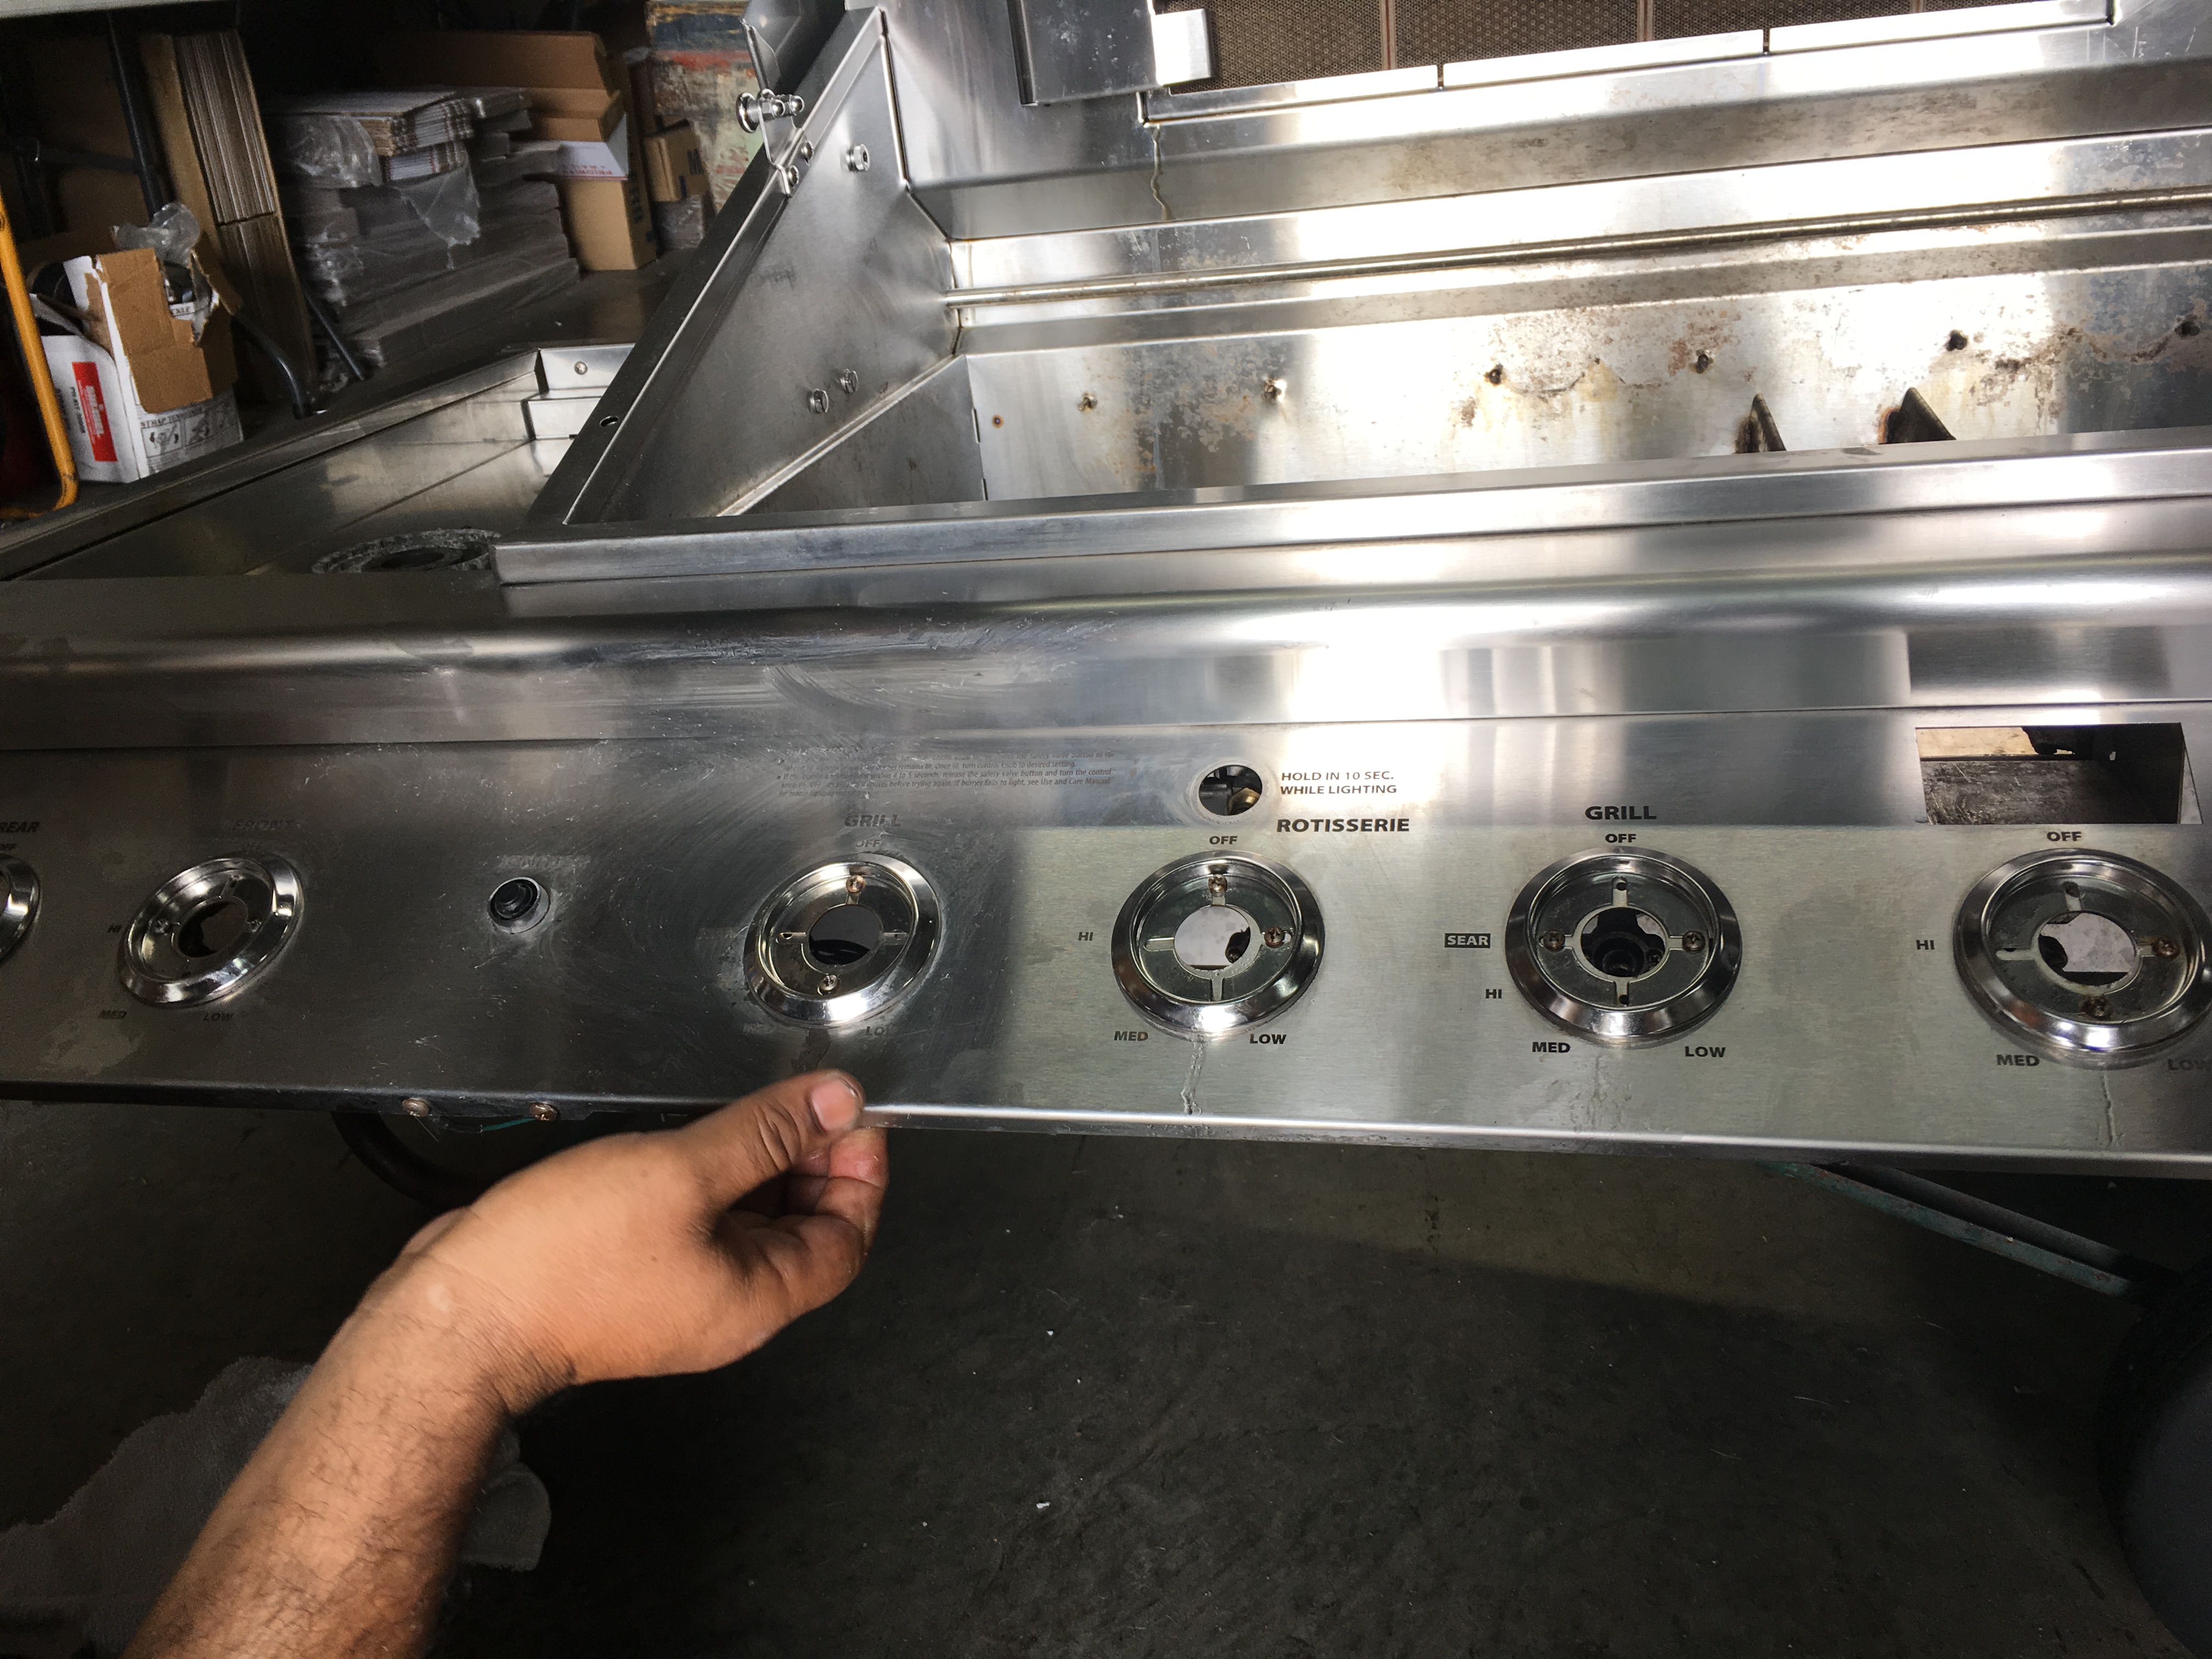
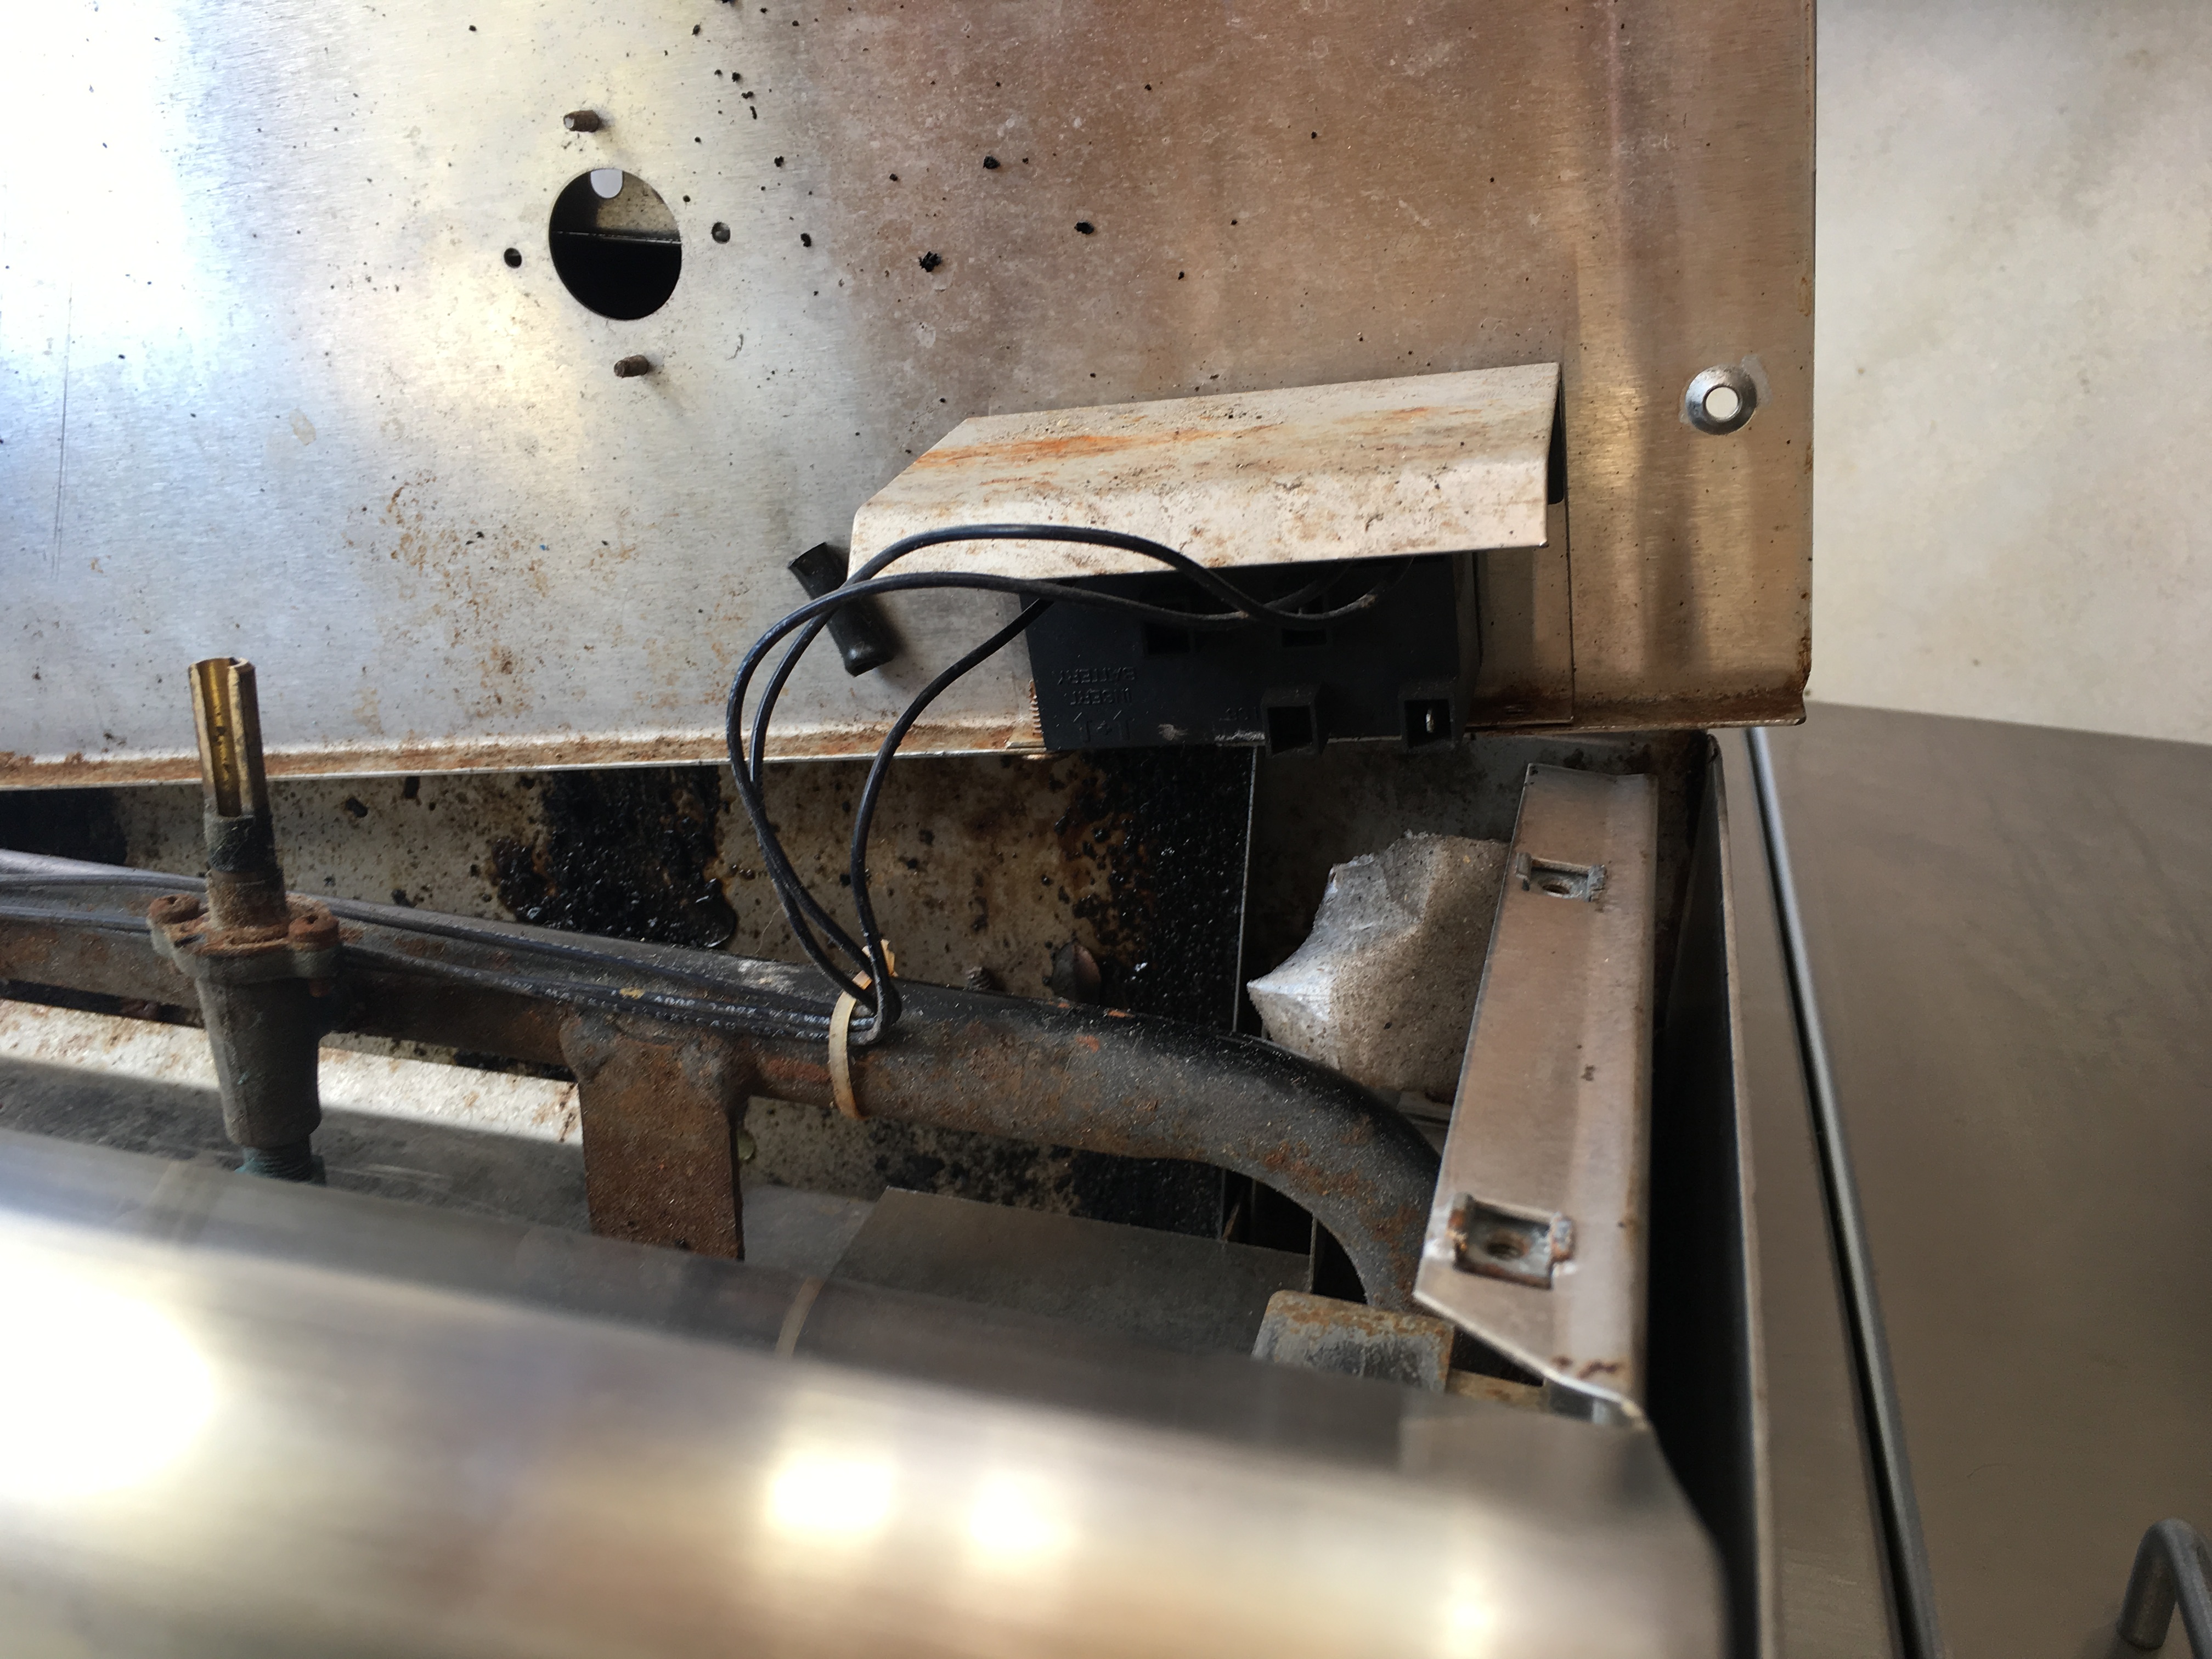
Image H Image I
The battery is mounted vertically on the right side of the spark generator. Pull the battery out and replace. If you do continue to not hear the clicking noise after you have replaced the battery, then the spark generator will need to be replaced. To remove the spark generator, you need to unplug all the igniter wires attached to the ignition, unscrew the the two screws that hold the igniter (image I). Then you will unscrew the ignition box from the spark generator bracket.
DCS Grill After :
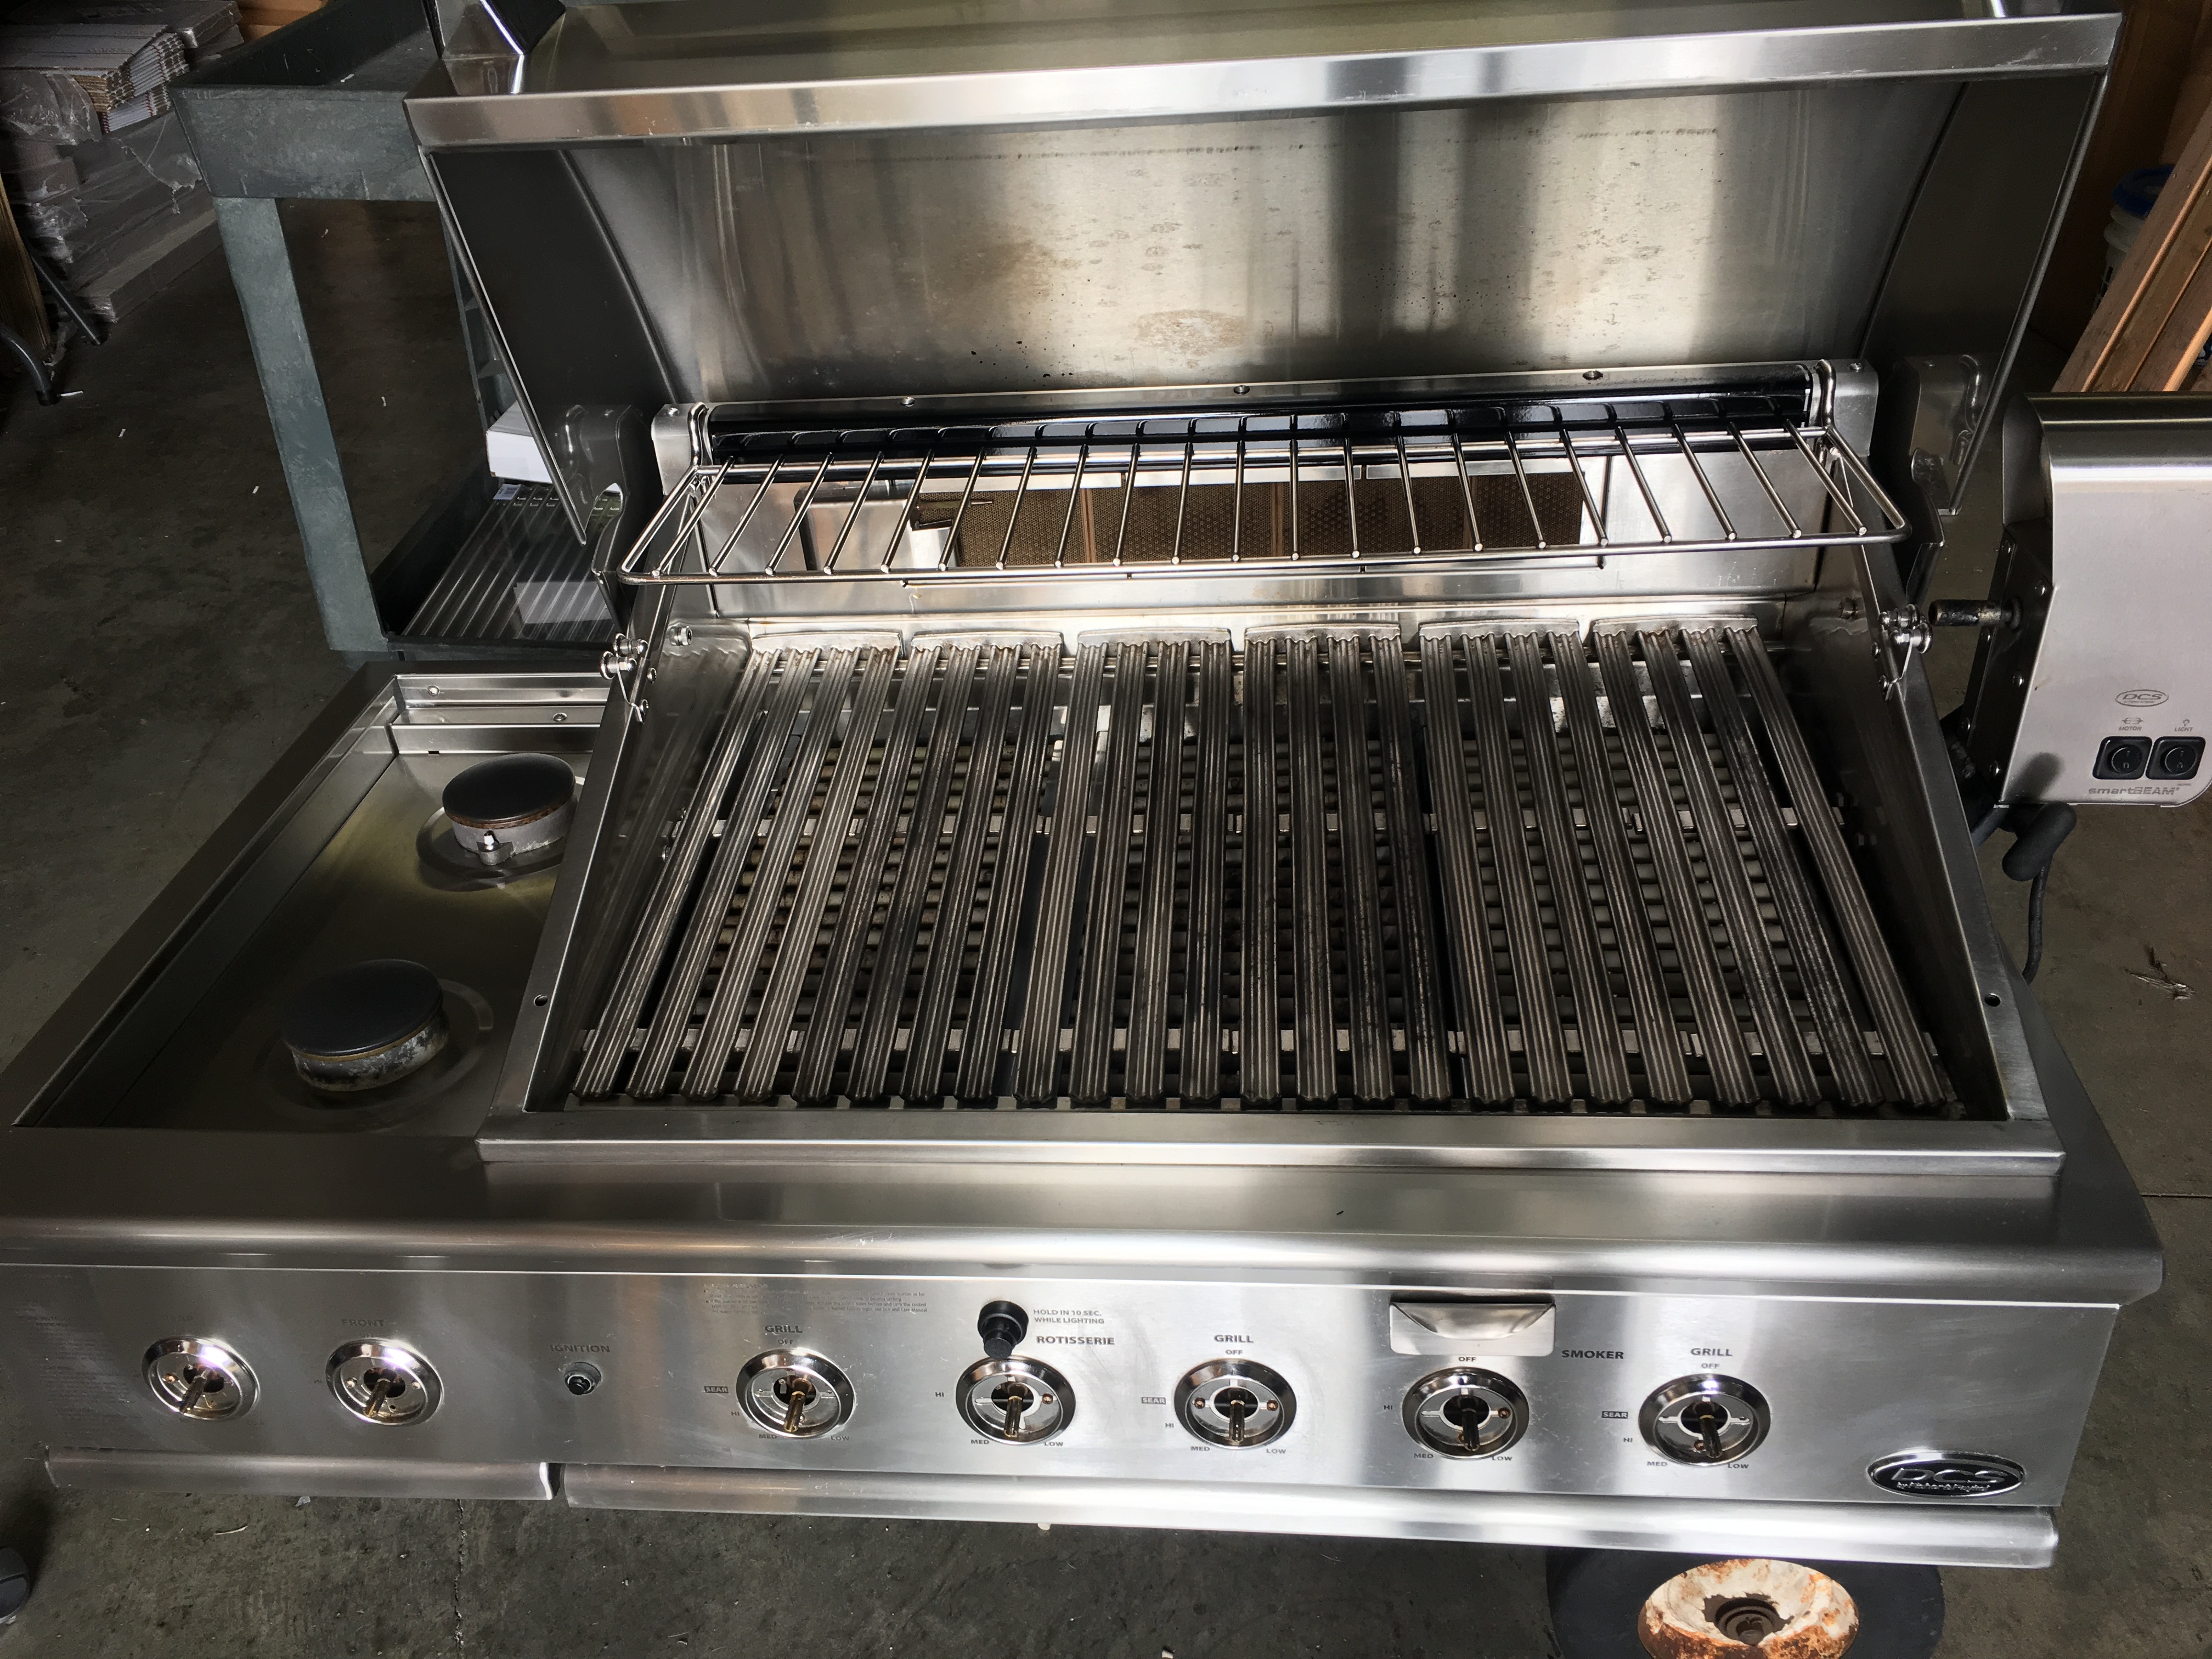
With some time and and elbow grease, you can virtually restore your BBQ to a like new condition.
